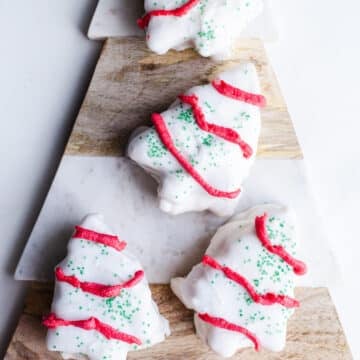
This Little Debbie Christmas Tree Cakes recipe is a homemade, gluten-free spin on the classic grocery store cakes. The tender cakes are flavored with vanilla and almond for that nostalgic flavor, filled with vanilla buttercream and dipped in a vegan white chocolate coating. They're so fun and simple to decorate with a little red 'garland' of piped chocolate and sprinkles for some glitz. Gluten-free, vegan.
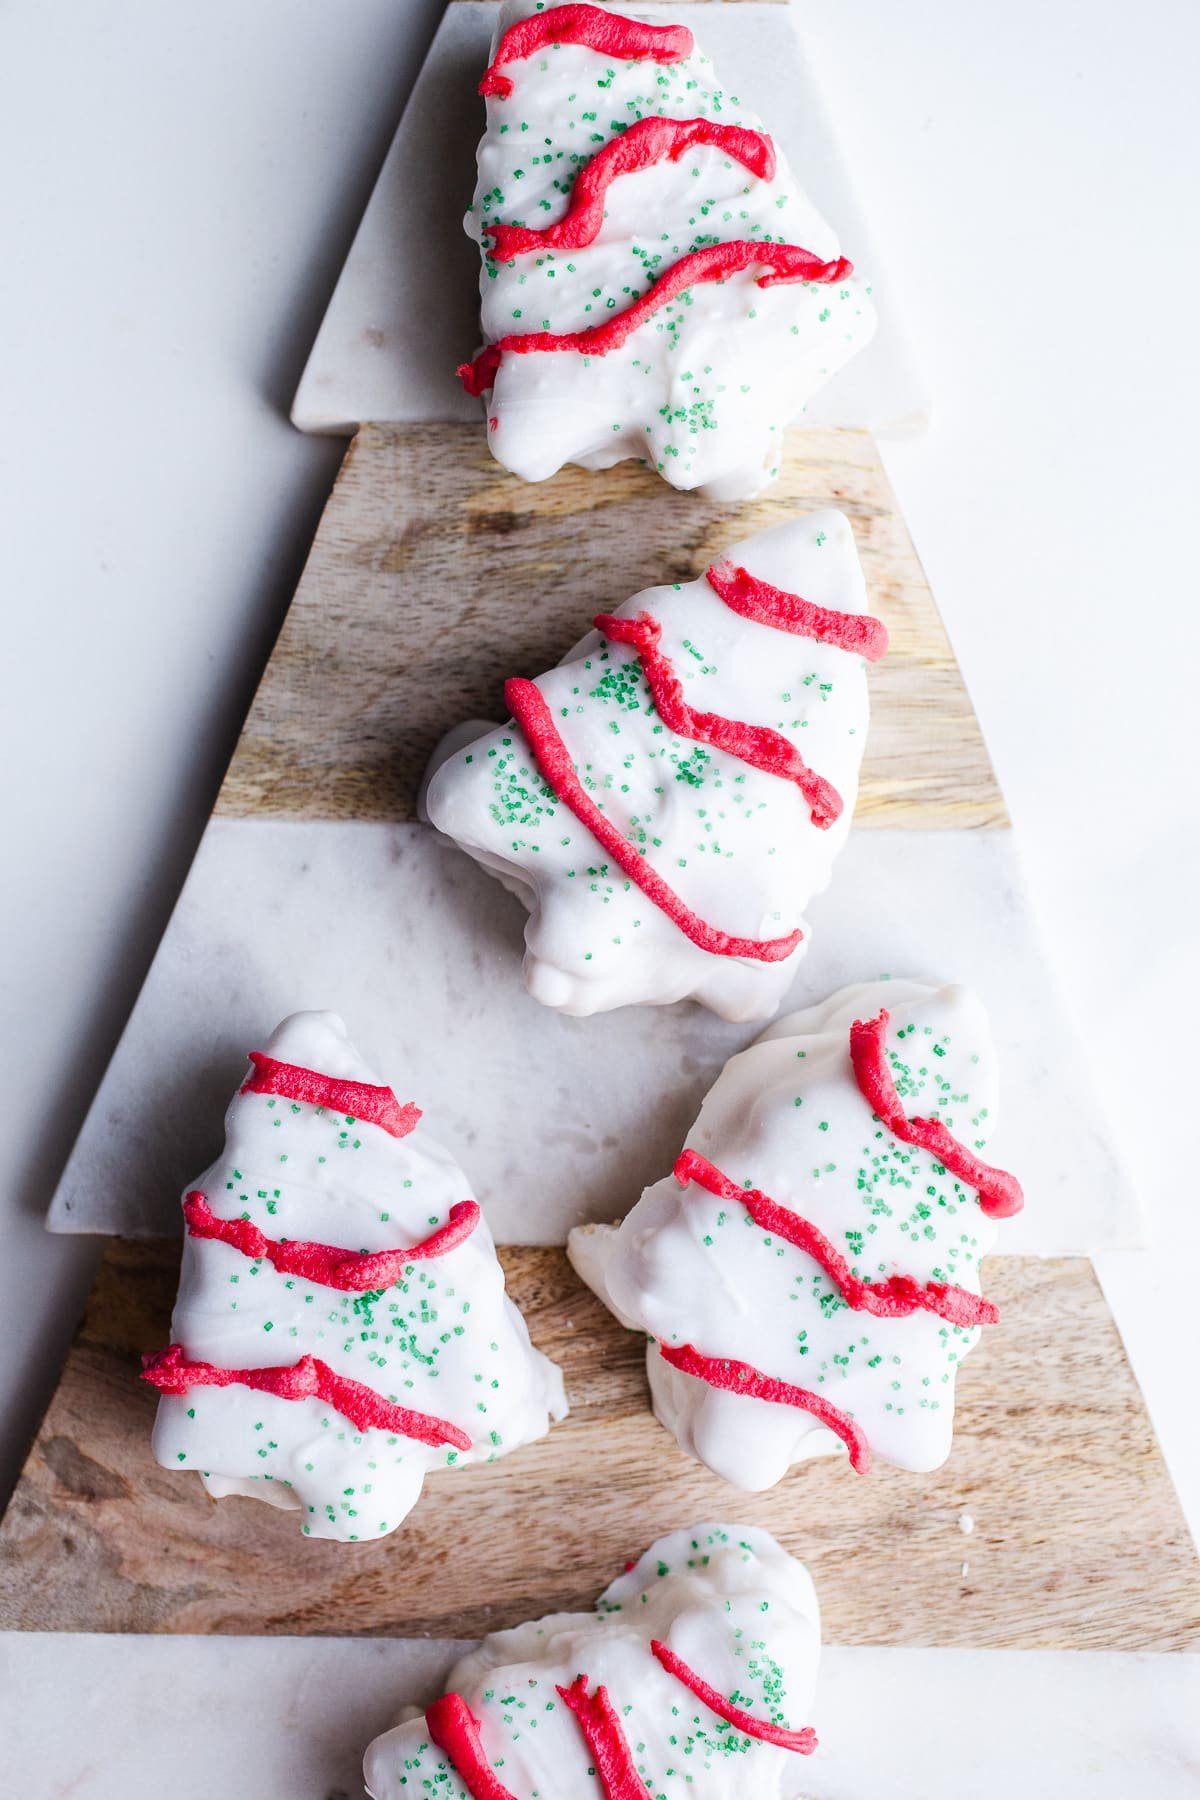

Christmas Nostalgia, Now Gluten-Free!
These classic cakes are always a temptation when they hit the grocery store shelves come Christmas time. But when you've got dietary restrictions, they're off the table, which can feel like you're missing out. Not anymore! This homemade version is gluten-free, vegan and made with real ingredients so everyone can enjoy them. Plus, decorating the trees can be turned into a fun holiday activity for the whole family.
Jump to:
Ingredients and Substitutions
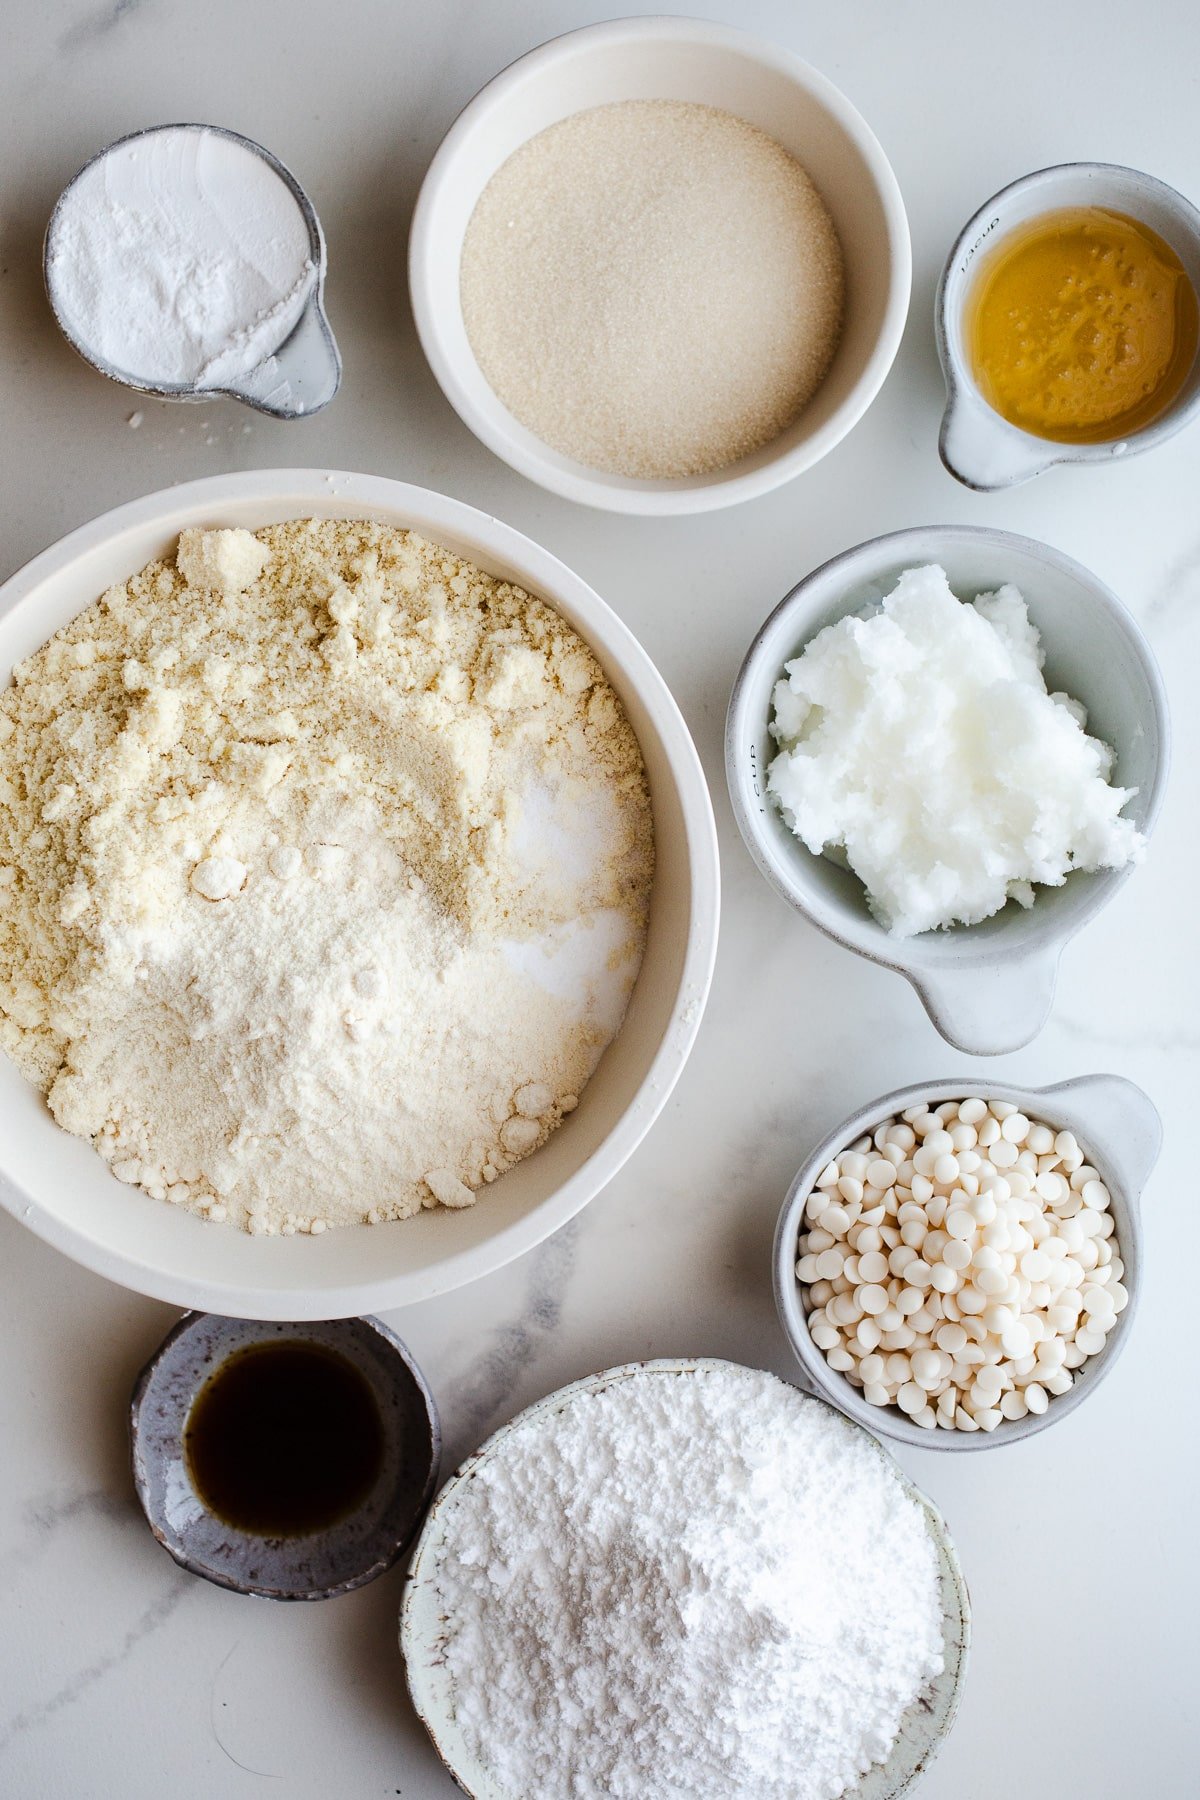
Tapioca starch - A naturally gluten-free starch which helps to bind the dry ingredients together in these cakes. Arrowroot starch also works well here.
Coconut oil - Solid at room temperature, this fat helps to keep the cakes moist and light. A little coconut oil is also added to the white chocolate coating to make it more fluid and easier to dip into.
Agave nectar - Vegan liquid sweetener from the agave plant has a mild flavor and helps to bind the batter. Feel free to use honey instead if you're not vegan.
Organic cane sugar - Has a light flavor that brings sweetness to the cake while letting the vanilla shine through. You can switch it for coconut sugar, but this will add a caramelised flavor to the cakes.
Almond flour - Acts as a gluten-free replacement for wheat flour in this recipe, producing a tender cake with a buttery taste. If you can't find any in the store, try making it yourself! Don't use almond meal as it can make the cakes turn out denser.
Coconut flour - This high-fiber flour is made from the dried, ground solids of a coconut. It absorbs a lot of liquid so we only need a little in this cake to make it fluffy.
Organic powdered sugar - Used to make the creamy frosting for these cakes. Seek out the organic version to keep this recipe vegan-friendly.
Vegan white chocolate chips - The EnjoyLife brand is my go-to for these plant-based chocolate chips. If dairy isn't an issue, you can use regular white chocolate chips instead.
Red food coloring - Choose an oil-based or powdered food coloring here as water-based or gel food colorings will cause the chocolate to seize.
Sanding sprinkles - Green sprinkles give these tree cakes a festive feel, mimicking Christmas tree decorations. I used sanding sprinkles for extra sparkle but, if you cant find them, regular sprinkles will work too (just ensure they're gluten-free).
Water, baking soda, vanilla extract, almond extract and salt
How to Make Little Debbie Christmas Tree Cakes
Before you start: Preheat the oven to 350°F (175°C) and line a 9x13-inch baking pan with parchment paper.

Step 1: In a large mixing bowl, whisk together tapioca starch and water. Whisk in melted coconut oil, agave, cane sugar, almond and vanilla extract.
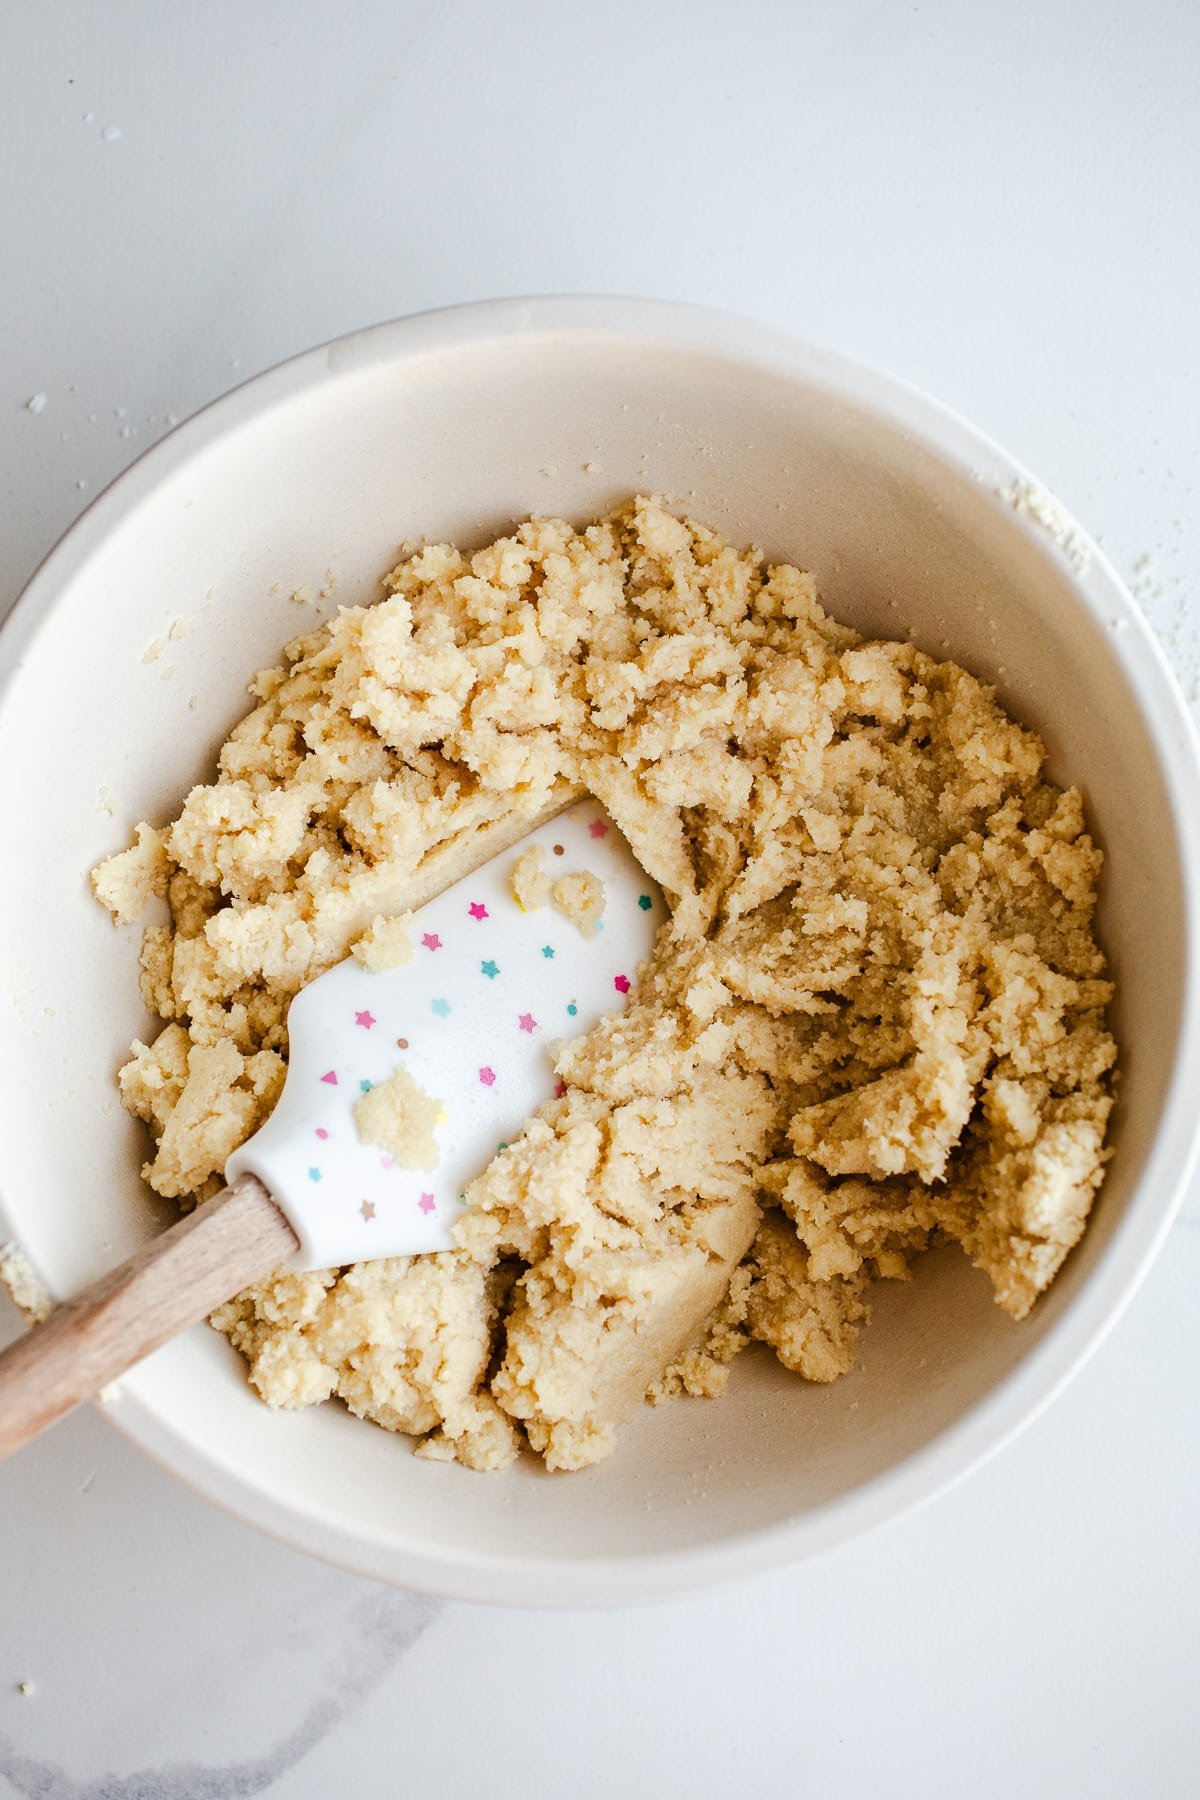
Step 2: Add almond flour, coconut flour, salt, and baking soda. Stir with a rubber spatula until you have a cohesive dough. Allow it to rest for 2-3 minutes, then transfer to the prepared pan.

Step 3: Use the rubber spatula to evenly distribute dough in the pan. Then use an extra piece of parchment paper to lightly press and smooth the dough into an even layer. Ensure all corners are filled.
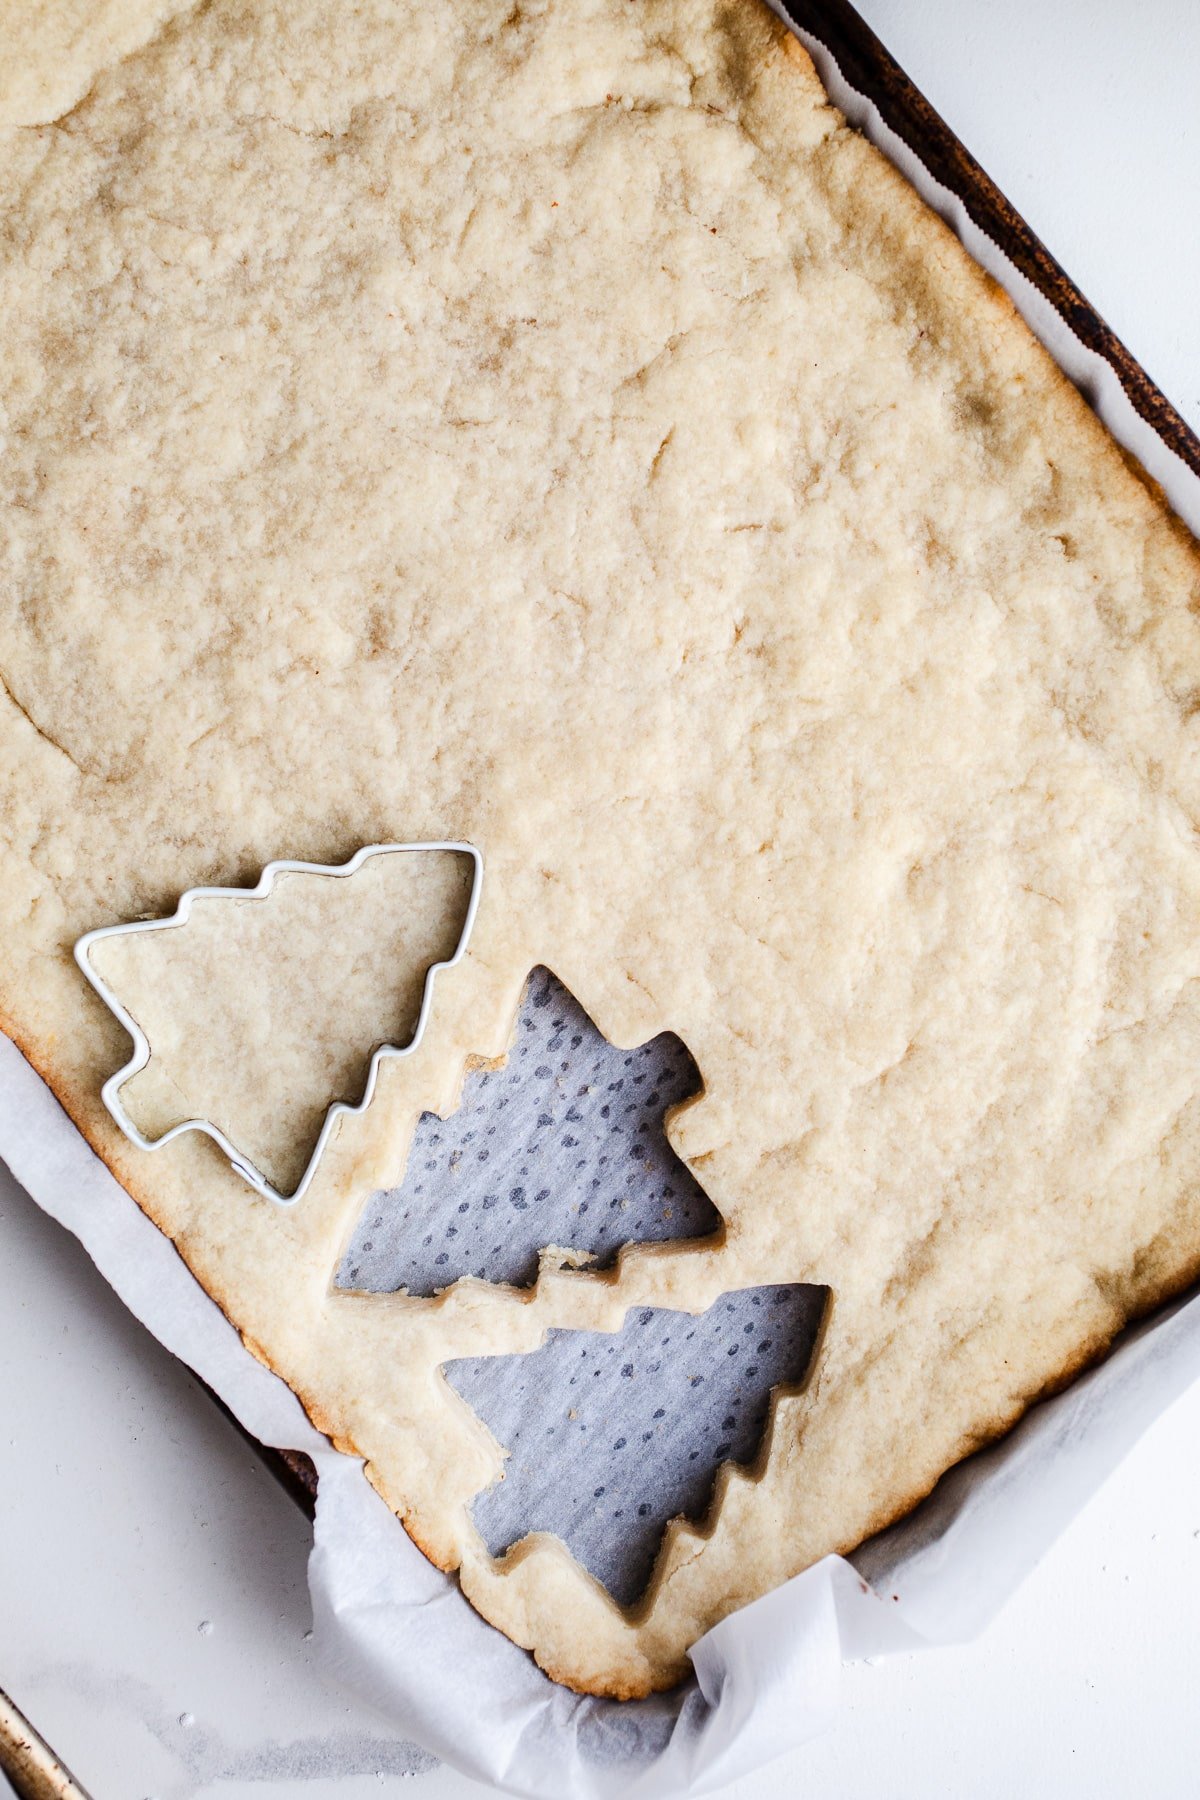
Step 4: Bake for 9-10 minutes. The edges will be golden brown and the top will have started to turn golden. Remove from the oven and let cool on a wire rack. Once completely cool, refrigerate for at least 30 minutes before cutting and frosting the cakes.
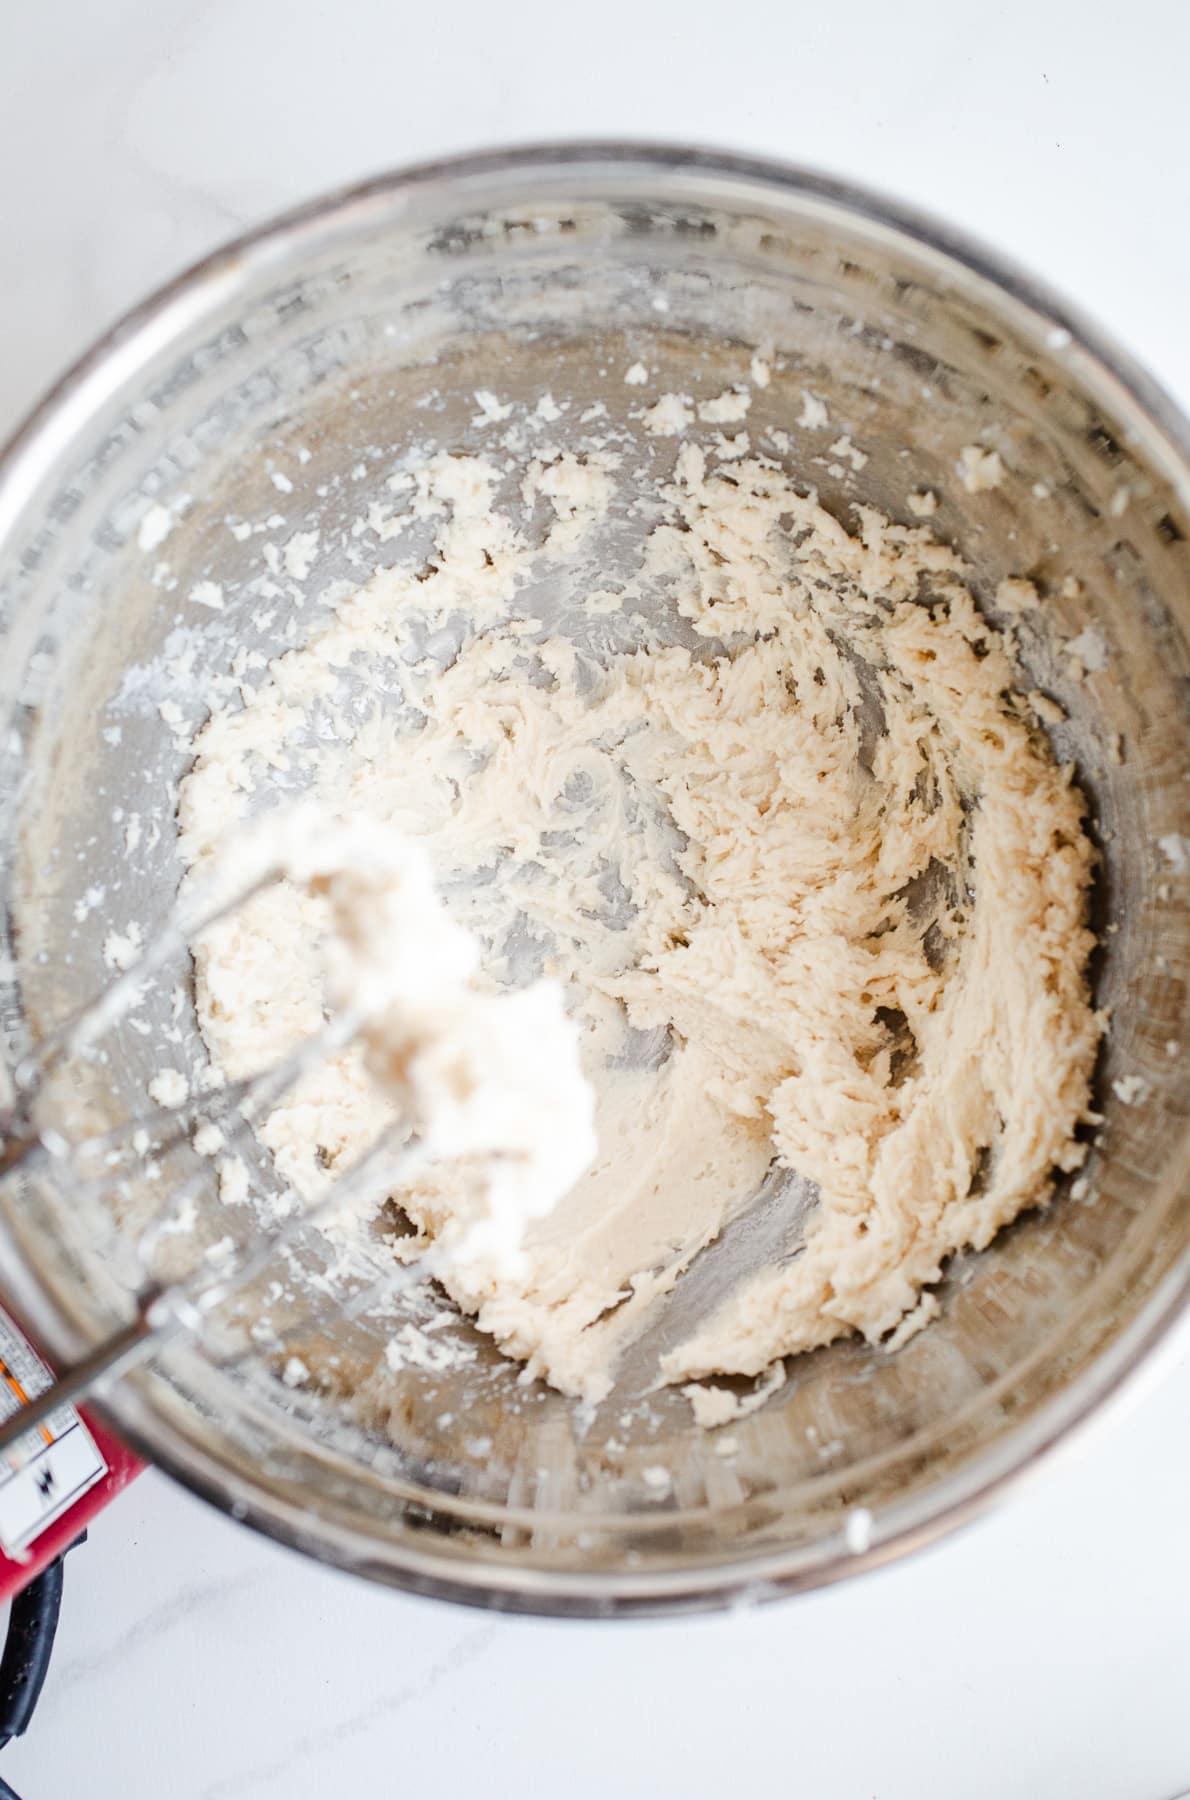
Step 5: Add frosting ingredients to a medium mixing bowl. Beat with an electric hand mixer until smooth.
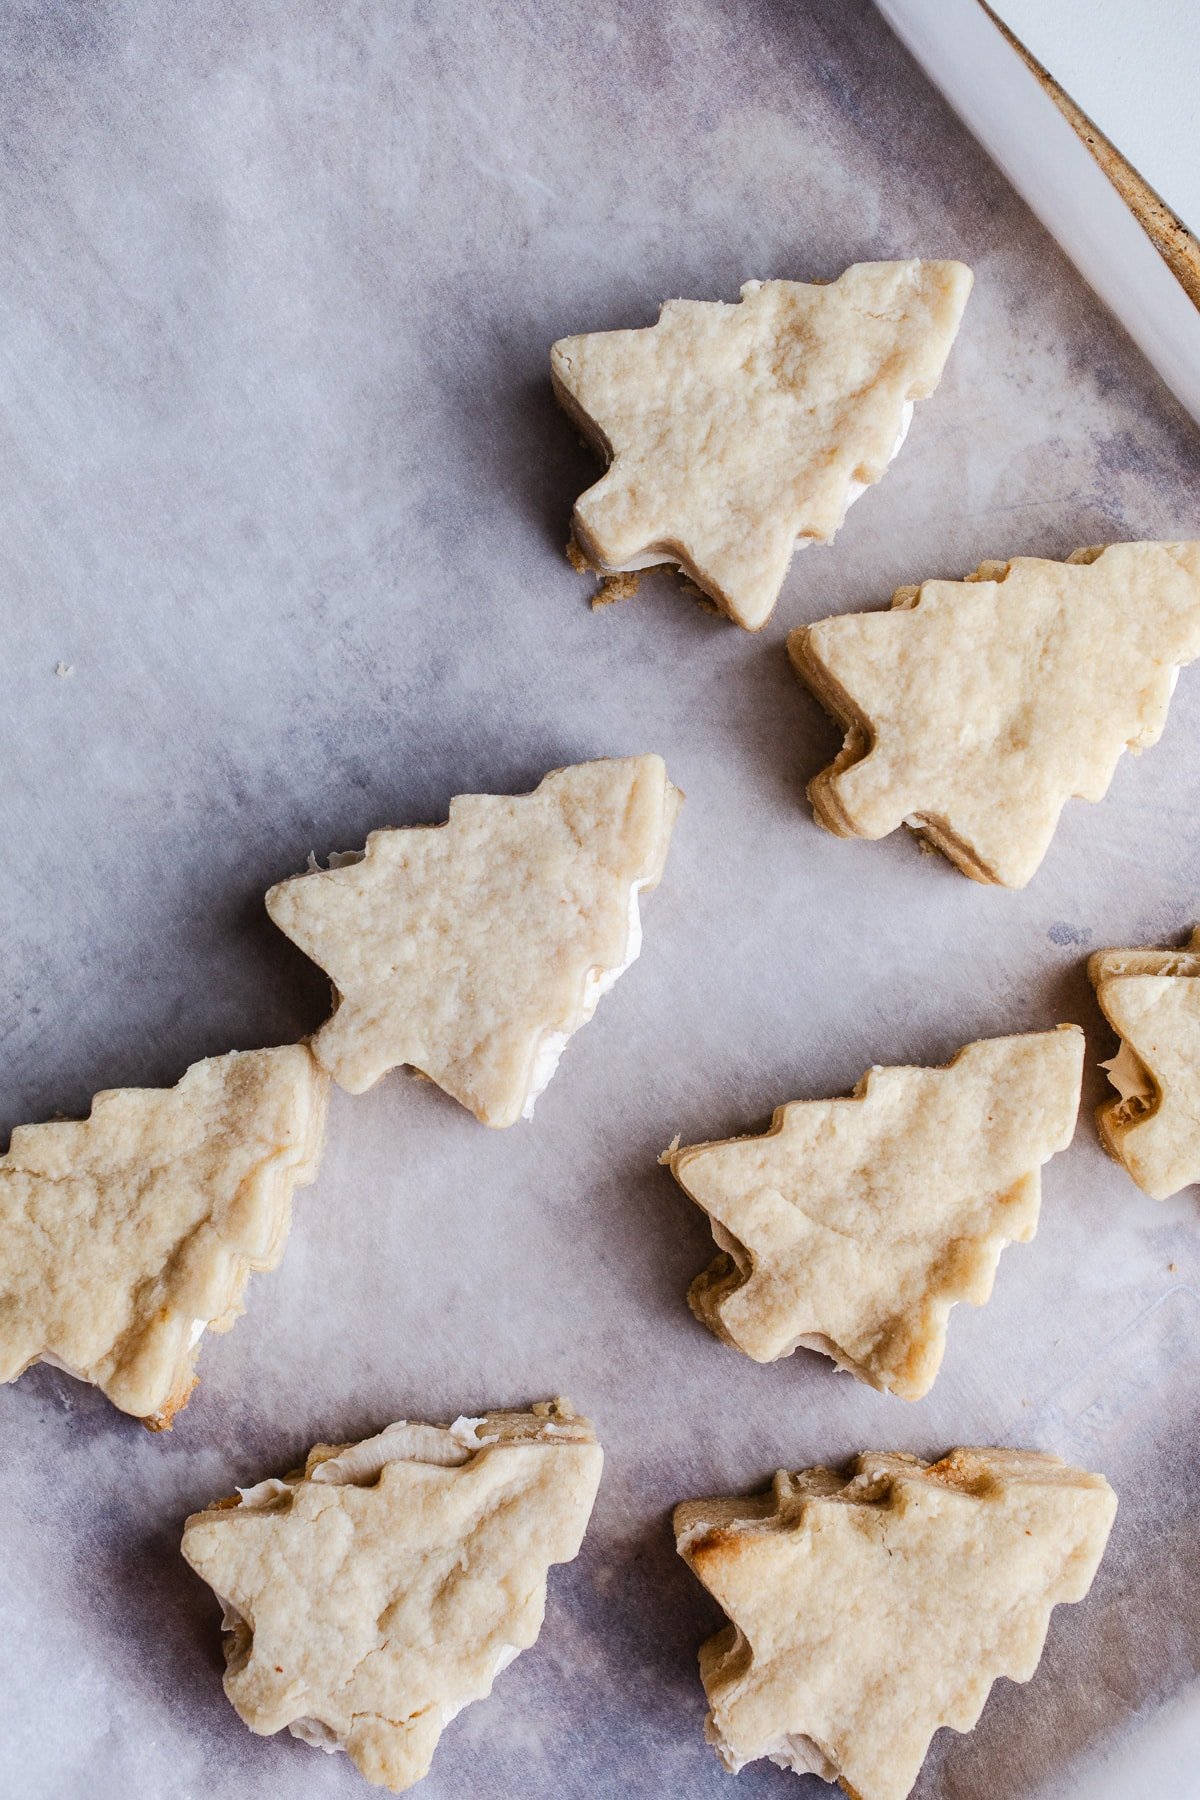
Step 6: Remove the pan from the refrigerator. Use a tree-shaped cookie cutter and cut out cookies by rows. Transfer half of the cookies to a parchment-lined pan and the others to a plate. Spread frosting on top of half of the tree cakes on the baking sheet. Place an additional tree on top of the frosting and gently press down with your palm.

Step 7: Reserve ½ cup of chocolate chips and set aside. In a microwavable bowl, melt white chocolate chips and coconut oil at 30-second intervals until almost completely melted. Using a fork, dip and gently flip or spoon chocolate over the heart sandwich until coated. Shake over excess chocolate and transfer back to baking sheet. Continue until all heart sandwiches are coated.
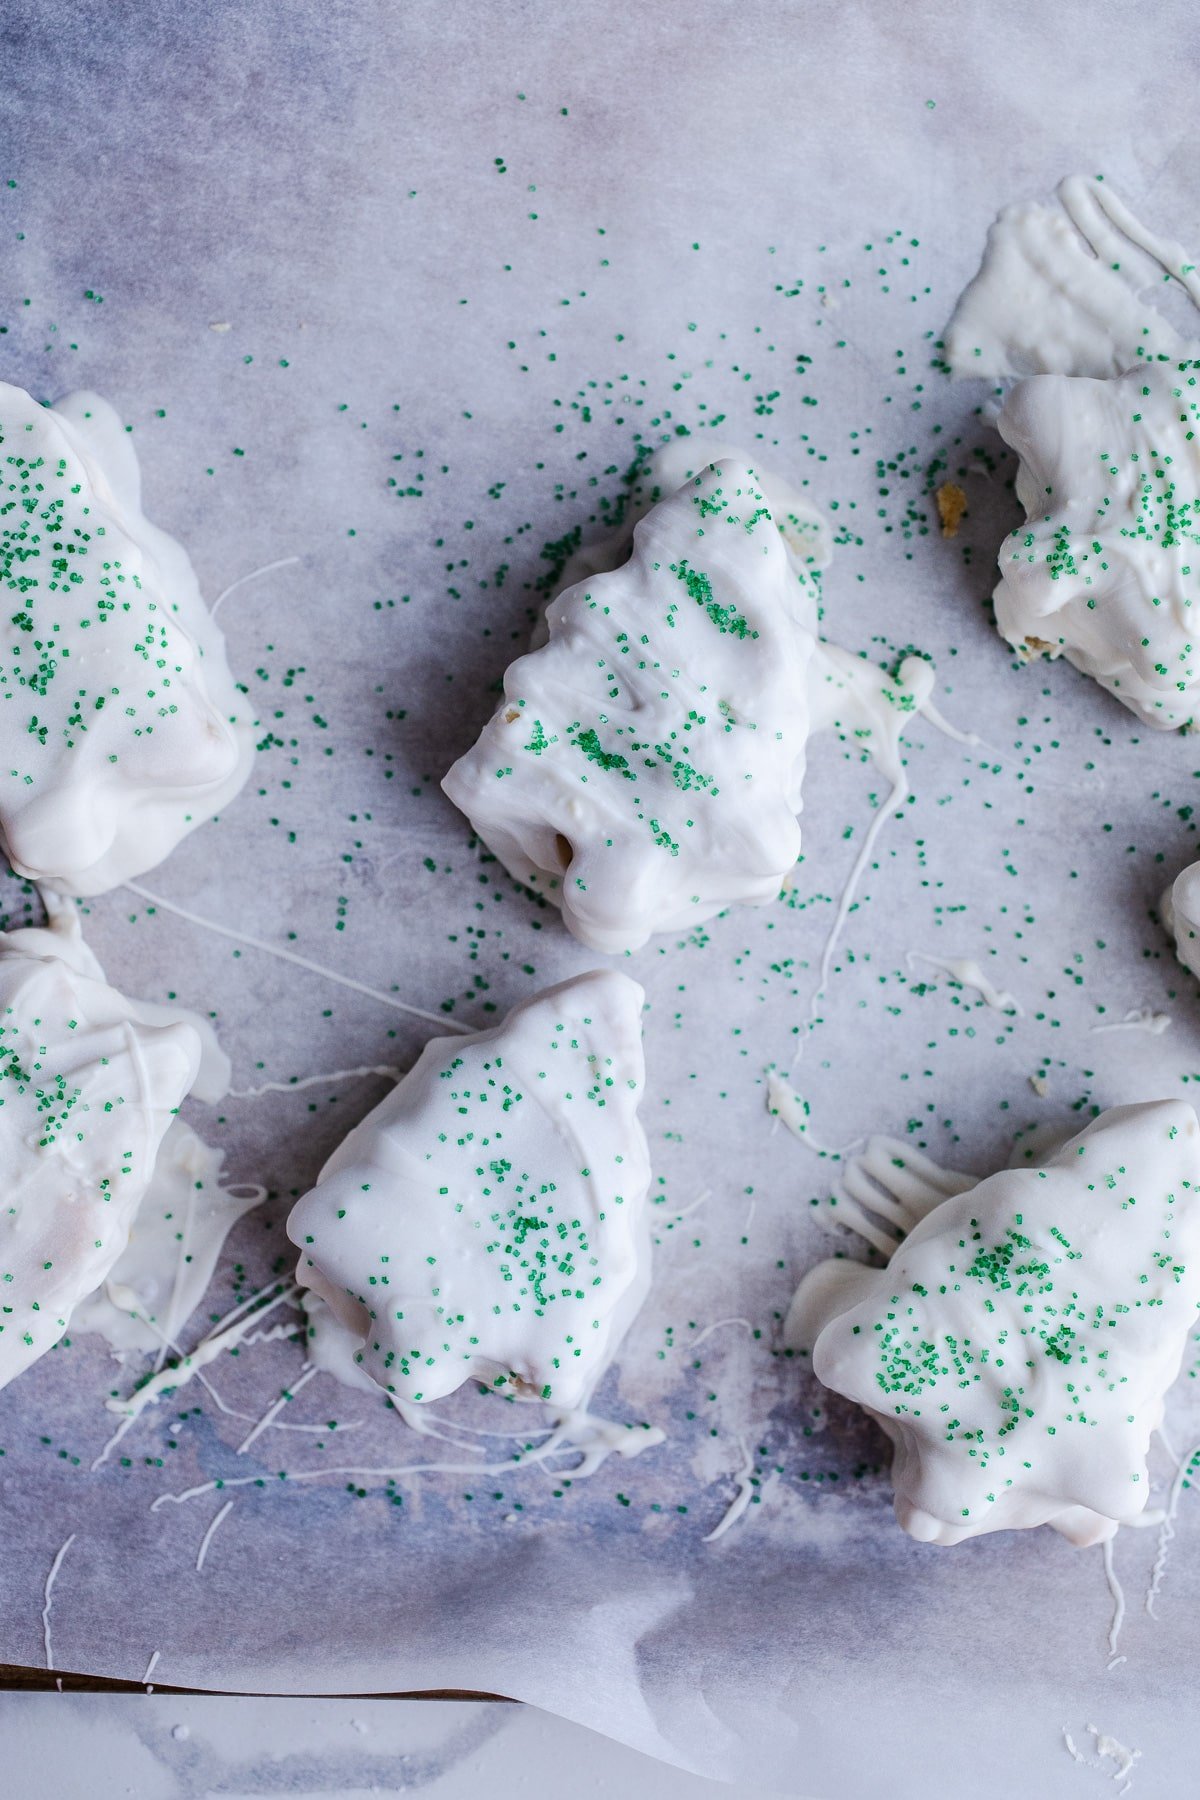
Step 8: Sprinkle with green sanding sprinkles. Repeat with each tree.
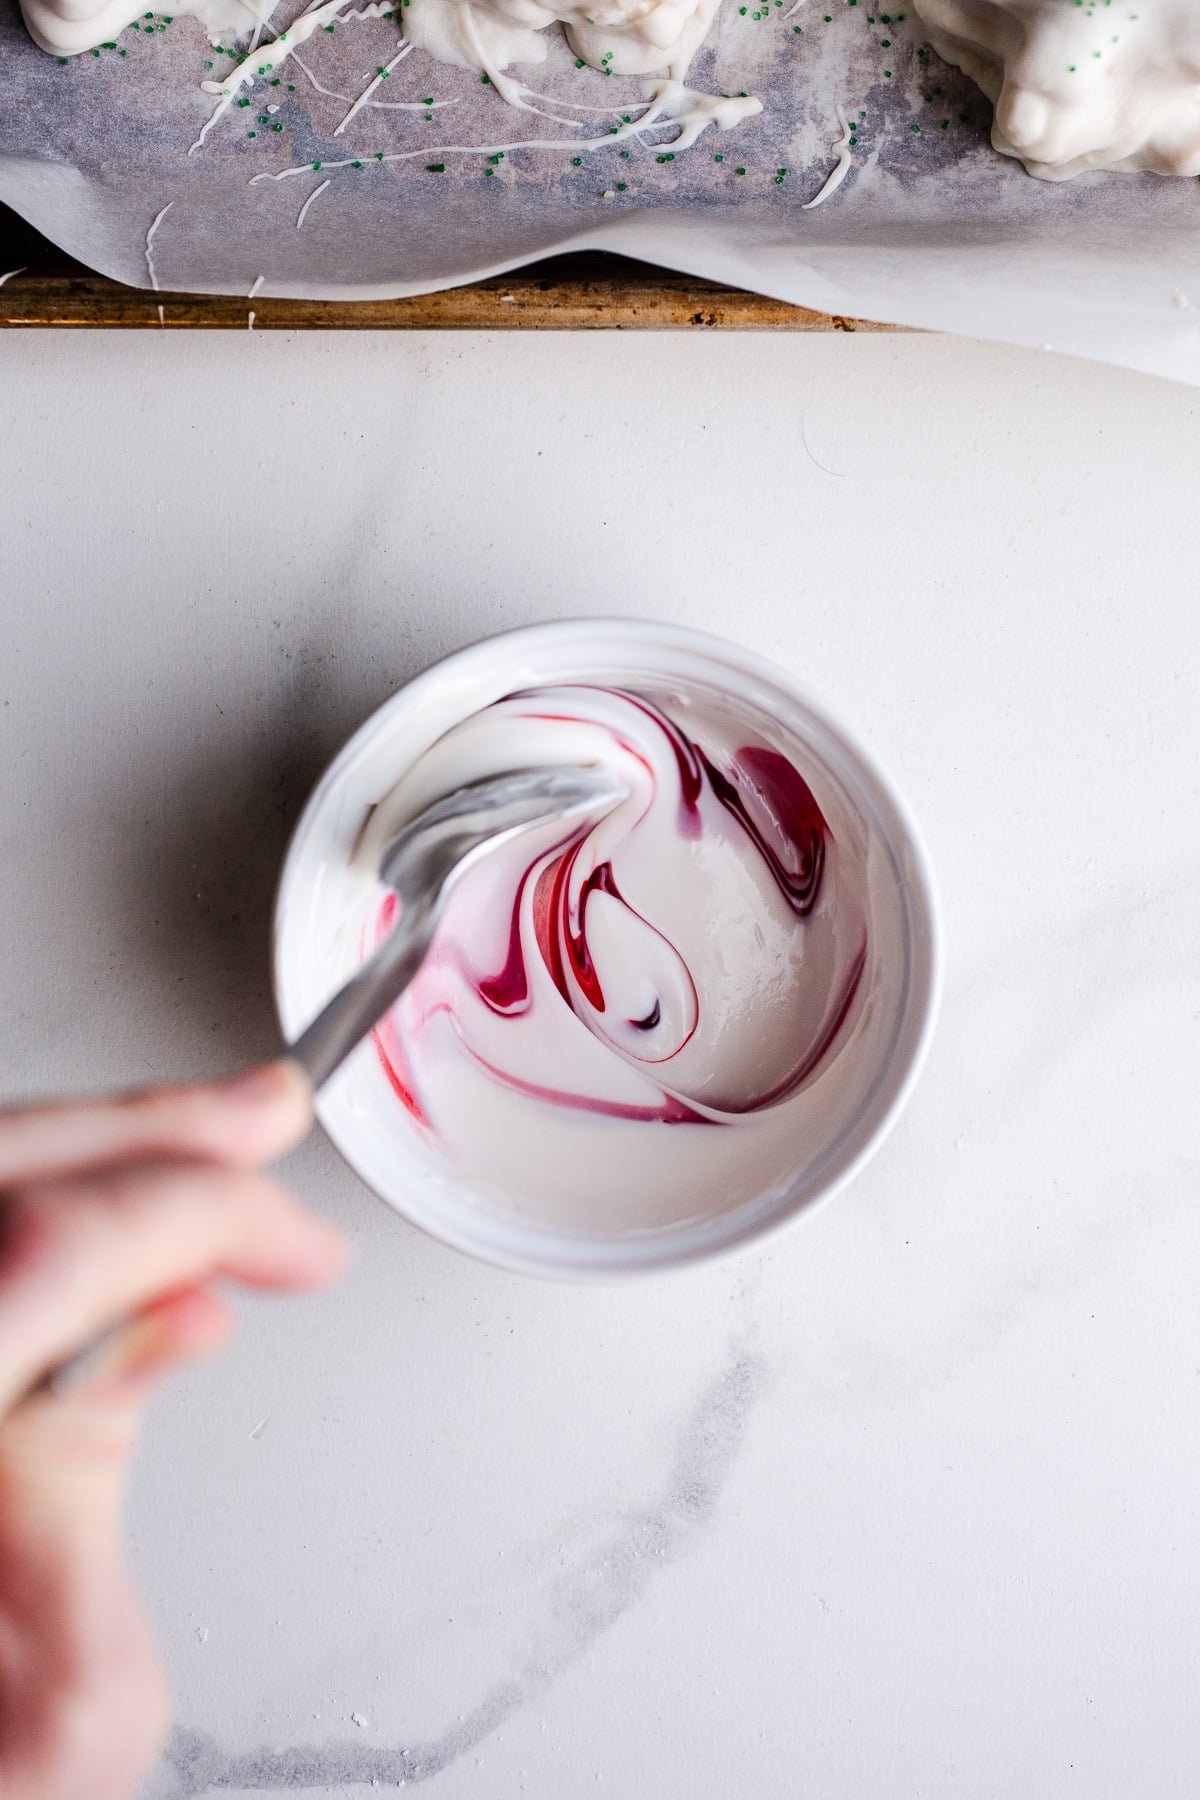
Step 9: Melt remaining white chocolate chips and ½ teaspoon coconut oil in a small microwavable bowl. Stir in drops of red food coloring until desired color is reached.

Step 10: Place melted chocolate in a ziplock bag and snip one tip of the bag with scissors. Use this to pipe a "garland" on the tops of the trees in a zigzag motion. Allow chocolate to set before serving or storing.
Variations
Customize the decoration of these cakes to your liking:
- Use vegan dark or milk chocolate for dipping for a richer, chocolate flavor.
- Add silver ball sprinkles to look like Christmas tree baubles
- Crush up candy canes and sprinkle onto the 'garland' for some festive flavor.
- Try different cookie cutter shapes to make other festive objects like Christmas stockings or stars.

Recipe Tips
- I've found that white chocolate chips can burn easily if you're not careful so keep a close eye on them when you're melting them in the microwave.
- It's important to let the cake cool fully before cutting as the hot cake won't have set fully, making it more delicate.
- Only frost the cakes once they've cooled. If they're even slightly warm they'll cause the frosting to melt which will make things messy.
- Decorate with the sprinkles before the 'garland' has had time to set to ensure they stick on properly.
- No cookie cutter? You can use a small, sharp knife to cut out simple Christmas tree shapes (tall, slim triangles will look great!) instead.
- I find that adding a little coconut oil to the white chocolate coating makes it easier to dip the trees. You can omit this but the coating will be thicker and you may need more chocolate chips.
FAQs
You'll be left with some cake remnants after cutting out the heart shapes. You can crumble these up, mix with a little frosting and form into balls before dipping into white chocolate to make cake pops or cake balls.
The cakes should be stored in an airtight container. You can keep them at room temperature for up to 3 days, or in the refrigerator for up to 5 days.
More Gluten-Free Holiday Recipes

Love this recipe? Please consider leaving a 5-star 🌟🌟🌟🌟🌟rating on the recipe card below and let me know what you think in the comments!
📖 Recipe
Little Debbie Christmas Tree Cakes Recipe
Ingredients
- 4 tablespoons tapioca starch
- 6 tablespoons water
- ⅔ cup coconut oil melted
- 4 tablespoons honey (or agave nectar if vegan)
- ½ cup organic cane sugar
- 2 teaspoons pure vanilla extract
- ¼ teaspoon pure almond extract
- 3 ½ cups almond flour not almond meal
- ½ cup coconut flour
- ½ teaspoon salt
- ½ teaspoon baking soda
Frosting
- ¾ cup organic powdered sugar
- 4 tablespoons coconut oil or vegan butter, softened
- 1 teaspoon pure vanilla extract
White Chocolate Coating
- 2 x 9 oz bags vegan white chocolate chips
- 2 ½ teaspoons coconut oil, divided
- red food coloring
- green sanding sprinkles
Instructions
- Preheat the oven to 350 degrees Fahrenheit. Line a 9x13-inch pan with parchment paper.
- In a large mixing bowl, add tapioca starch and water. Whisk to combine. Add melted coconut oil, agave, cane sugar, almond and vanilla extract. Whisk again to incorporate.
- Add almond flour, coconut flour, salt, and baking soda. Stir with a rubber spatula until you have a cohesive dough. Allow the dough to rest for 2-3 minutes, then transfer it to the prepared pan.
- Use the rubber spatula to evenly distribute dough in the pan. Then use an extra piece of parchment paper to lightly press and smooth the dough into an even layer. Make sure all corners are filled.
- Bake for 9-10 minutes. The edges will be golden brown and the top will have started to turn golden. Remove from the oven and let it cool on a wire rack.
- Once completely cool, refrigerate for at least 30 minutes before using a cookie cutter and frosting.
- Add frosting ingredients to a medium mixing bowl. Beat with an electric hand mixer until smooth.
- Remove the pan from the refrigerator. Use a heart-shaped cookie cutter and cut out cookies by rows. Transfer half of the cookies to a parchment-lined pan and the others to a plate.
- Spread frosting on top of the hearts on the baking sheet. Place an additional heart on top of the frosting and gently press down with your palm.
- Reserve a ½ cup of chocolate chips and set aside. In a microwavable bowl, melt white chocolate chips and 2 teaspoons coconut oil at 30-second intervals until almost completely melted.
- Using a fork, dip and gently flip or spoon chocolate over the heart sandwich until coated. Shake off excess chocolate and transfer back to baking sheet. Sprinkle with green sanding sprinkles. Continue until all heart sandwiches are coated.
- Place the pan back in the refrigerator for at least 30 minutes to set.
- Once set, melt the remaining white chocolate chips and ½ teaspoon coconut oil in a small microwavable bowl. Stir in 5-6 drops of red food coloring or until the desired red is reached. Place melted chocolate in a ziplock bag and snip the very corner of the bag with scissors. Use this to pipe a "garland" on the tops of the trees in a zigzag motion. Continue with each tree. Allow chocolate to set before serving or storing.
Leave a Reply