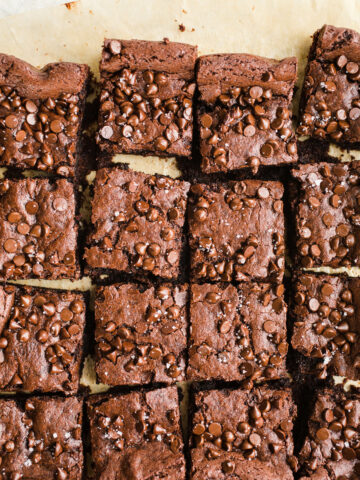
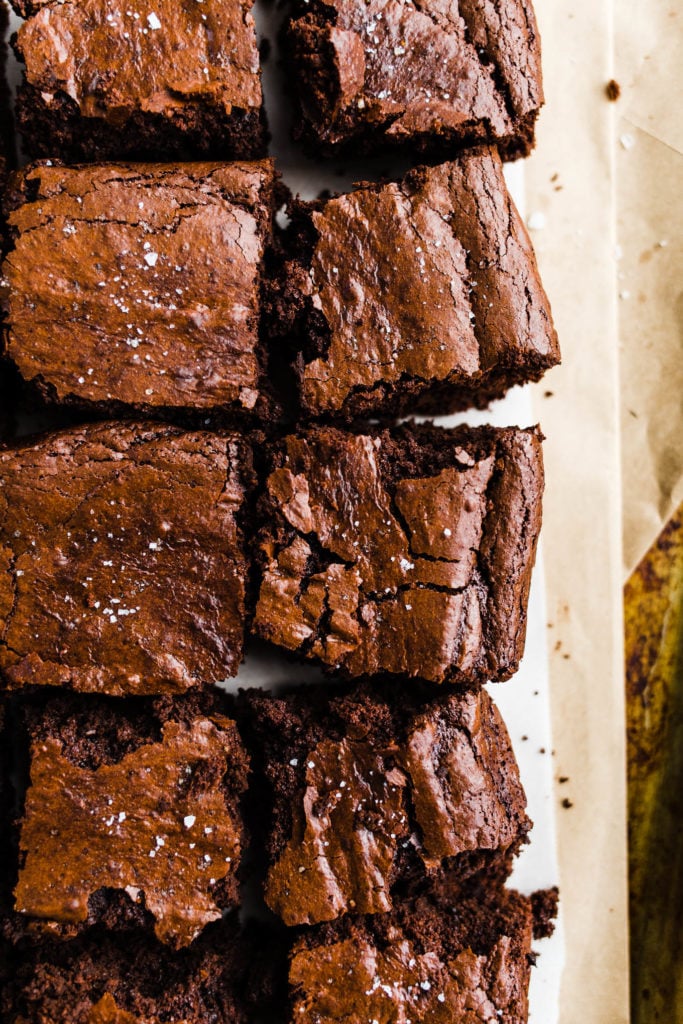
Treat yourself to deliciously rich and fudgy Gluten-Free Brownies that make for an easy dairy-free, grain-free, and refined sugar-free treat.
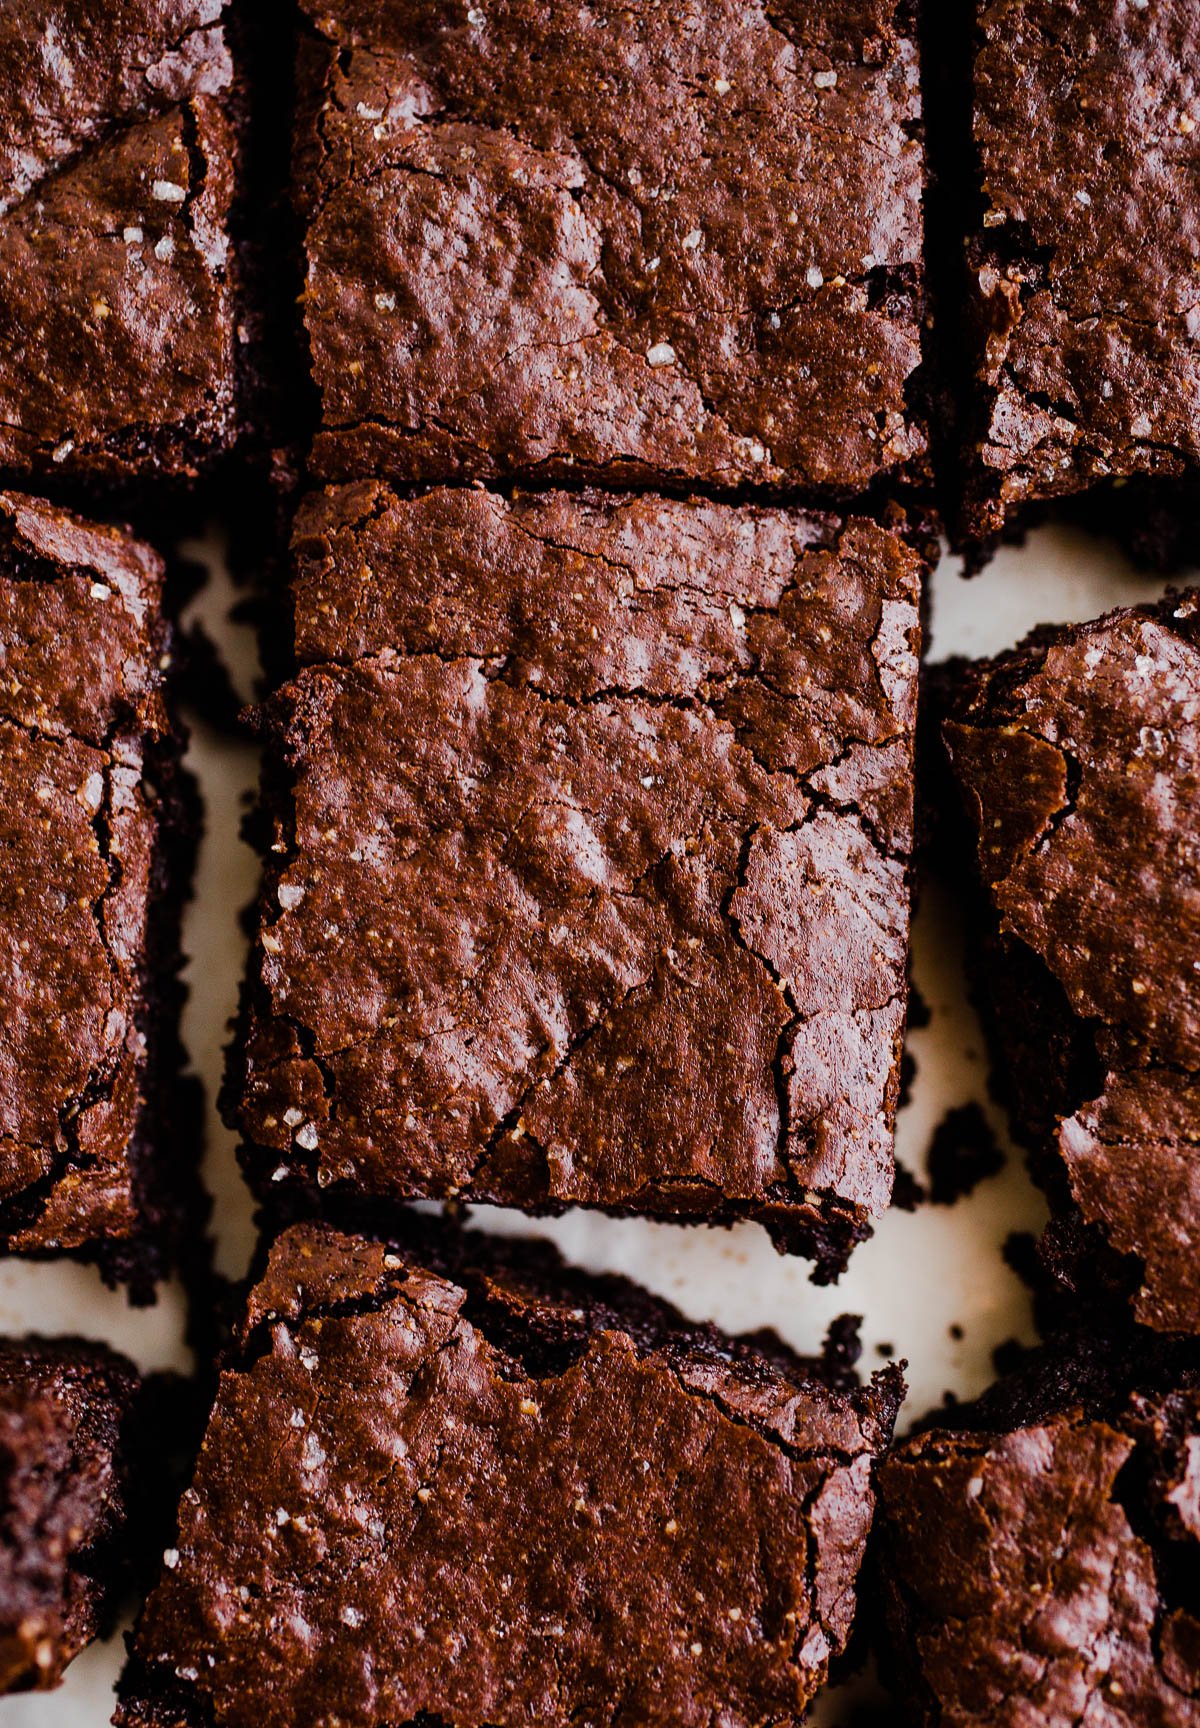
Chocolate lovers take note: If you are gluten-free and miss classic brownies, these might just be the best gluten-free brownies that are also dairy-free.
Jump to:
Why you'll love this recipe
- Simple ingredients
- Easy recipe
- Crispy edges, crackly top, and a fudgy texture
Ingredients and substitutions
Here are a few quick notes about the ingredients in this recipe. You can see a complete list of ingredients and instructions in the recipe card below.
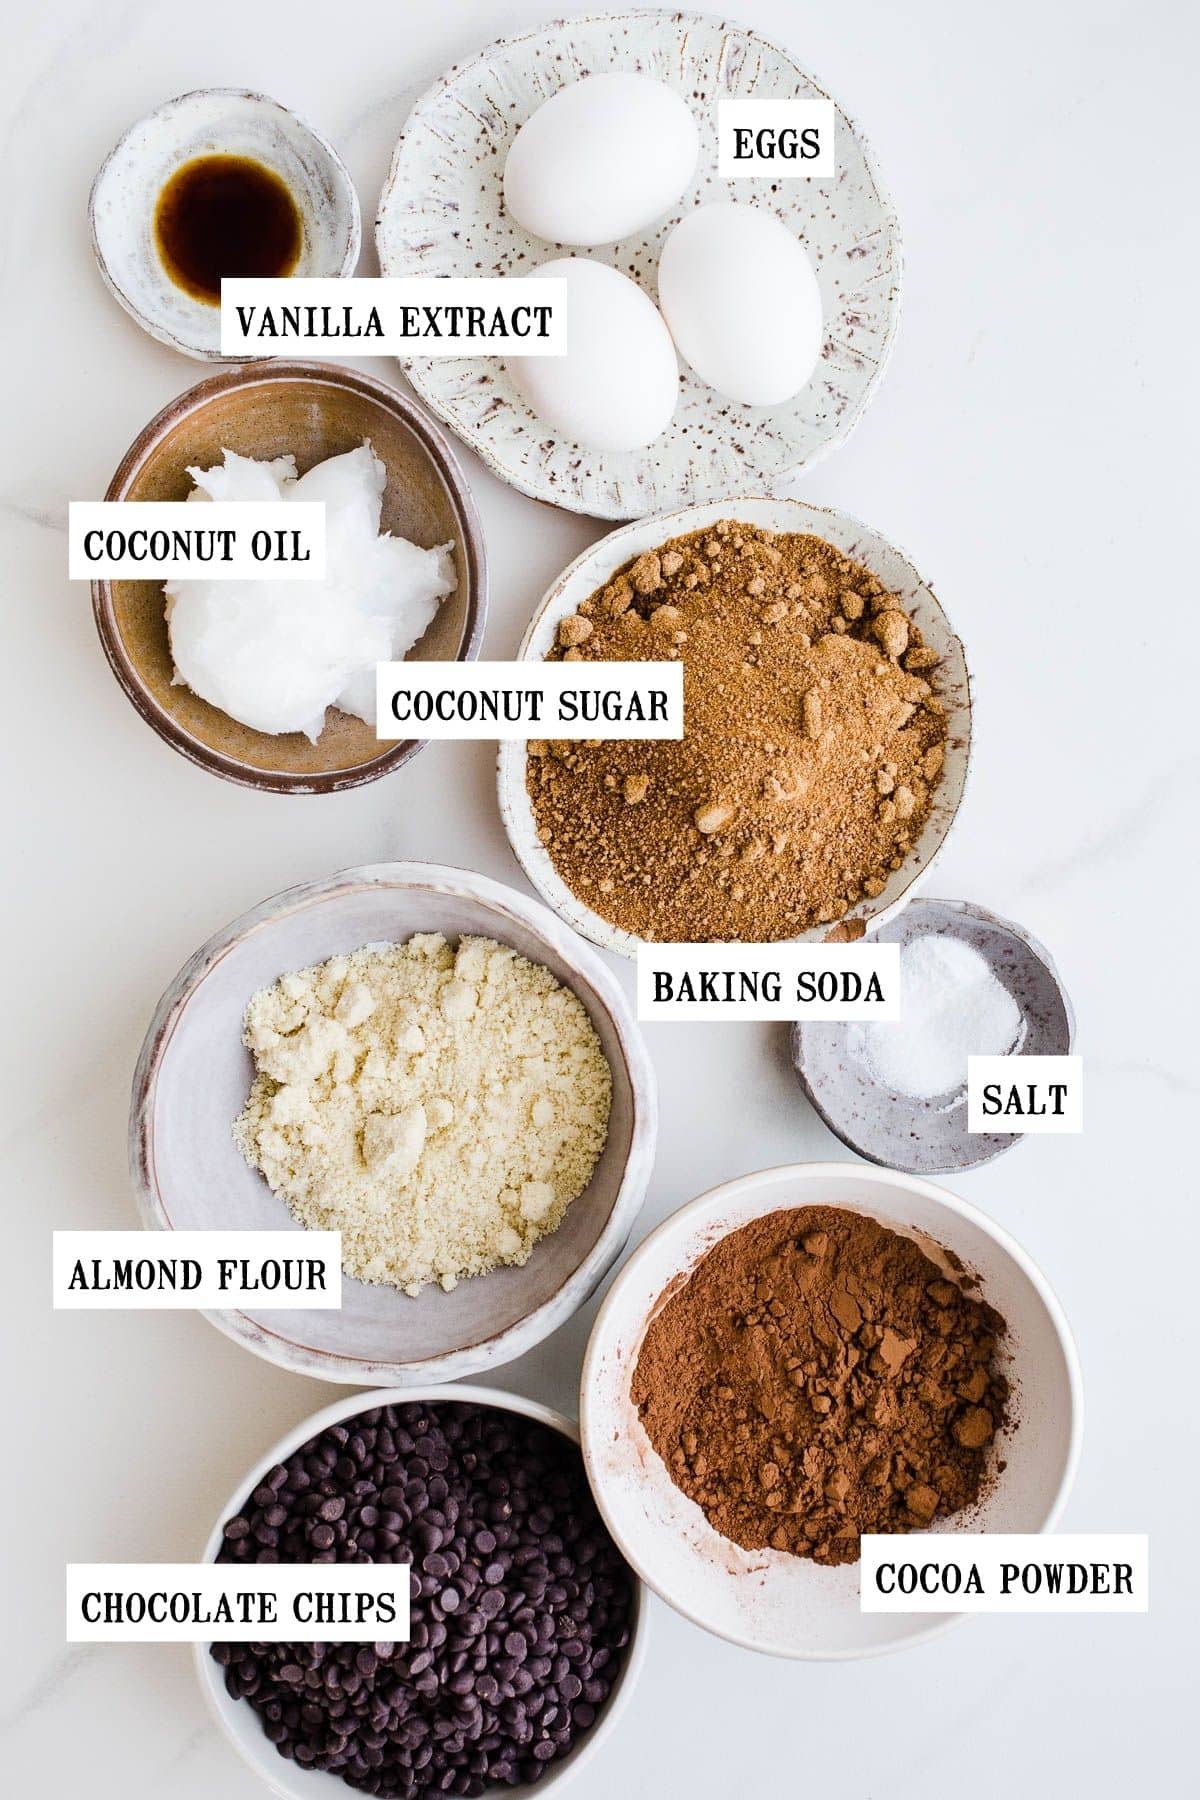
Chocolate chips - Whatever dairy-free chocolate chips or baking bars you have on hand are perfect. I like using EnjoyLife brand. To make this recipe completely refined sugar-free, make sure to choose an option that is sweetened without refined sugar.
Coconut oil - This replaces butter with the perfect dairy-free fat. Use refined coconut oil to avoid a "hint of coconut." Avocado oil is another great neutral dairy-free option.
Eggs - This acts as our binder and leavener and helps make for more fudgy gluten-free brownies. Make sure they are at room temperature for the best results!
The best egg replacer for these almond flour brownies would be almond butter or cashew butter over a flax egg as they will help bind better and create a fudgy texture.
Cocoa powder - Unsweetened cocoa powder (also known as natural cocoa powder) helps reinforce our almond flour and adds a rich chocolate flavor.
Almond flour - This nut flour gives our gluten-free dairy-free brownie recipe a perfect crumb. One of my go-to flours in gluten-free baking. I recommend Bob's Red Mill brand.
Coconut sugar - I love using this in baking as it has a warmth like brown sugar but is less processed than white sugar.
Step-by-step instructions
Before you start: Preheat the oven to 350 degrees Fahrenheit and grease a glass baking pan with coconut oil and then line it with parchment overhanging the sides.
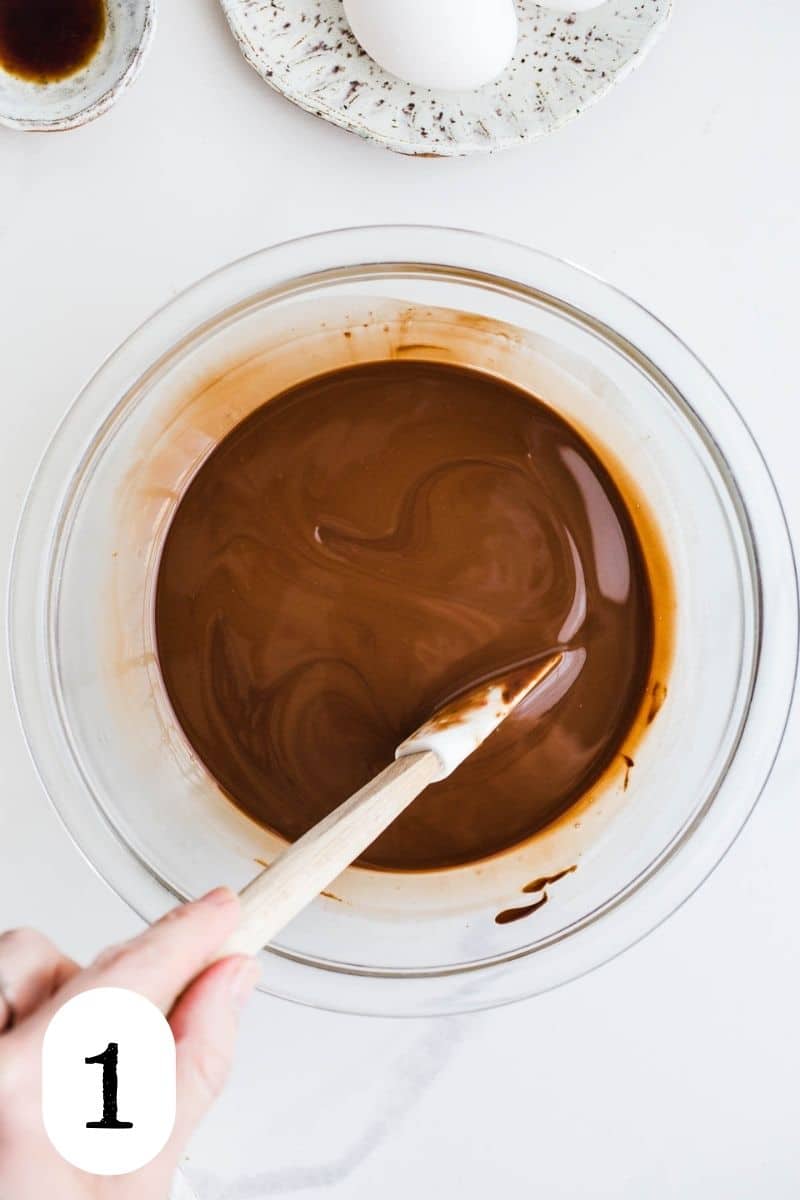
Step 1: Melt the chocolate and coconut oil in the microwave in increments, stirring often. Set aside.
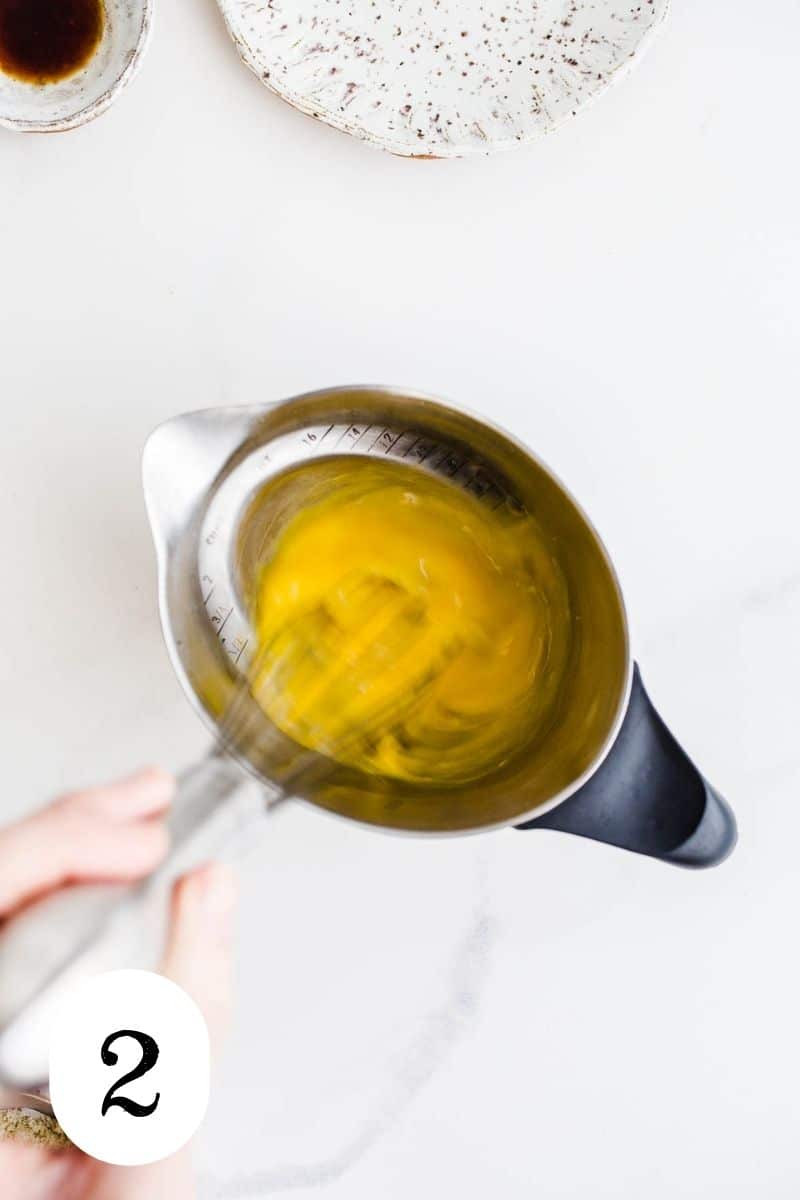
Step 2: In a small bowl or measuring cup, beat eggs.
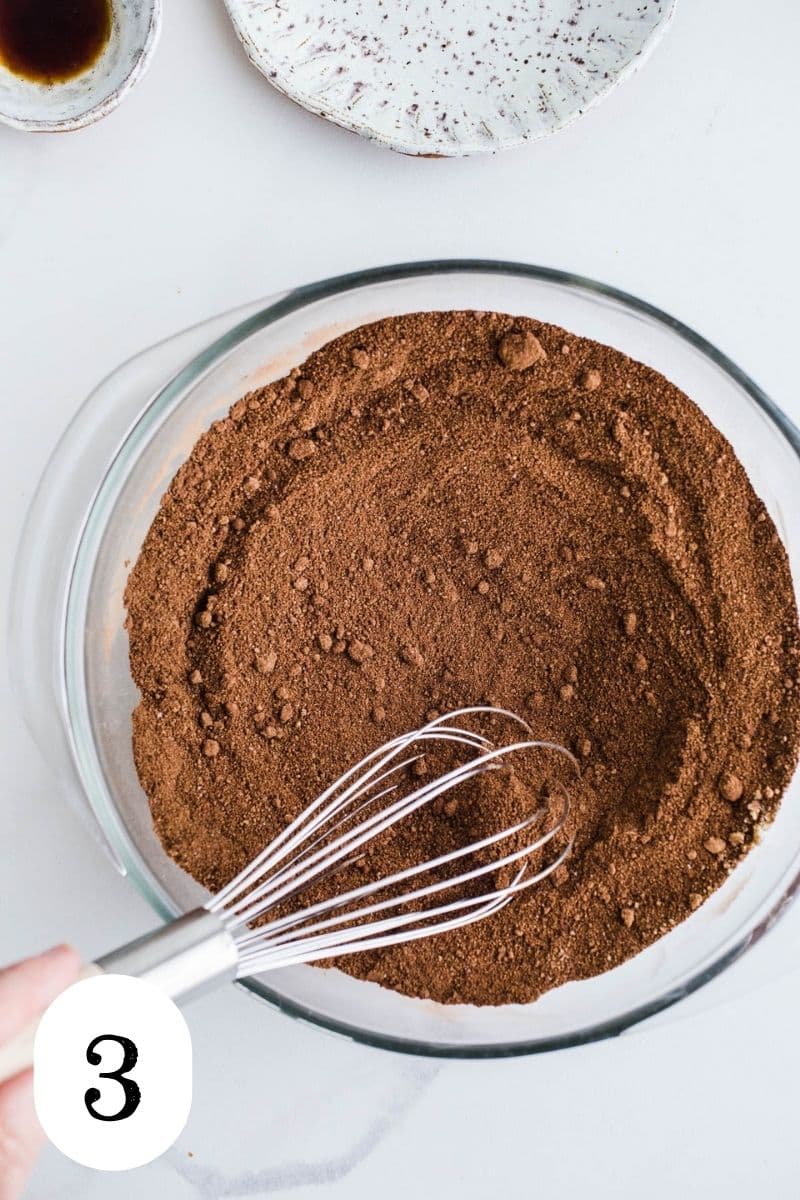
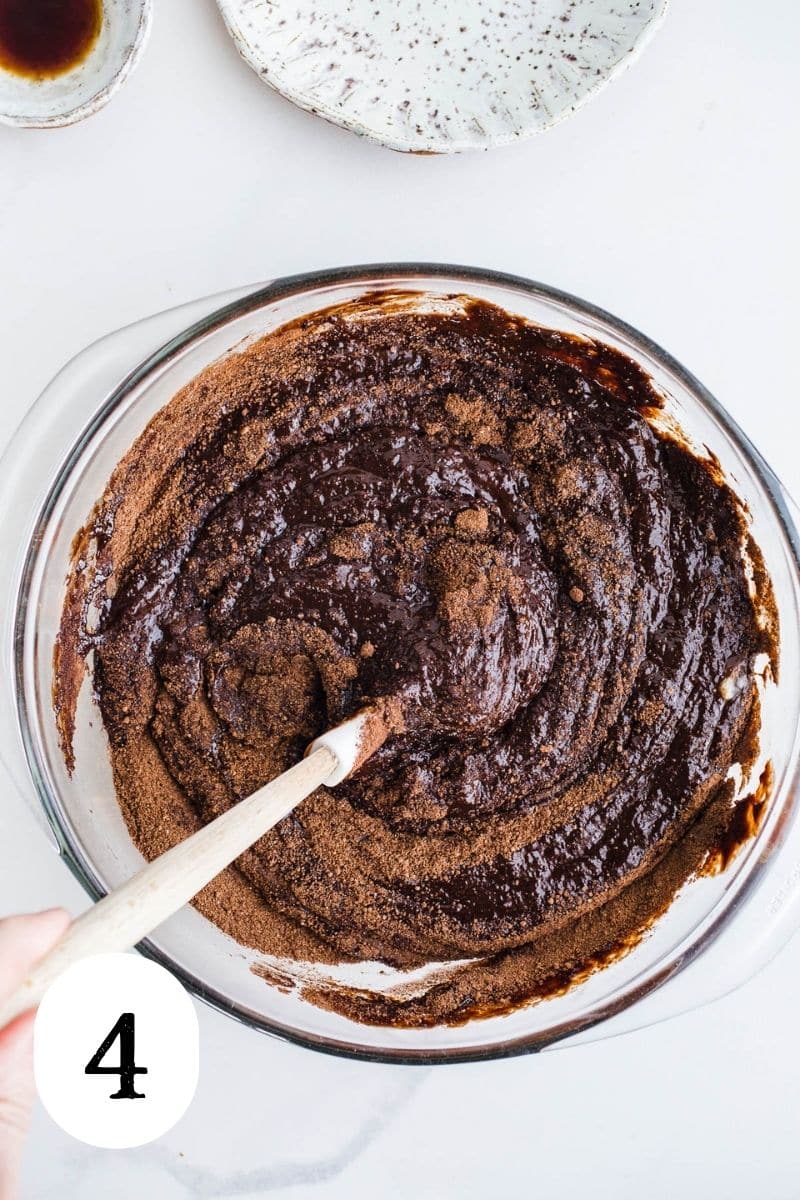
Step 3: Add dry ingredients (coconut sugar, almond flour, cocoa, baking soda, salt) to a large mixing bowl and make a well in the middle.
Add in the wet ingredients (beaten eggs, melted coconut oil-chocolate mixture, and vanilla). Stir well until the batter is smooth.
Step 4: Transfer the batter to the prepared baking dish, sprinkle with sea salt, and bake until a toothpick comes out mostly clean. Allow baked brownies to cool completely in the pan on a wire rack.
Helpful tips
- Allow your eggs to come to room temperature for the smoothest batter.
- Let cool completely before slicing.
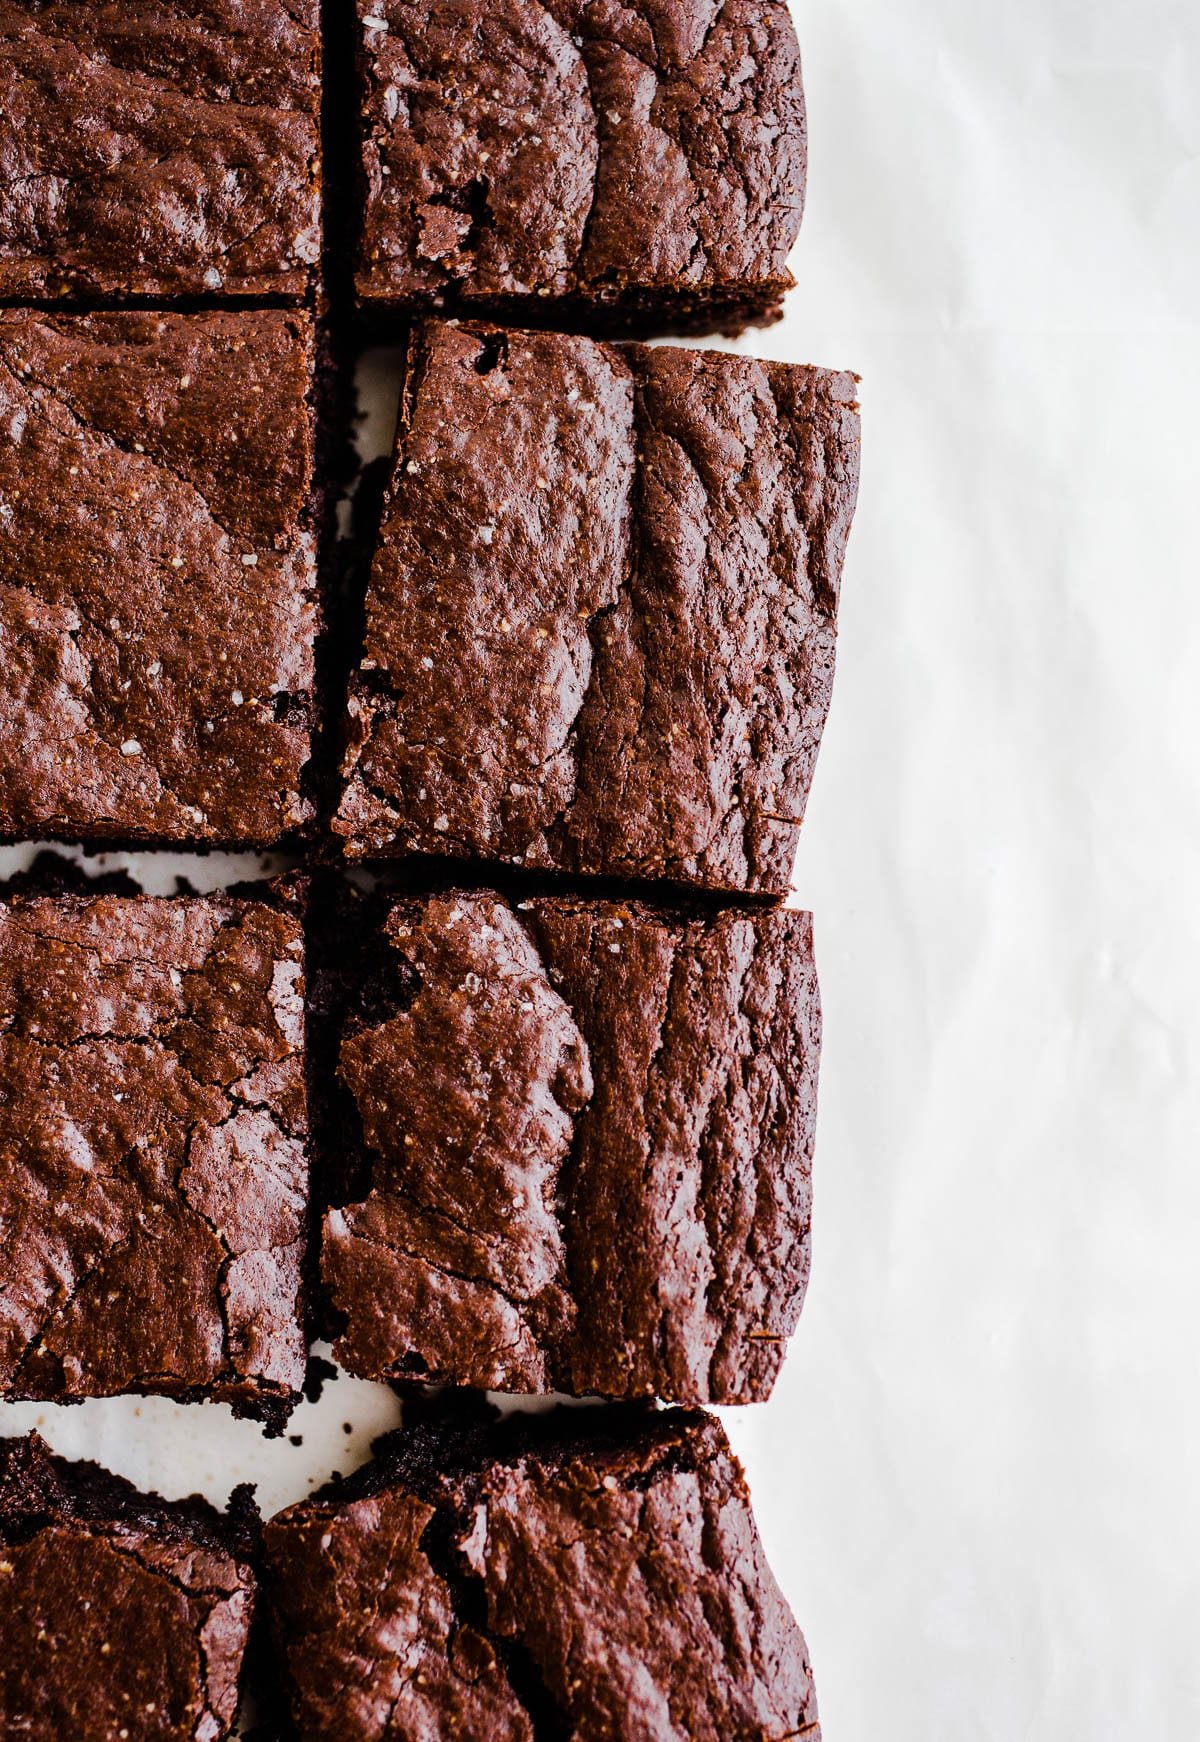
- Lining the pan with parchment allows you to remove the brownies in a single sheet to transfer to a cutting board. Use a warm knife, wiping between cuts, for the cleanest look.
Serving suggestions
If you want to make your perfect brownies even better, here are some serving ideas to elevate your dessert!
Dollop some coconut whipped cream and sprinkle chocolate chips or cacao nibs on top! A scoop of ice cream or sorbet (add some strawberry compote on top for the ultimate treat!)
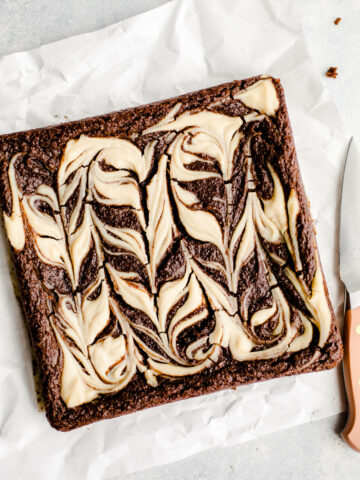
Love peanut butter and chocolate? You must try these peanut butter swirl brownies.
FAQs
If you warm it in hot water, then dry it, then slice it, you will be so pleased! Wipe the knife before every cut. Some people also swear by plastic knives making clean cuts.
Because there are 3 eggs necessary in this recipe, it is difficult to have the same structure and texture, unfortunately. The best substitute for this recipe is to substitute each egg with a ¼ cup of nut butter like almond or cashew.
Yes! White chocolate chips, chopped nuts, mini marshmallows, or chocolate gems are all delicious mix-ins to fold into the batter.
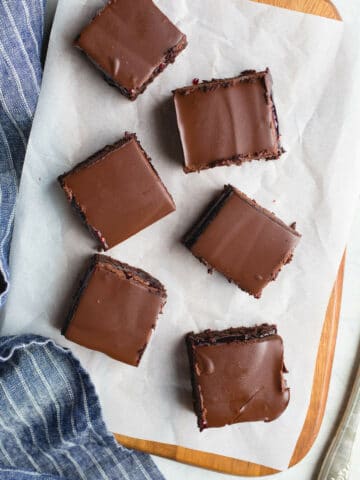
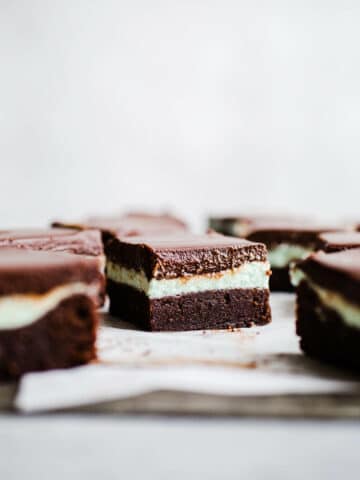
More gluten-free brownie recipes
Love this recipe? Please consider leaving a 5-star 🌟🌟🌟🌟🌟rating on the recipe card below and let me know what you think in the comments!
📖 Recipe
Gluten-Free Brownies (Dairy-Free)
Ingredients
- 8 ounces (1 ½ cups) dairy-free dark or semi-sweet chocolate chocolate chips (or roughly chopped)
- 8 tablespoons coconut oil (choose refined for no coconut flavor)
- 3 eggs room temperature
- ½ cup (50g) unsweetened cocoa powder
- ½ cup (55g) almond flour
- 1 cup (155g) coconut sugar
- ½ teaspoon salt
- ¼ teaspoon baking soda
- 1 teaspoon pure vanilla extract
- sea salt for sprinkling optional
Instructions
- Preheat the oven to the 350 degrees Fahrenheit. Grease a 11 x 7 inch glass baking pan with coconut oil and then cut a length of parchment to line the bottom of the pan, with extra hanging over the sides.
- Melt the chocolate and coconut oil in a microwave safe cup or bowl for 30 second intervals. Stir after each interval. Set aside.
- In a small bowl or measuring cup, beat eggs. In a large bowl, add all dry ingredients and whisk to combine. Make a well in the middle of the dry ingredients and add the eggs, chocolate mixture, and vanilla extract. Stir well until lumps have disappeared and the batter appears smooth and glossy.
- Pour batter into prepared pan, sprinkle with sea salt if using, and bake for 26-29 minutes or until a toothpick comes out mostly clean. Allow brownies to cool completely in pan on a wire rack. For best results, chill brownies in the fridge after they have cooled for an hour, or overnight. (Clean cut tips below)
Notes
- Allow your eggs to come to room temperature for the smoothest batter.
- Lining the pan with parchment allows you to remove the brownies in a single sheet to transfer to a cutting board.
- To make these brownies completely refined sugar-free, make sure to choose an option that is sweetened without refined sugar.
- Let the brownies cool completely before slicing.
- Use a warmed knife and wipe the blade after each cut. A reader also suggested a plastic knife works great as well!
Nutrition



Lori A Adamson
Absolutely delicious!! I added cream cheese chips to my recipe. I’m so delighted to find a gluten-free recipe that tastes so good!!! Thank you!
Tessa
Thank you, Lori!! So glad you enjoyed them! :)
April Elizabeth Scrimshaw
These turned out really great! Easy to make and they taste so good!
Tessa
Thank you, April! :)
Oksana
Hi
I love your recipes! For these brownies do you think I can sub the coconut sugar with a sweetener like erythritol or monk fruit to make them keto?
Tessa
Thank you, Oksana!! My guess is that monk fruit would be a good replacement, although you might want to start off using less of that than the coconut sugar calls for. I'd love to know how it works for you!
Marni setianingsih
Love this recipe. Thank u verymuch
Tessa
Thank you, Marni! I'm so glad!
Megan
Hi how do I find the nutrionion facts on these brownies? I made these and they are fantastic but I need to keep a diary of what I eat. I use the MyFitnessPal app and would love to record these brownies
Tessa
Hi Megan - I am actually in the process of adding nutrition info to all of my recipes. Thanks for your comment - I went ahead and entered the nutrition info for this recipe!
Nicole
Hello, I love this recipe and want to make it to share at work for my birthday. Do you have any recommendations on multiplying the batch and cooking time to make it a sheet brownie? Thank you!
Tessa
Thanks, Nicole! :) I've never doubled the batch before, but I would say if you do and use a sheet pan, that watching the cook time would be most important. I imagine doubling the recipe should work well. I hope you had a great birthday!
Ash
These are amazing. So good.
Serenity
Bittersweet chocolate has refined sugar in it. thus the name bitter sweet!
Otherwise this ooks like a great recipe thanks!
Peggy Liedtke
I wish this had nutrition facts --carbs, fat, sugar grams, protein
Joanne
These brownies are delicious, but they just fall apart. I had to use a spoon to eat them!! I baked them 26 minutes and the toothpick didn't come out clean, so I left them in the remaining 4 minutes. Maybe i overbaked them.
Emilee
I was wondering if it is best to keep them in a container in the fridge after they have been cut or if i can leave them in a container on the counter?
Tessa
Hi Emilee! I keep them in an airtight container on the counter. Usually best within a couple days of making them.