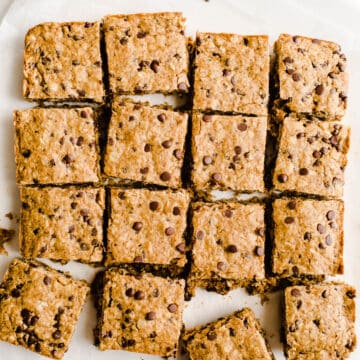
These Oatmeal Chocolate Chip Peanut Butter Bars are made with basic ingredients from the pantry for wholesome, delicious bars. Gluten-free and vegan.
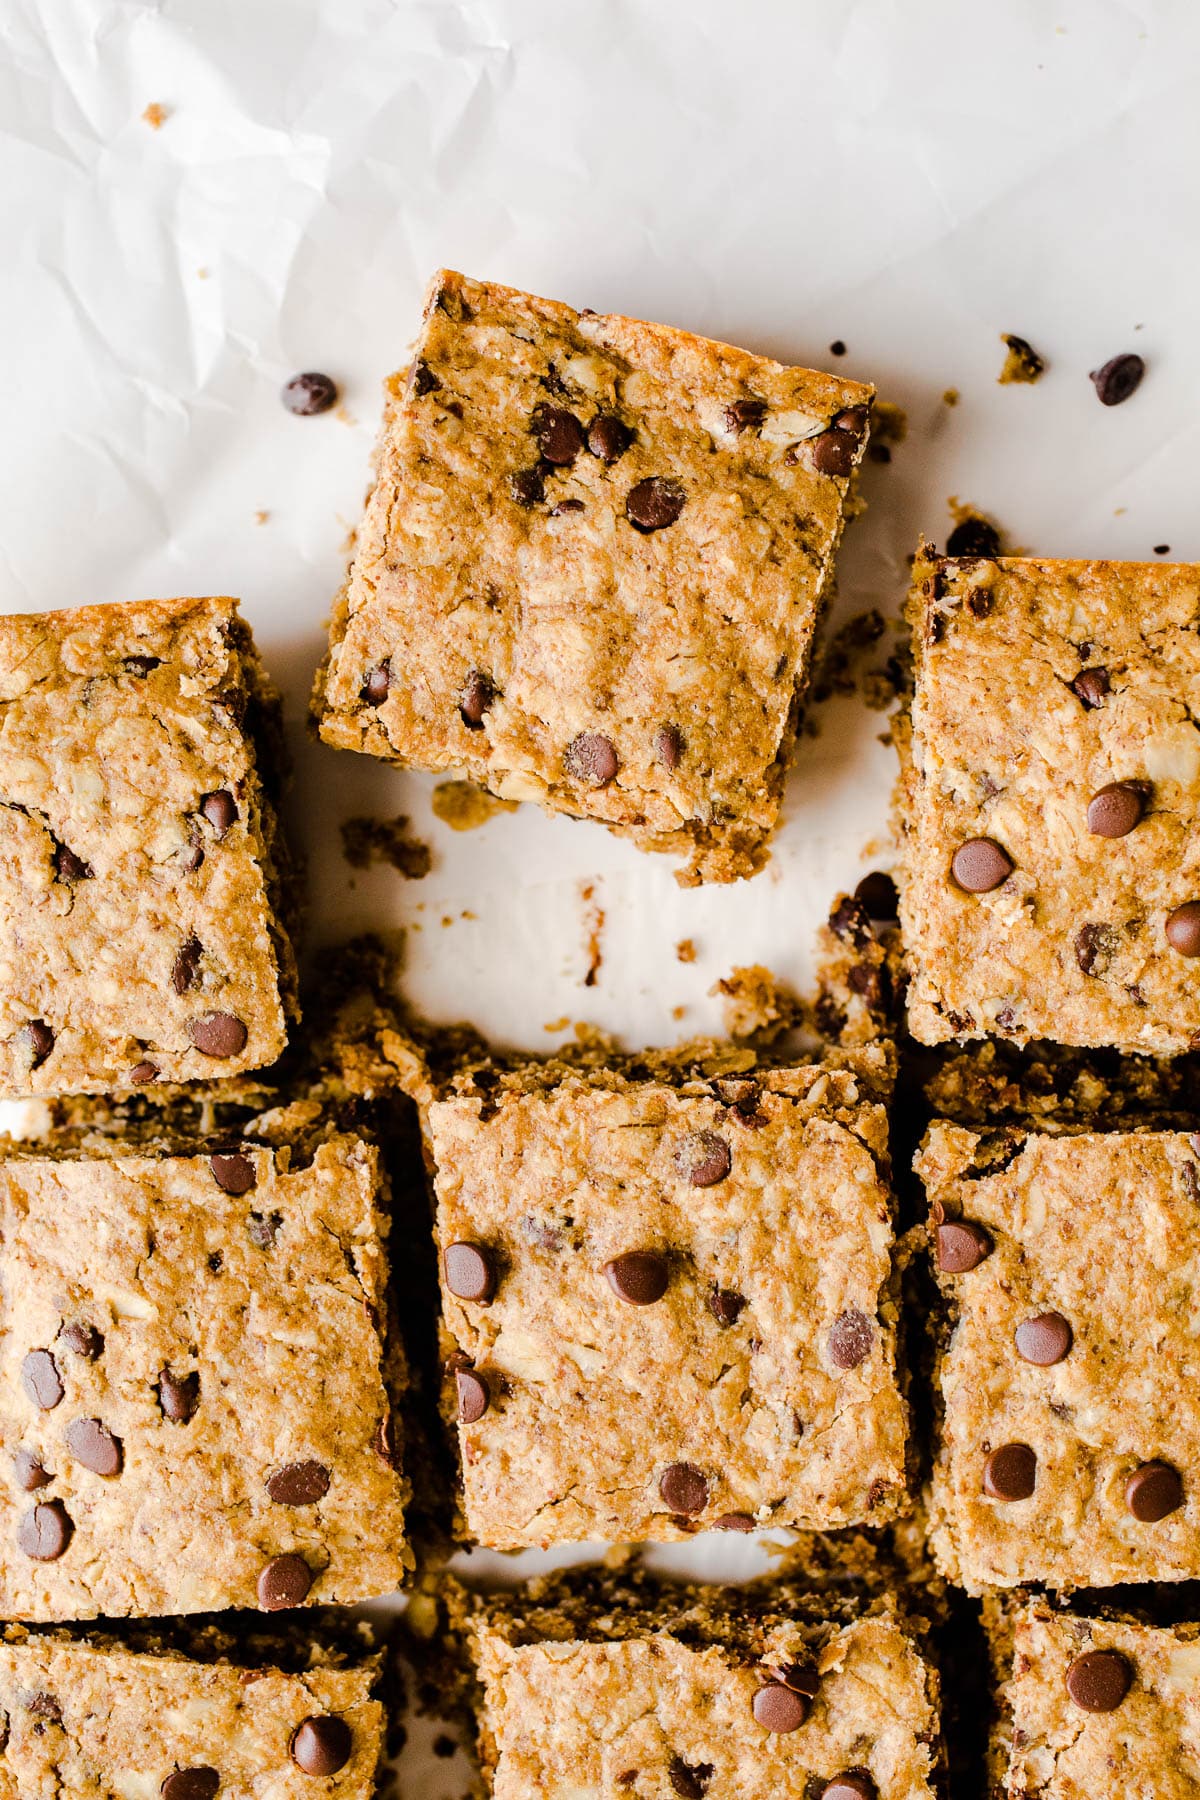
The creamy richness of peanut butter and chewy oatmeal turn the makings of a cookie into bar form.
A mix between cookie bars and granola bars, these chewy oatmeal bars are a delicious treat with your coffee, afternoon sweet tooth, or dessert.
Jump to:
Why you'll love this recipe
- Wholesome ingredients
- Gluten-free and vegan
- Easy dessert recipe
Ingredients and substitutions
Here are a few quick notes about the ingredients in this recipe. You can see a complete list of ingredients and instructions in the recipe card below.
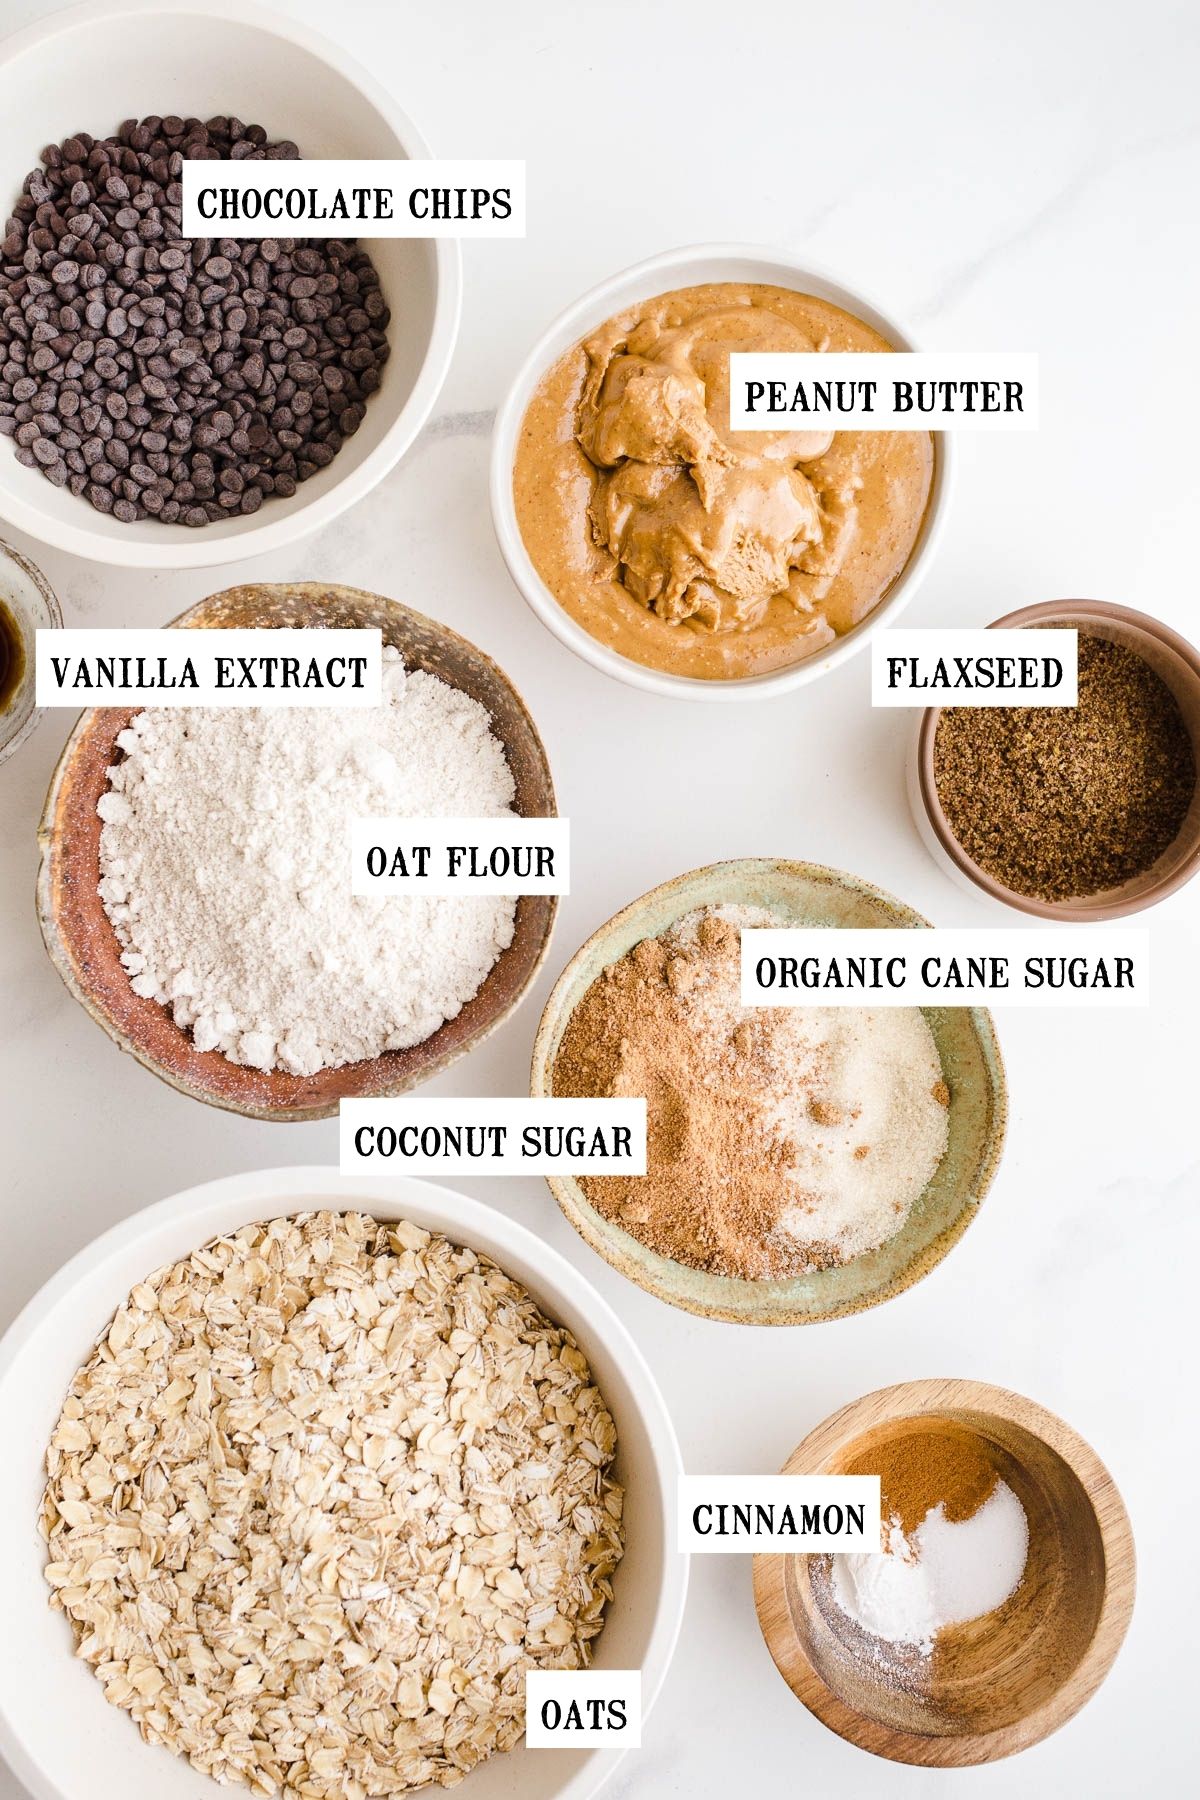
Ground flaxseed - Mixed with water, ground flaxseed forms a "flax egg," gelling to work as a binder for our egg replacer.
Gluten-free oat flour - If you are Celiac or gluten-intolerant, ensure that you are using certified gluten-free oat flour or certified gluten-free oats to make your own homemade oat flour.
Adding fiber, antioxidants, and more protein to the mix, oat flour supplies whole-grain goodness.
Gluten-free oats - As with the oat flour, make sure you choose certified gluten-free oats if needed. Rolled oats (also known as old-fashioned oats) give our bar a great chewy texture.
Avoid quick oats as they can create a gummy texture.
Peanut butter - All-natural is best for this recipe as its simple ingredients don't have any added sugar or oils.
Almond butter or cashew butter can be substituted but will alter the flavor profile.
Organic cane sugar - This vegan-friendly less refined sugar helps sweeten in combination with coconut sugar.
Coconut sugar - In lieu of brown sugar or light brown sugar, this unrefined sweetener adds depth of flavor.
You can always sub in more organic cane sugar in its place. Do note that cane sugar is sweeter than coconut sugar.
Vanilla extract and ground cinnamon - Pure vanilla extract helps round out the sweet flavors.
Dairy-free chocolate chips - Use your favorite vegan chocolate chips for these chocolate oat bars, mini or regular!
You could even throw some white chocolate chips in there as well.
Step-by-step ingredients
Before you start: Preheat the oven to 350 degrees Fahrenheit. Grease a 9x9 inch pan with coconut oil and line with parchment paper. Prepare your flax eggs and set aside.
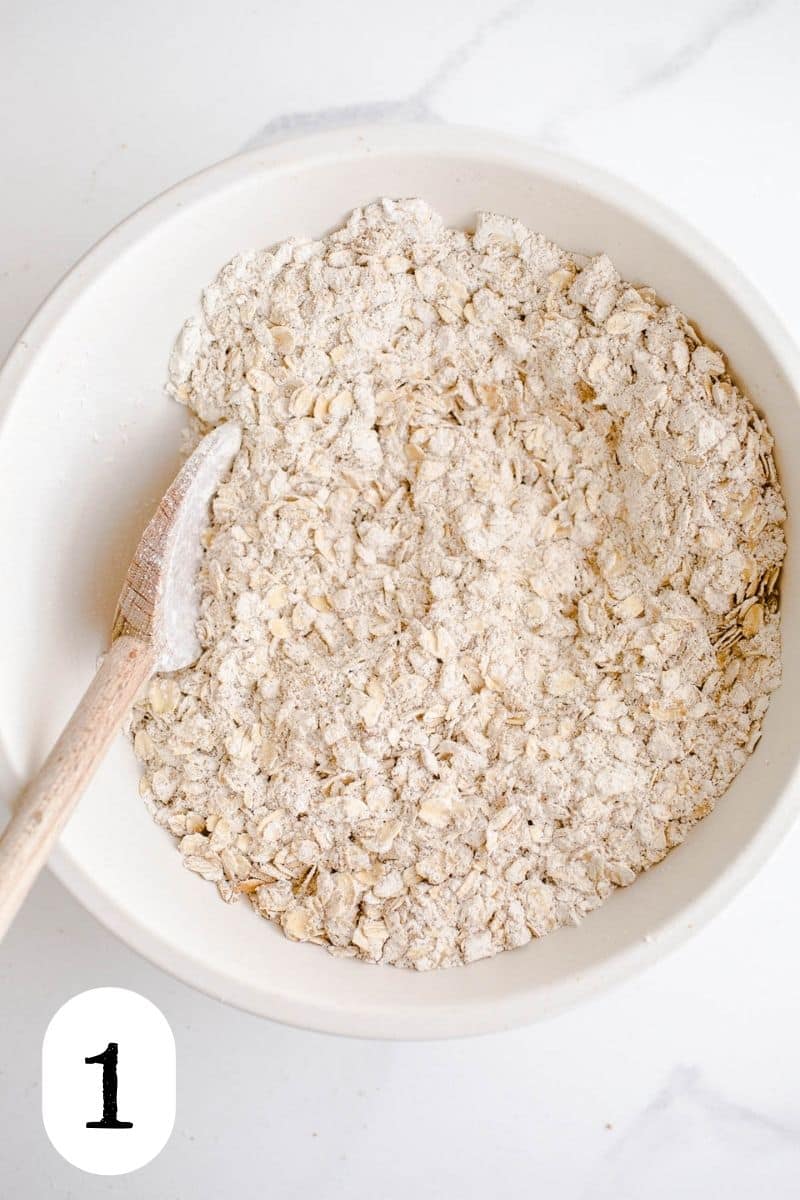
Step 1: In a medium bowl, combine oat flour, baking powder, and salt.
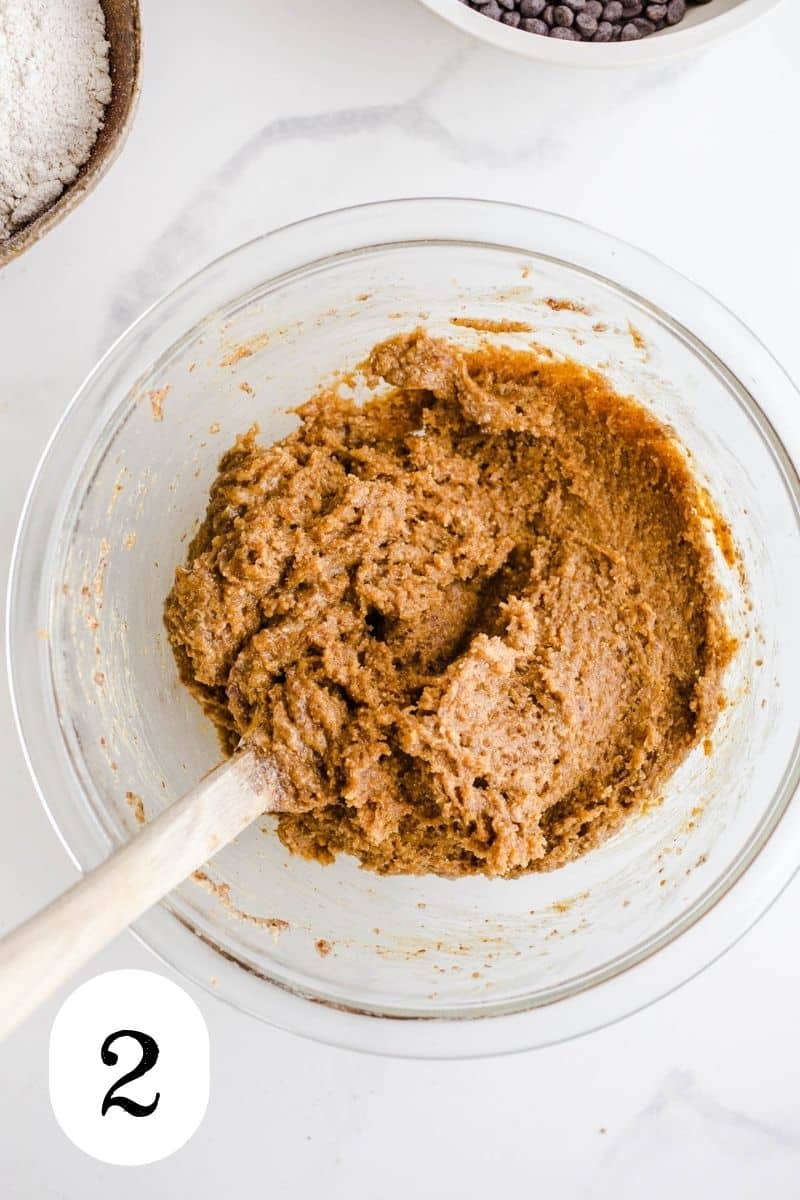
Step 2: In a large mixing bowl, cream peanut butter, cane sugar, and coconut sugar together with an electric mixer until light and fluffy. Mix in flax eggs, and almond milk followed by vanilla extract.
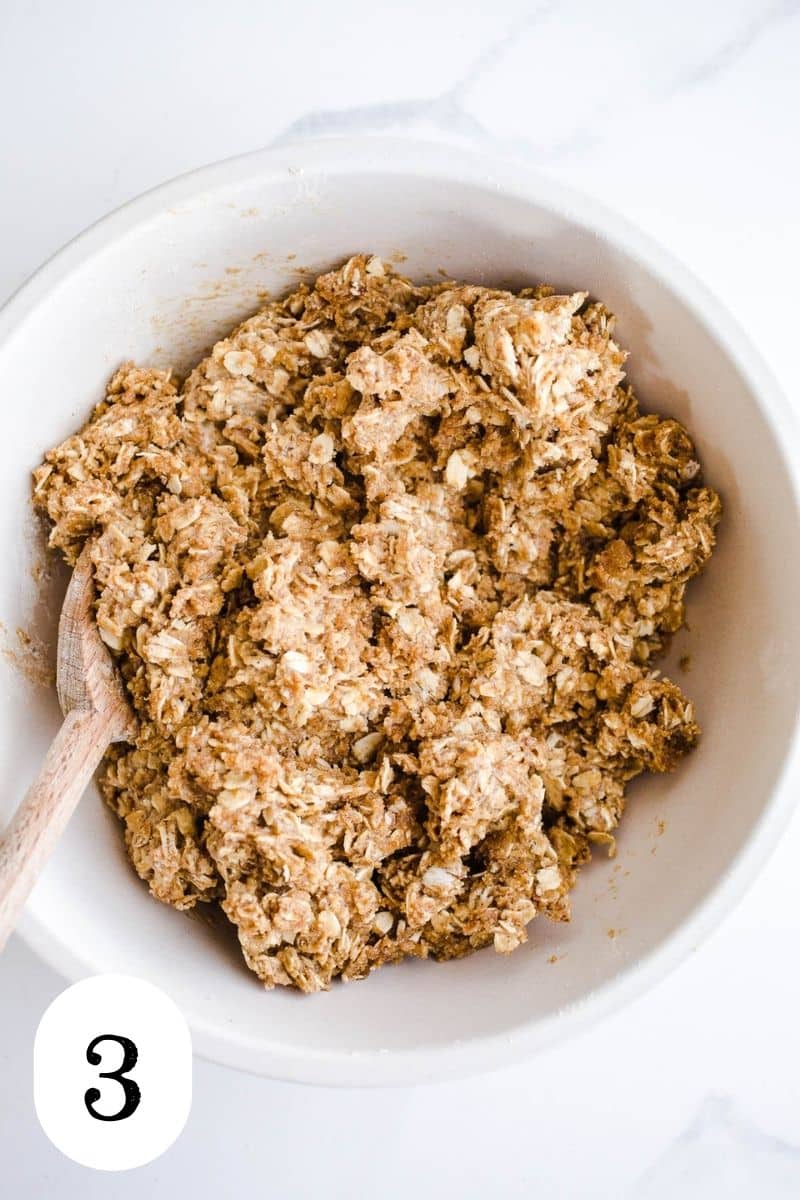
Step 3: Stir in the dry ingredients with the pb mixture. Mix until combined (use your hands if needed). Fold in the chocolate chips.
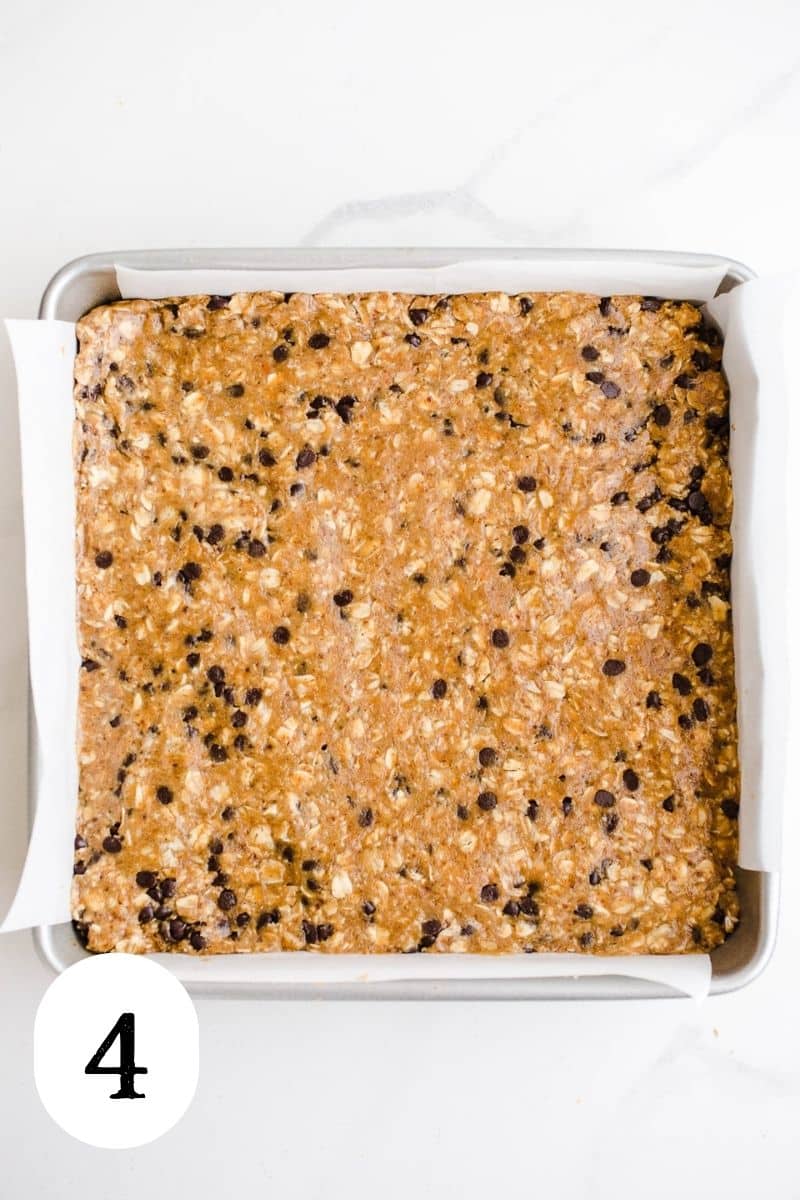
Step 4: Press the batter into the prepared baking pan. Use an extra piece of parchment paper to press and pack into an even layer.
Bake bars for 25-28 minutes until a toothpick comes out clean. The top should start turning a golden brown.
Tips
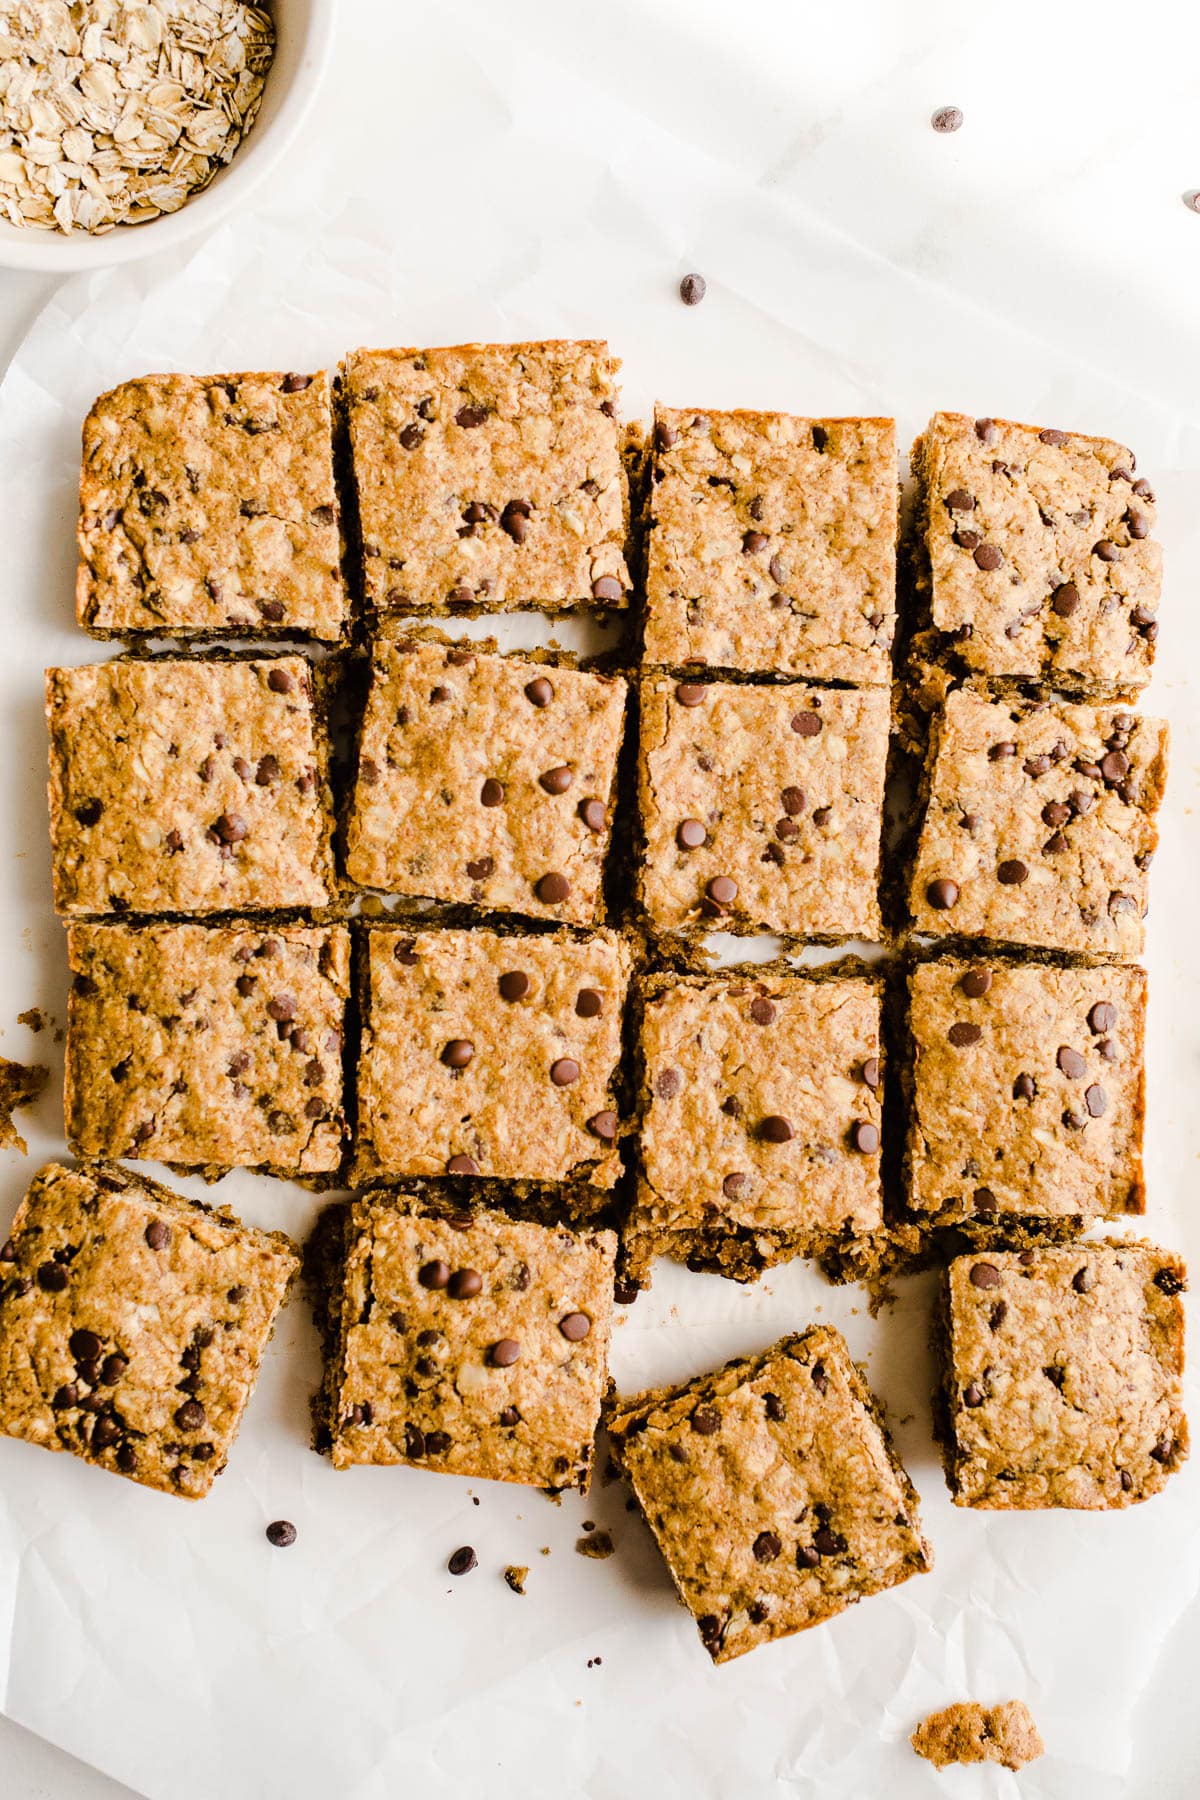
- For best results, allow bars to cool completely to room temperature before removing them from the pan and slicing.
- Feel free to press in extra chocolate chips on top of the bars before baking or sprinkle flaky sea salt.
- Do not overbake bars as they will become crumbly.
- Add your favorite mix-in's with the chocolate chips like chopped nuts, seeds, or dried fruit!
Storage
Store these oatmeal peanut butter bars in an airtight container at room temperature for 2-3 days. You can also wrap them individually in plastic wrap for on-the-go snacks.
They can be stored in the refrigerator for 4-5 days.
FAQs
If in a glass jar, remove the lid and microwave the jar of peanut butter in short intervals, around 10-15 seconds at a time. Be cautious not to overheat it, as the jar can become hot and may become too runny. Stir between intervals to distribute the heat evenly.
No, rolled oats and quick oats are not the same, although they both come from the same source-oat groats. Rolled oats are made by steaming oat groats and then flattening them with large rollers. Quick oats, or instant oats, undergo additional processing steps. They are pre-cooked, then rolled into thinner flakes.
Yes! In place of eggs, ground flaxseed is used and there are no dairy or animal ingredients.
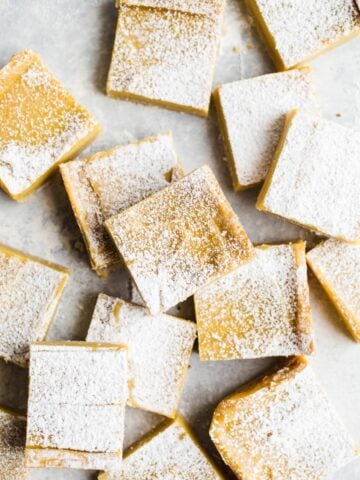
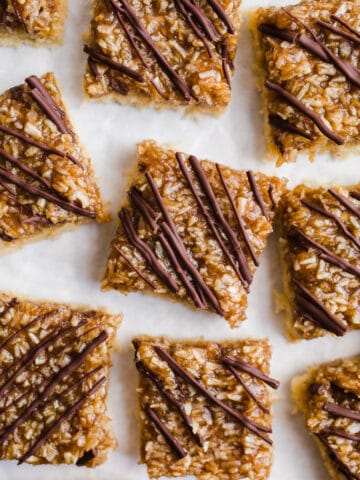
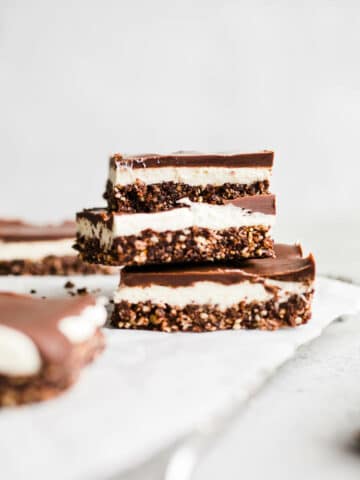
More gluten-free bars
Love this recipe? Please consider leaving a 5-star 🌟🌟🌟🌟🌟rating on the recipe card below and let me know what you think in the comments!
📖 Recipe
Oatmeal Chocolate Chip Peanut Butter Bars
Ingredients
- 2 flax eggs 2 tablespoons ground flaxseed + 8 tablespoons water
- 1½ cups (150g) gluten-free oat flour*
- 1 teaspoon baking powder
- ½ teaspoon salt
- ¼ teaspoon ground cinnamon
- 3 cups (270g) gluten-free oats
- 1 cup (280g) all-natural peanut butter room temperature, well stirred
- ½ cup (125g) organic cane sugar
- ½ cup (40g) coconut sugar
- ½ cup (4oz) unsweetened almond milk or other non-dairy milk
- 2 teaspoons pure vanilla extract
- 1 cup (175g) dairy-free chocolate chips I use Enjoy Life brand
- sea salt for sprinkling
Instructions
- Preheat the oven to 350 degrees Fahrenheit. Grease a 9x9 baking pan and line with parchment paper. Prepare your flax eggs and set aside.
- In a medium bowl, combine oat flour, baking powder, salt, cinnamon, and oats. In a large bowl, cream peanut butter, cane sugar, and coconut sugar together with a hand mixer. Mix in flax eggs, followed by almond milk and vanilla extract.
- Add in the dry ingredients to the peanut butter mixture. Mix by hand until combined (I find it easier to mix with my hands). Fold in the chocolate chips.
- Transfer batter into prepared pan. Use an extra piece of parchment paper to press it into an even layer. Be sure corners are filled. Sprinkle a little bit of sea salt on top. Bake for 25-28 minutes or until a toothpick comes out clean.
- Allow bars to cool completely in the pan on a wire rack. Once cool, transfer from pan to a cutting board. Use a sharp knife to cut into bars. Store in an airtight container.
heidi
hi Tessa,
im looking for a similar recipe that you used to have up. it was a regular chocolate chip cookie bar made with oat flour, no peanut butter. I loved it but unfortunately never wrote it down. do you have it on hand? it was listed gf vegan too
Tessa
Hi Heidi! I updated that recipe to the one you see here. But, I still have the recipe written down. If you want to email me at tessa@saltedplains.com, I can email you the original version!
LinP
Just made these but haven't tried them. I probably shouldve read the comments. There's one comment that asks about coconut oil but I don't see that in the ingredient list. Did I just make these incorrectly?
Tessa
Hi! You didn't make them incorrectly - the recipe was updated to include peanut butter instead of coconut oil. I've made a note in the recipe to clarify. Thank you!
G
I'm fine with eggs here... how many would you say to use in place of the egg replacement?
Grace
These look great!
Could you substitute oat flour for coconut flour?
Tessa
Thank you, Grace! Unfortunately, coconut flour requires additional liquid since it is such an absorbent flour. So, I don't think it would be a workable substitution for the oat flour in these bars. I haven't tried it, but if needed, you probably could sub about 1/2-3/4 cup of almond flour for the oat flour.
Alyssa Cho
These are great -- I am officially inspired to bring some cookie bars to a potluck next week. Thank you!
Tessa
Fantastic! Thank you so much! I hope they are a success for the potluck too. Happy weekend!
Mary Ann | The Beach House Kitchen
Don't you love when things work out that way Tessa?! These look delicious!
Tessa
Absolutely! Makes them taste even better too! ;)
Kim Brown
These are so yummy!
Tessa
So glad you liked them! <3
Kelsey @ Appeasing a Food Geek
These look delicious Tessa! I love when happy accidents happen in the kitchen. It makes the result that much more delicious! xoxo
Tessa
It really does make it that much more satisfying! Thanks, Kelsey! xoxo
Ashlea Christopher
So amazing! I loved every bite of this dessert!!!
Tessa
Yay! So glad you enjoyed them!!
Rosie
Wow, these sound great. What a clever idea! And your images are so sharp and clear... whenever I edit my images and then export them they come out even blurrier than before! Any tips?
Tessa
Thanks, Rosie! It may be in how you are exporting your images. I export them at twice the size of my column. So, for example, if your photos are usually 500 pixels wide, export them to be 1000 pixels wide. Hope that helps!