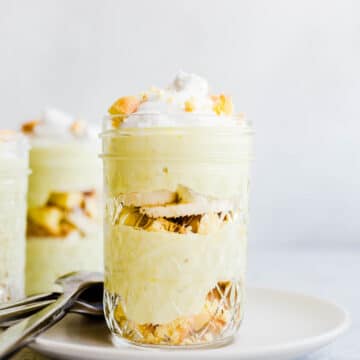
Make your own Dairy Free Banana Pudding recipe in jars from scratch! A fun layered no-bake dessert that uses gluten-free vanilla wafers and homemade dairy-free pudding. Perfect gluten-free self-serve treats!
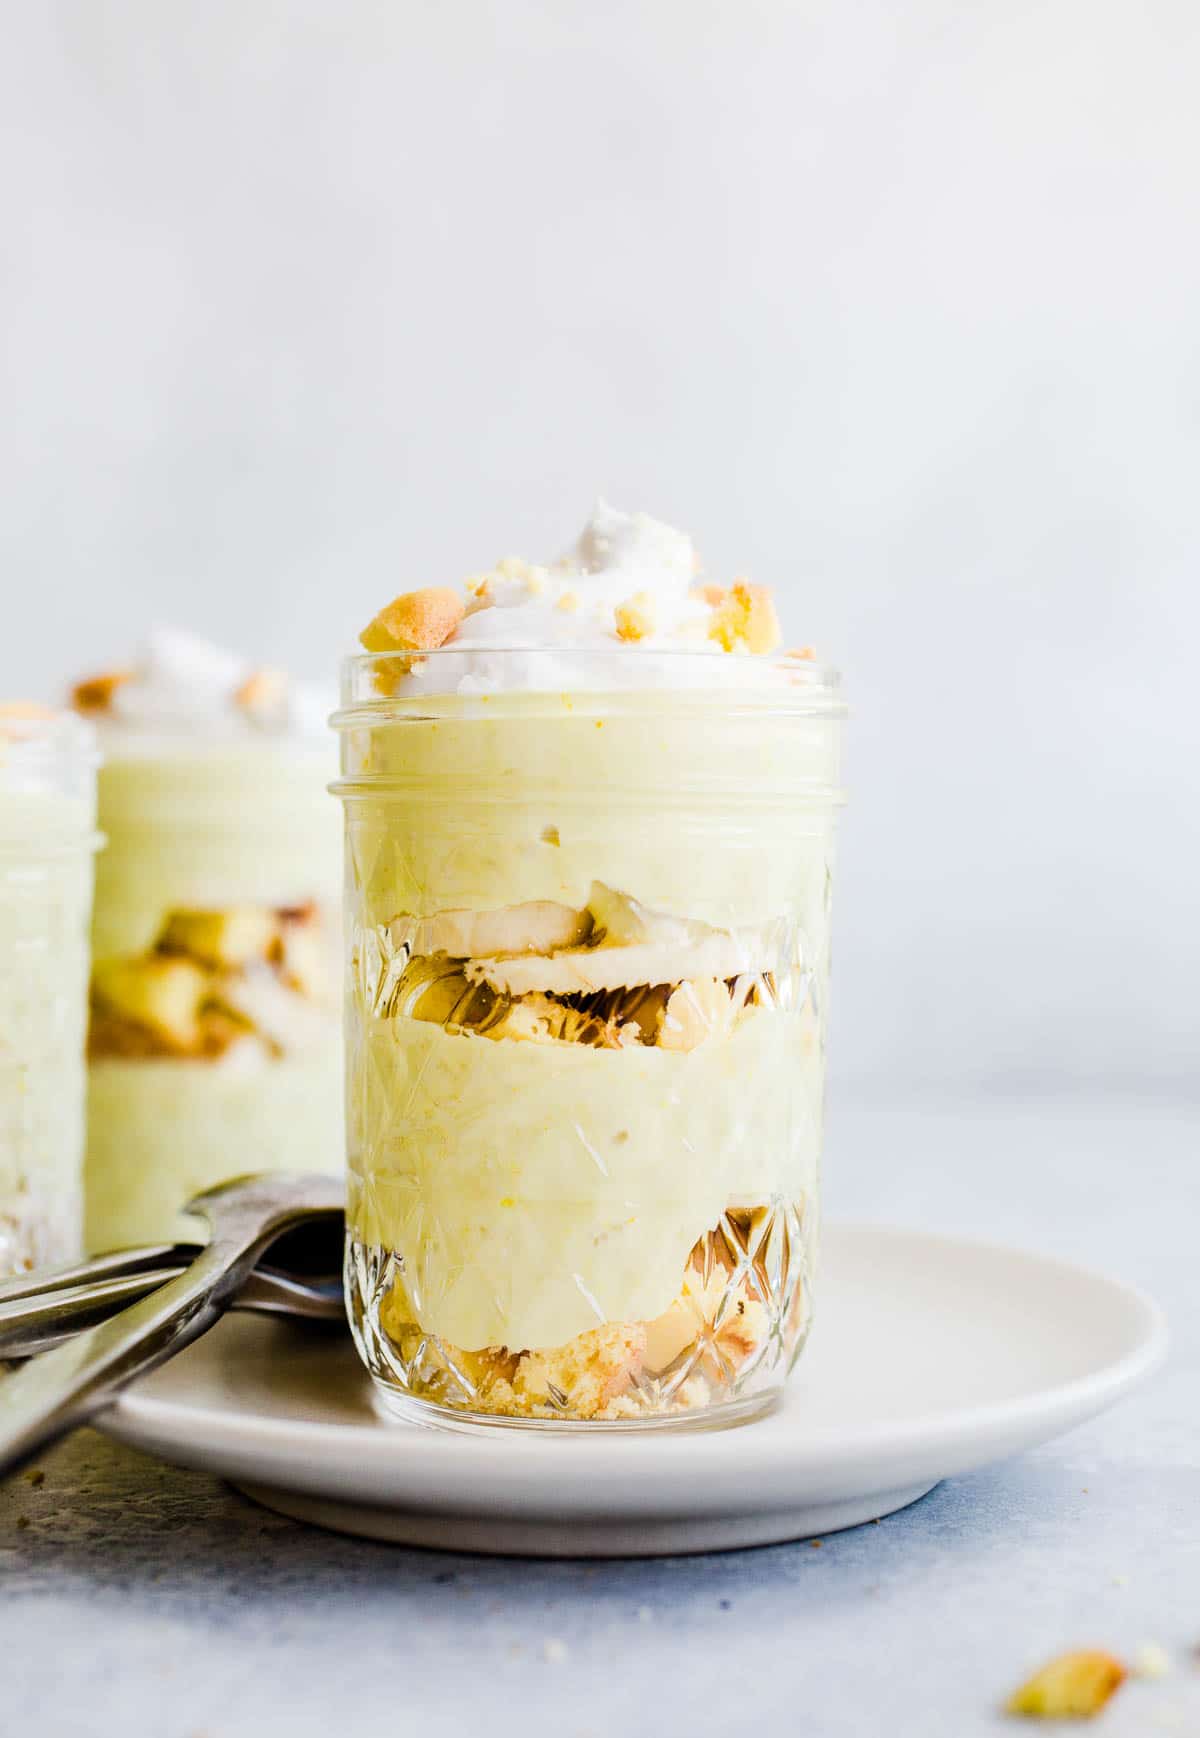
Banana pudding is much more than humble pudding. It's become well-known as a layered Southern dessert. Pudding, vanilla wafers, and slices of fresh banana round out this no bake recipe.
Traditional banana pudding uses dairy and wafers that contain gluten and is often made in a trifle or casserole dish. This dairy-free version uses simple vegan pudding ingredients, vegan whipped cream, and gluten free vanilla wafers and is served in individual cups.
Jump to:
Why you'll love this recipe
- Simple ingredients
- Vegan version of Southern banana pudding
- Delicious banana flavor
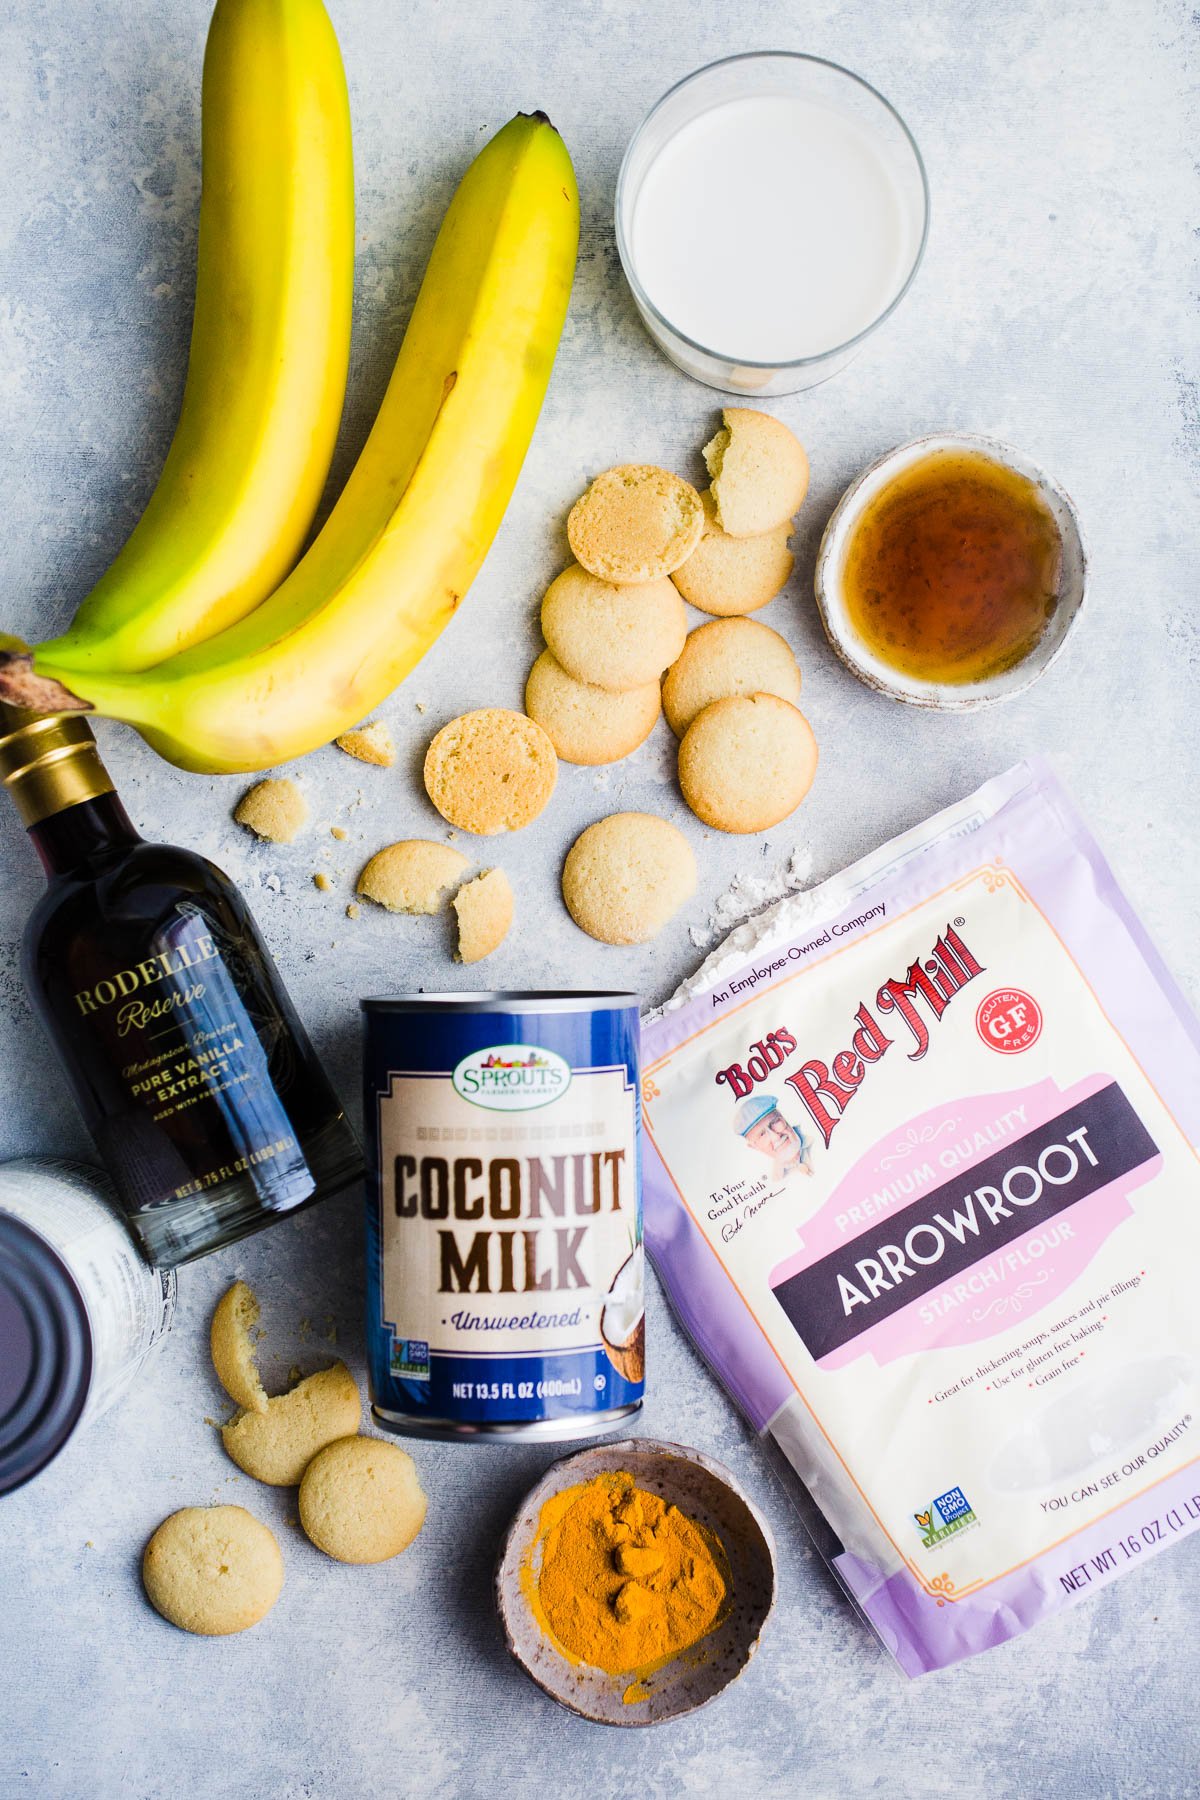
Ingredients and substitutions
Here are a few quick notes about the ingredients in this recipe. You can see a complete list of ingredients and instructions in the recipe card below.
Bananas - This vegan banana recipe uses real bananas. You'll need two large bananas.
Coconut milk - Full-fat coconut milk makes the vanilla pudding rich and creamy. It also serves as the base of the whipped coconut cream.
Arrowroot starch - This simple ingredient thickens the mixture without the need for egg yolks. Corn starch can be substituted.
Vanilla wafers - You can buy this old-fashioned cookie gluten-free and vegan! Homefree makes gluten-free vegan vanilla wafers. Kinnikinnick vanilla wafers are gluten-free and dairy-free, but not vegan.
Turmeric - Did you know many banana pudding recipes use vanilla-flavored pudding? Use a pinch or two of this bright spice to add that classic yellow pudding color.
Tessa's Tip: To make four 8-ounce vegan banana pudding jars, you'll need just 8 major ingredients, a saucepan, and two glass mixing bowls. and mason jars or jelly jars.
Step-by-step instructions
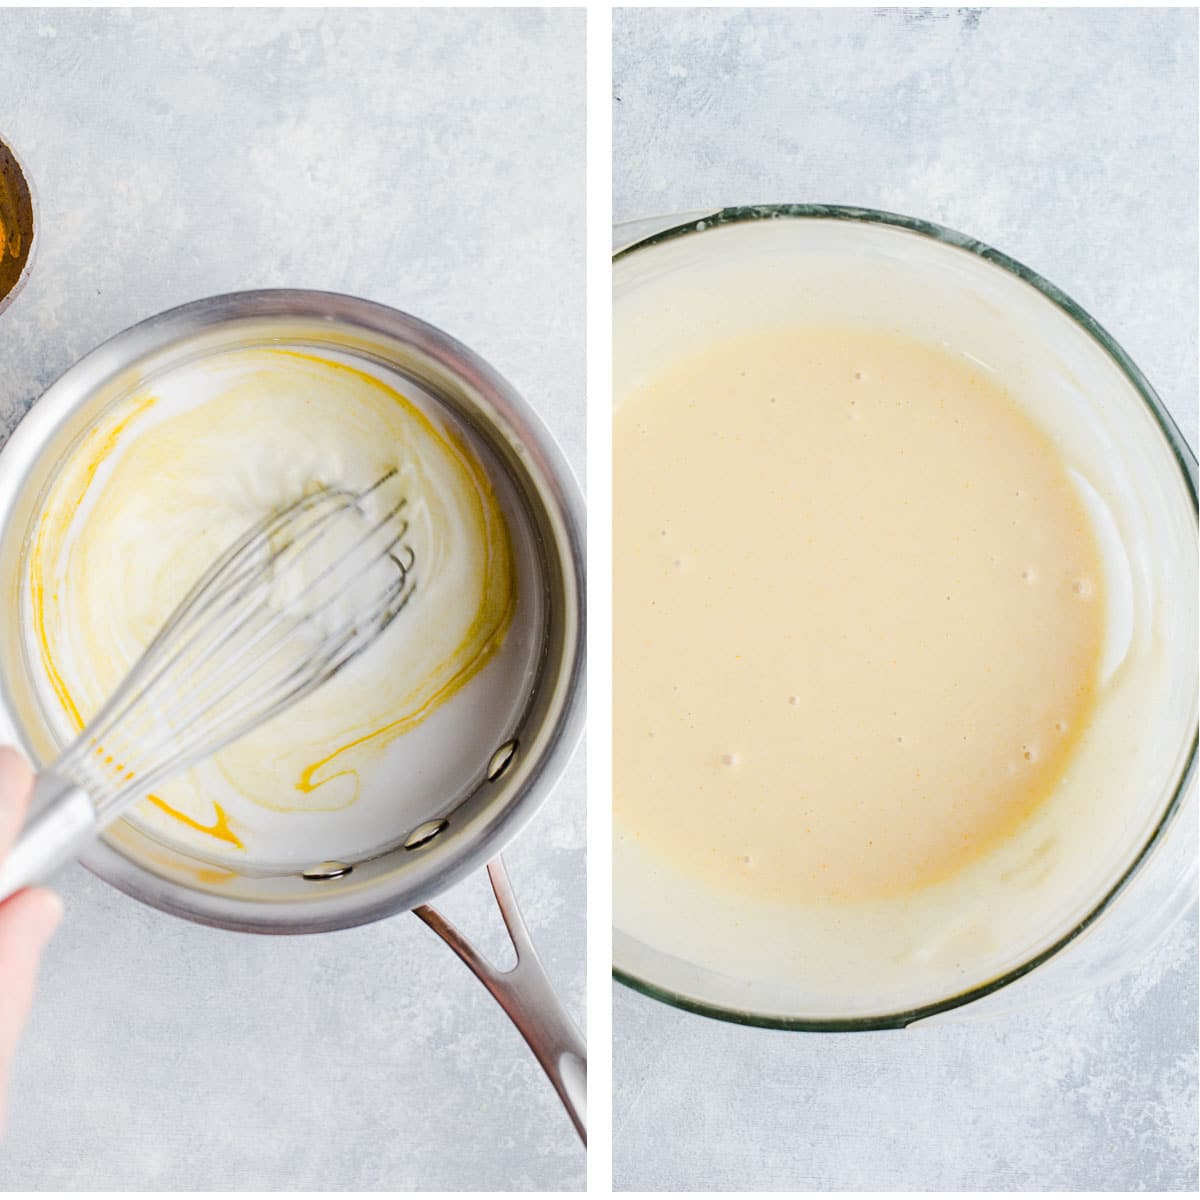
Step 1: Whisk the coconut milk and almond milk in an unheated medium saucepan with the arrowroot starch. Place over medium heat and whisk in salt and turmeric.
Step 2: Remove mixture from heat and whisk in vanilla extract. Transfer the mixture to a glass mixing bowl. Press a piece of plastic wrap on the surface of the pudding to seal it and prevent a layer of film. Refrigerate for two hours.
Step 3: Scoop white solid from 1 can of chilled coconut milk into a medium mixing bowl. Beat with an electric mixer until it becomes a whipped, fluffier consistency.
Step 4: Add maple syrup and vanilla extract and beat until combined. Transfer the bowl of coconut whipped cream to the refrigerator to chill until ready to assemble the banana pudding cups.
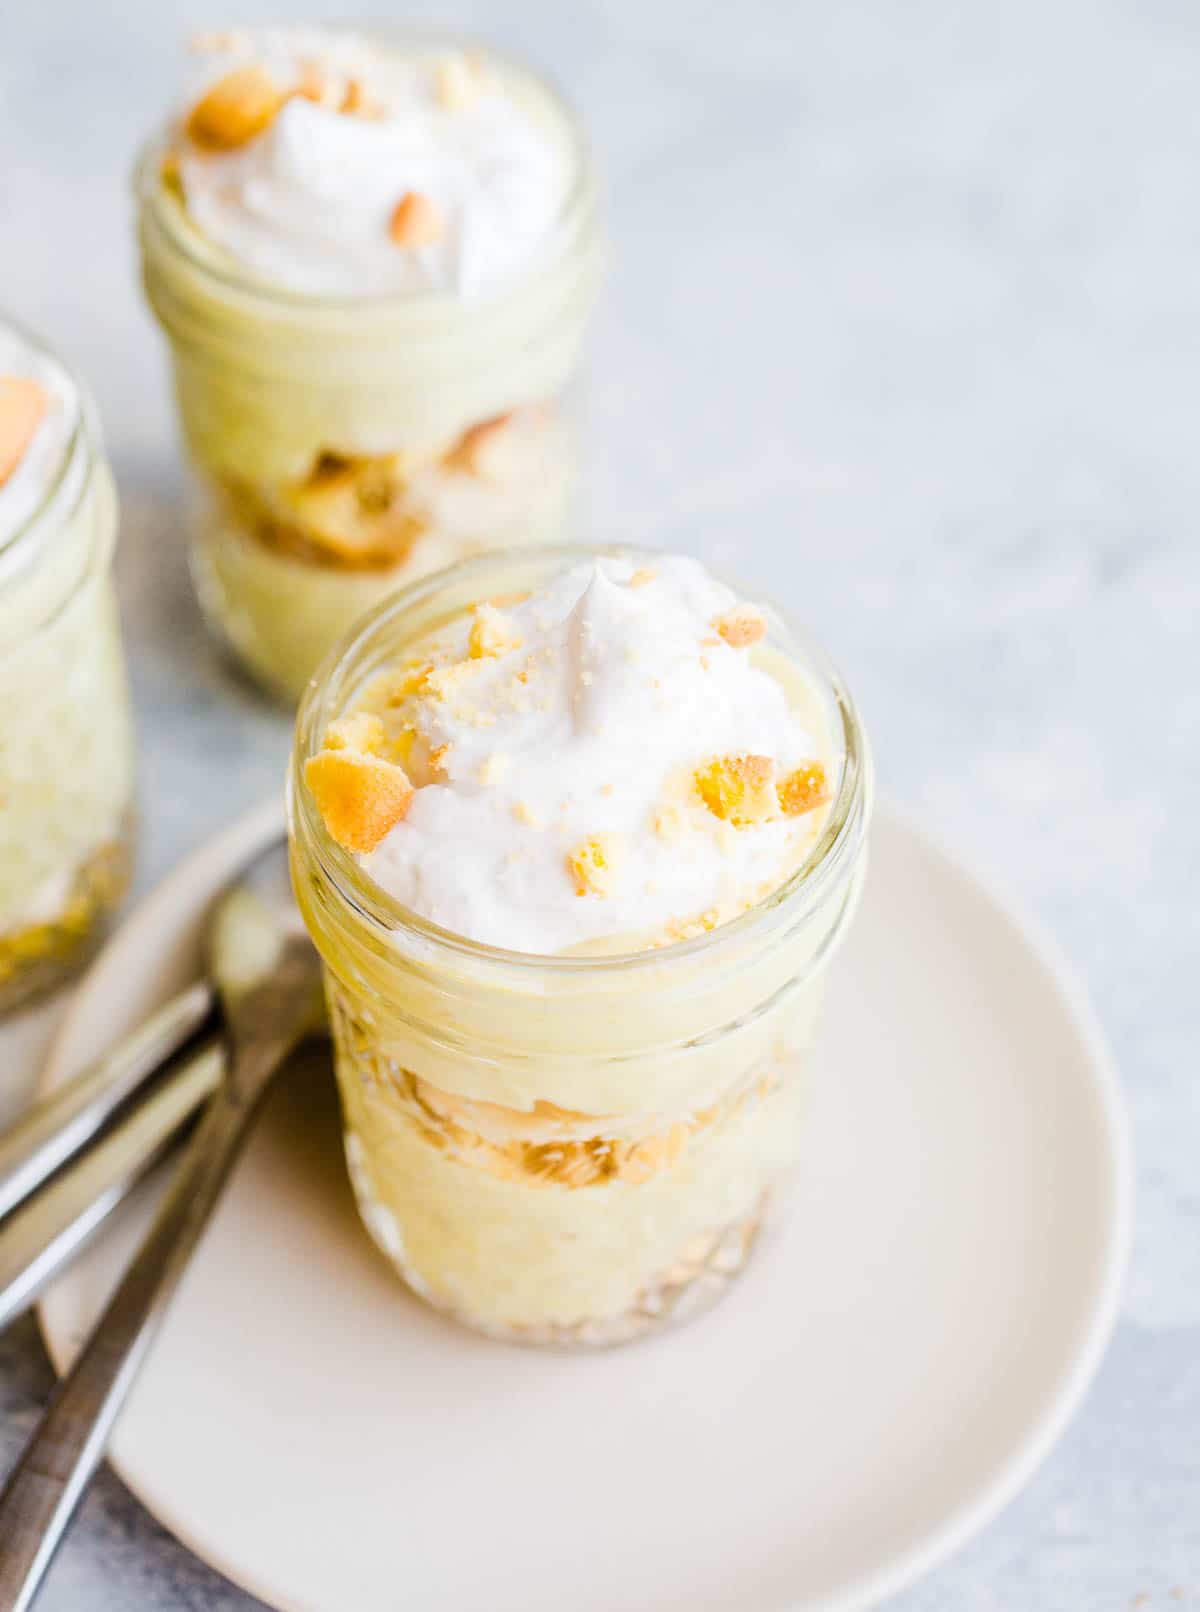
Assemble: In a mason jar, layer 3-4 broken vegan vanilla wafer cookies, 3-4 slices fresh banana slices, and two tablespoons of pudding.
Repeat again and then top the last layer of banana pudding with the vegan whipped cream and vanilla wafer crumbles.
Recipe tips
- In preparation for whipping up some dreamy southern-style desserts, make sure you refrigerate 1 of the cans of coconut milk overnight before serving. This is to solidify the coconut milk for making coconut whipped cream.
- Want to save time? Use store-bought non-dairy whipped cream instead of making your own. I use the SoDelicious brand CocoWhip or Vegan TruWhip when in a pinch.
- The dairy-free pudding will need to have time to chill and set up. Plan for at least two hours of chilling time.
FAQs
Yes! You can make the homemade vanilla pudding up to a day ahead of time. The assembled banana pudding jars can rest in the refrigerator for up to 5 hours before serving, otherwise, the bananas and vanilla wafers can start to soften.
If making early in the day and serving later in the day, wait to top jars with coconut whipped cream and cookie pieces until right before serving.
Gluten-free graham crackers make an excellent substitute or any gluten-free vanilla-flavored cookie. Make sure to check ingredients if you are in need of a dairy-free or vegan gluten-free cookie as well.
Adding a yellow hue is totally optional, but there are a couple of ways to get that signature yellow color. A few pinches of turmeric (careful not to add too much or it will alter flavor) work great or natural food coloring.
More no-bake recipes

Love this recipe? Please consider leaving a 5-star 🌟🌟🌟🌟🌟rating in the recipe card below and let me know what you think in the comments!
📖 Recipe
Vegan Banana Pudding Jars
Equipment
- 2 Glass Mixing Bowl (non-glass is fine too)
- 1 Whisk
Ingredients
Coconut Whipped Cream
- 1 13.5oz can full-fat coconut milk, refrigerated overnight
- 2 tablespoons maple syrup or organic powdered sugar
- ½ teaspoon pure vanilla extract
Banana Pudding
- 1 13.5oz can full-fat coconut milk
- ½ cup unsweetened almond milk
- 2 tablespoons + 1 teaspoon arrowroot starch
- 2-3 pinches of ground turmeric or yellow natural food coloring optional
- pinch of salt
- 4 tablespoons maple syrup
- 1 tablespoon pure vanilla extract
- 2 cups gluten-free vegan vanilla wafers
- 2 large bananas, sliced
Instructions
- Make pudding: Whisk the coconut milk and almond milk in an unheated saucepan with the arrowroot starch until all lumps have dissolved. Place saucepan over medium heat and whisk in salt, turmeric and maple syrup. Whisk almost constantly just until mixture reaches a boil. This will ensure the pudding is smooth and not lumpy.
- Remove mixture from heat immediately once pudding reaches a boil. Whisk in vanilla extract. Transfer pudding to a glass mixing bowl and allow to cool for 15 minutes. Press a piece of plastic wrap on the surface of the pudding and up the edges to seal. Refrigerate for two hours.
- Prepare Coconut Whipped Cream: (If using store-bought whipped cream, skip this step.) Scoop white solid from 1 can of chilled coconut milk into another medium mixing bowl. You will not be utilizing liquid at the bottom. Beat with an electric mixer for about 1 minute until it becomes a whipped, fluffier consistency.Add maple syrup and vanilla extract and beat until combined. Transfer bowl to the refrigerator to chill until ready to assemble banana pudding jars.
- Assemble Banana Pudding: In a mason jar, layer 3 to 4 broken-in-half vanilla wafer cookies, 3 to 4 slices of banana, and two heaping tablespoons of pudding. Repeat once more. Chill in the refrigerator for 45 minutes to an hour before serving.
- Right before serving, top each jar with coconut whipped cream and vanilla wafer pieces.
- Store any leftover jars in the refrigerator for 2-3 days topped with a lid or plastic wrap.
Notes
- In preparation for making this recipe, make sure you refrigerate 1 of the cans of coconut milk overnight prior to serving. This is to solidify the coconut milk for making coconut whipped cream.Want to save time? Use any store-bought non-dairy whipped cream instead of making your own.
- The dairy-free pudding will need to have time to chill and set up prior to assembling in jars. Plan for at least two hours of chilling time.
- Adding a yellow hue is totally optional, but there are a couple of ways to get that signature yellow color. A few pinches of turmeric (careful not to add too much or it will alter flavor) works great or you can use natural food coloring.

Ein Dekoherzal in Bergen
ICH LIEBE ALLES MIT BANANEN:::: TOLL
WÜNSCHE NOCH EINEN SCHÖNEN TAG
BIS BALD DIE BIRGIT AUS TIROL
Sarah
This looks amazing and such an elevated take on my grandmother’s recipe.