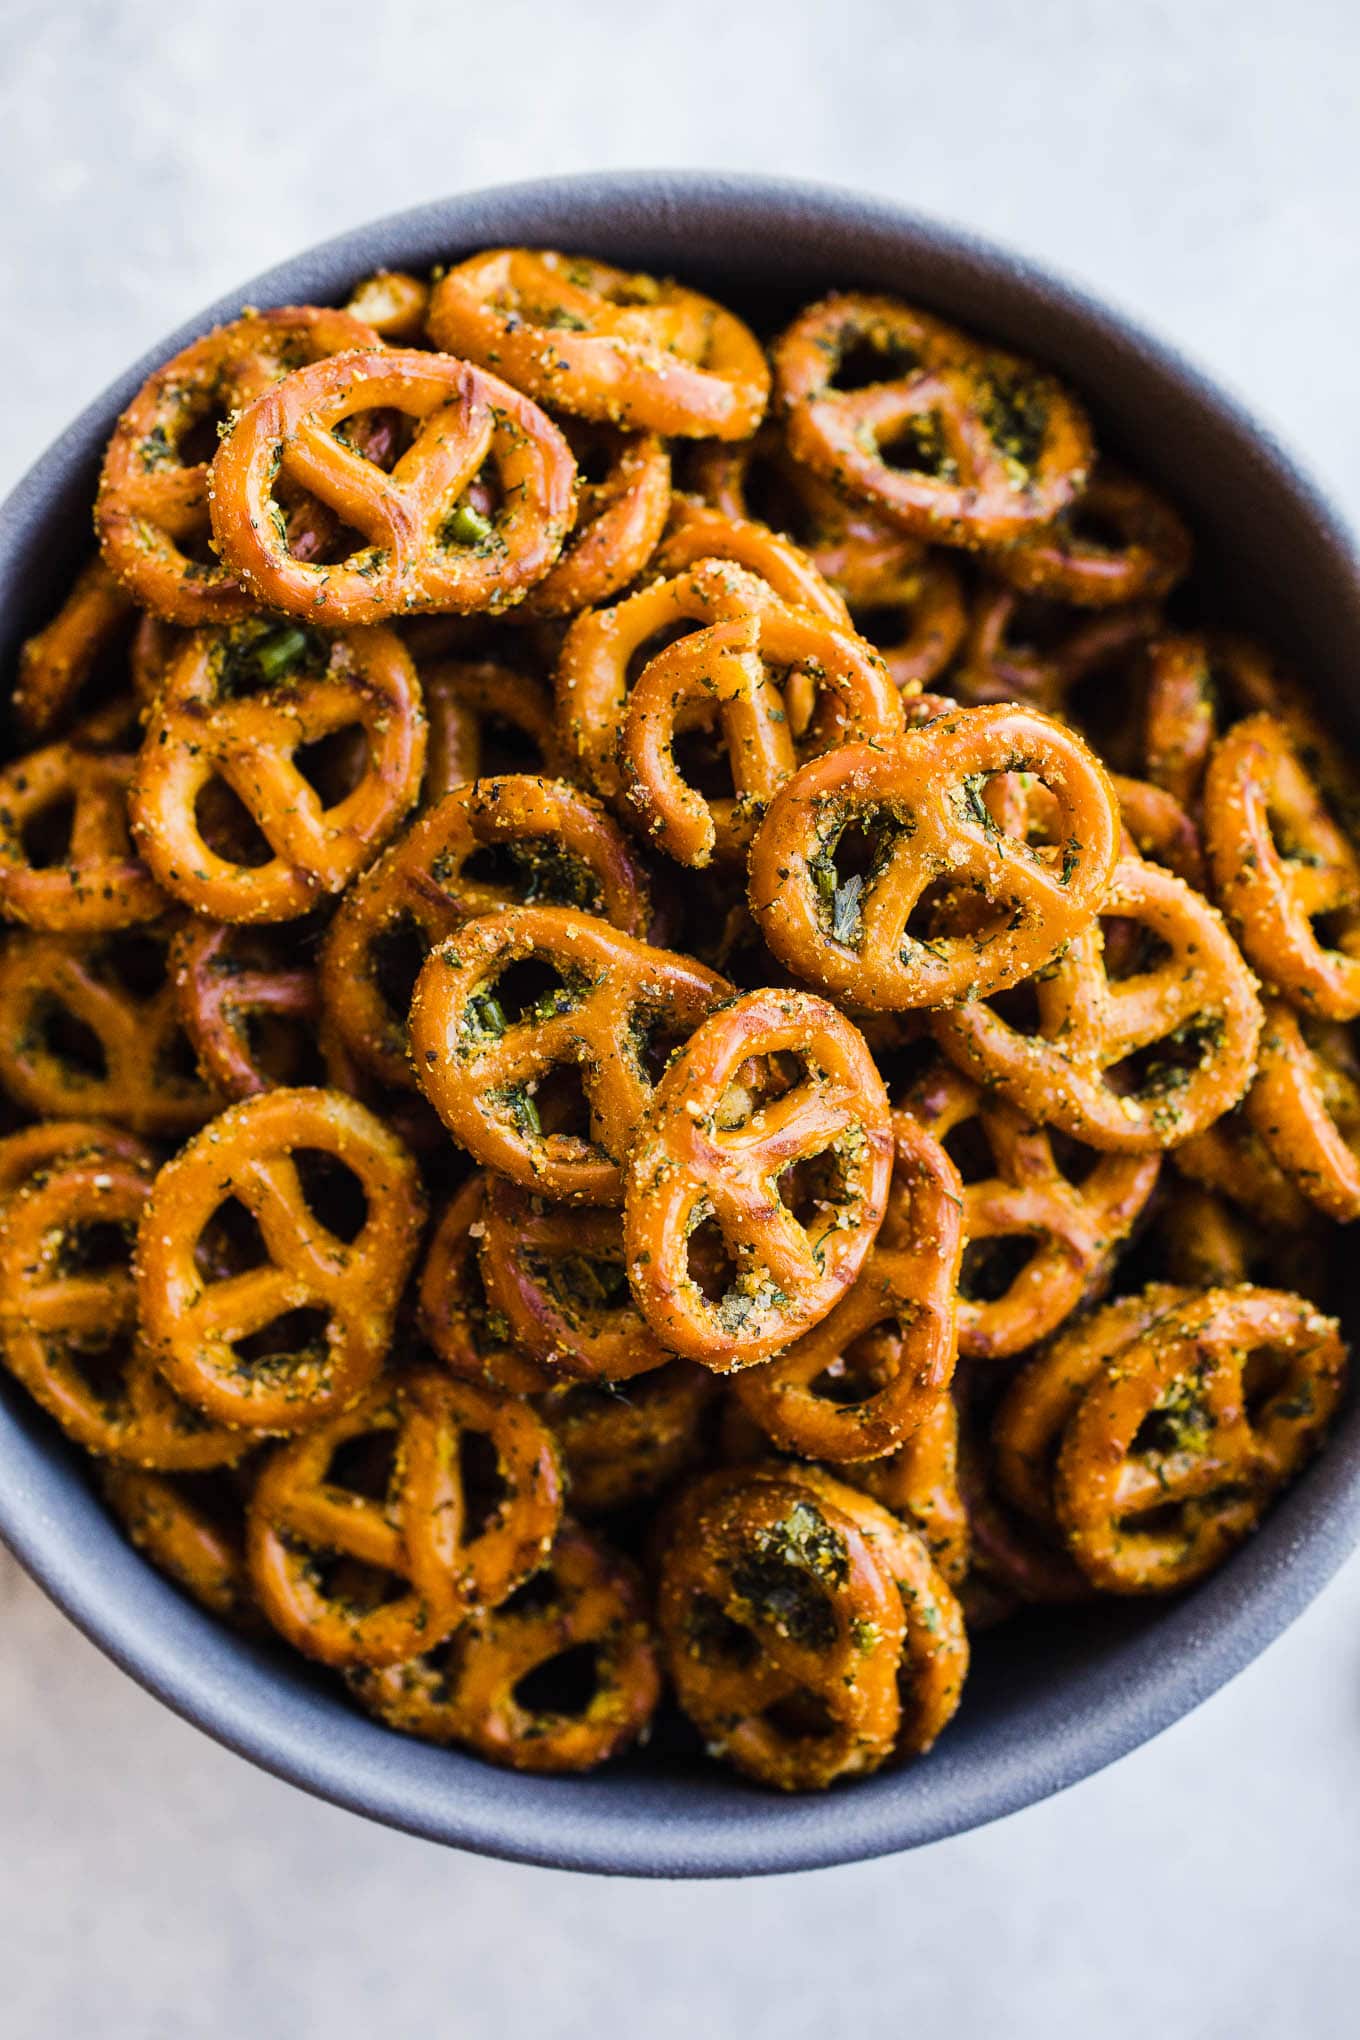
Gluten-Free Seasoned Pretzels made with olive oil, herbs, and nutritional yeast for an easy homemade snack recipe. Vegan.

The Best Snack You Didn't Know You Needed
Having gluten-free snacks at the ready is the name of the game. This pretzel recipe is reminiscent of those mixes with ranch seasoning packets but without dairy and gluten.
- A gluten-free recipe that is semi-homemade with simple ingredients.
- This is a simple snack that's fun to make, but a pre-made spice mixture can often have gluten so making your own is key!
- It's EASY - I promise you have everything in your pantry already, except possibly the pretzels.
- Makes a great gift or a perfect party snack for holiday parties.
Jump to:
Ingredients and Substitutions
Here are a few quick notes about the ingredients in this recipe. You can see a complete ingredient list and instructions in the recipe card below.
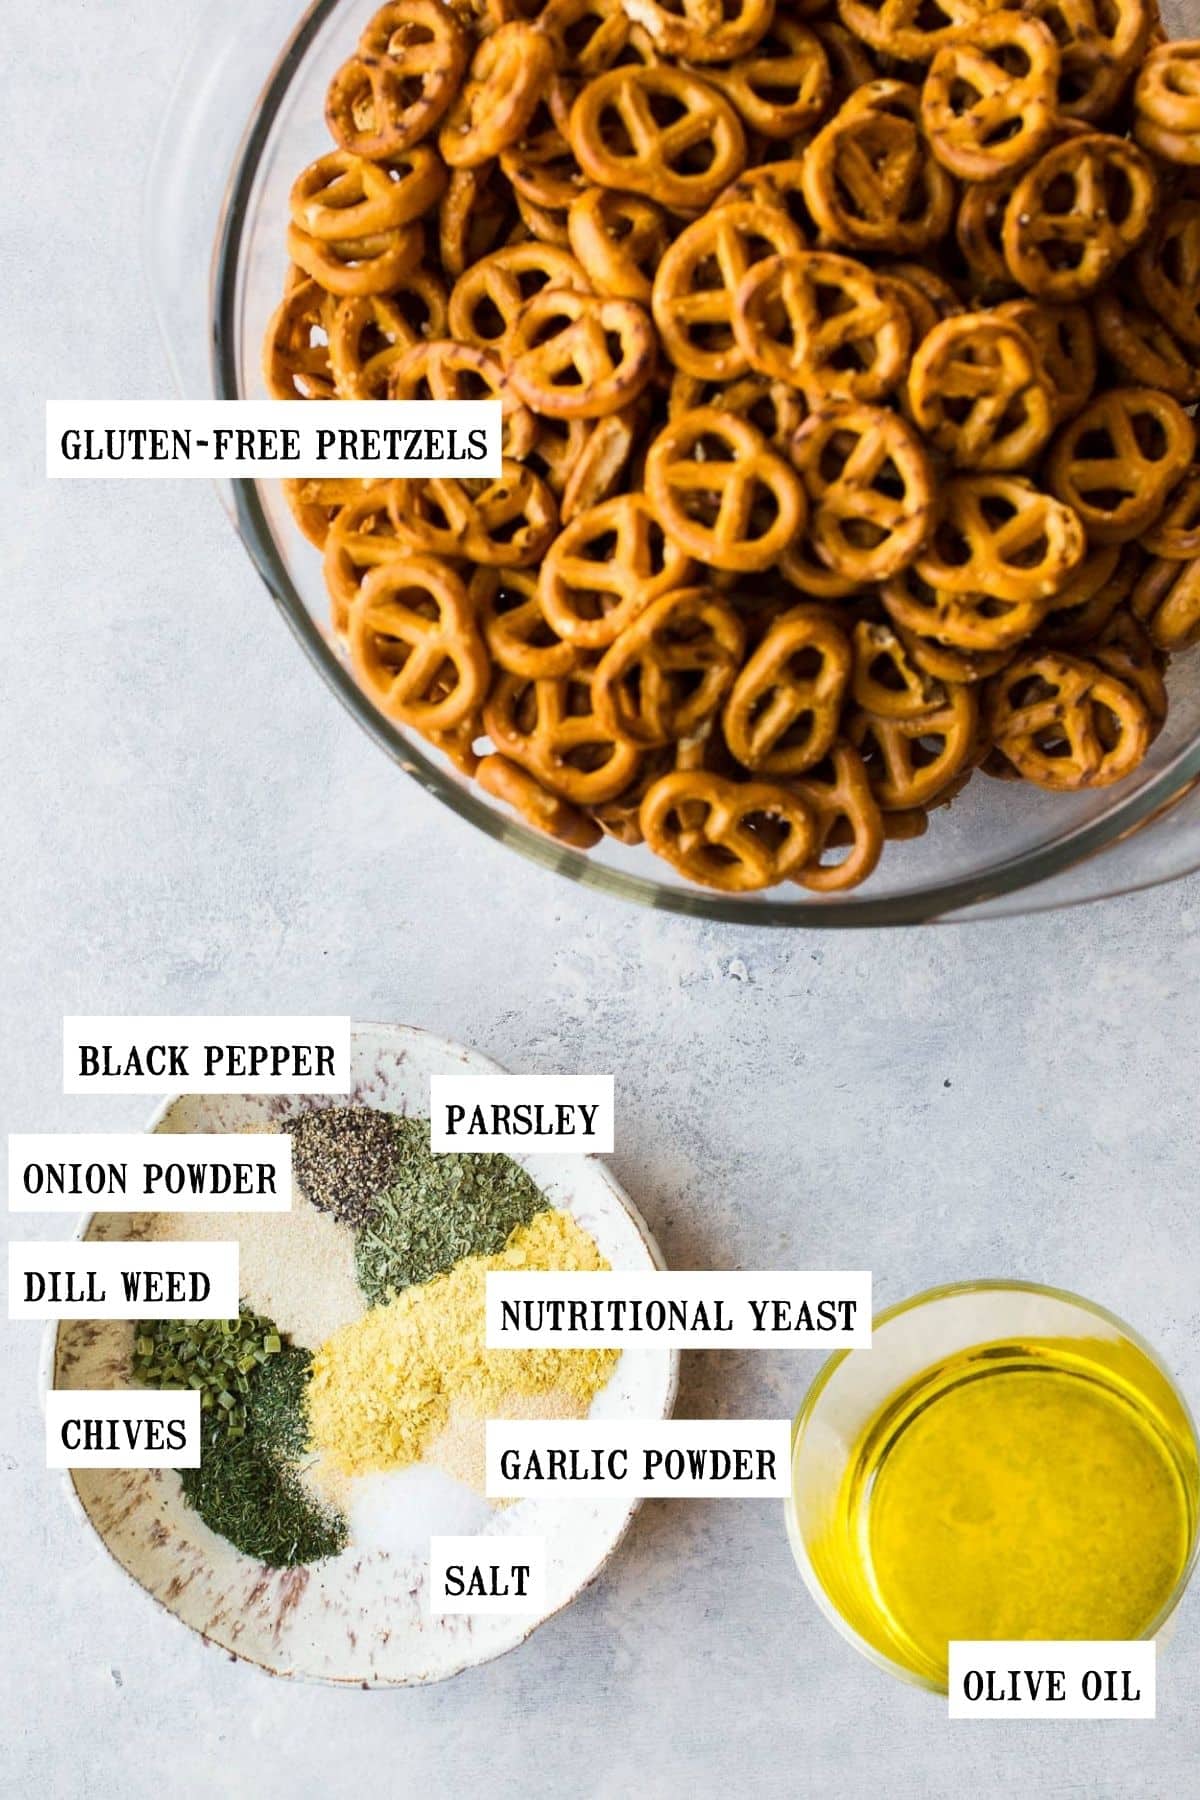
Mini gluten-free pretzels - Grab a bag of your favorite hard pretzels for this salty crunchy snack! I think the classic pretzel shape works best but pretzel sticks would work as well.
If not gluten-free, the regular variety will work too!
Olive oil - Oil helps the seasoning stick and crisps things up. Using olive oil keeps it dairy-free. Vegan butter can be substituted.
Dried herbs and seasonings - A quick mixture of dill weed, parsley, chives, salt, garlic powder, black pepper, onion powder, and nutritional yeast that is similar to that ranch packet flavor.
How to Make Seasoned Pretzels
Before you start: Preheat the oven and line a large baking sheet with parchment paper.
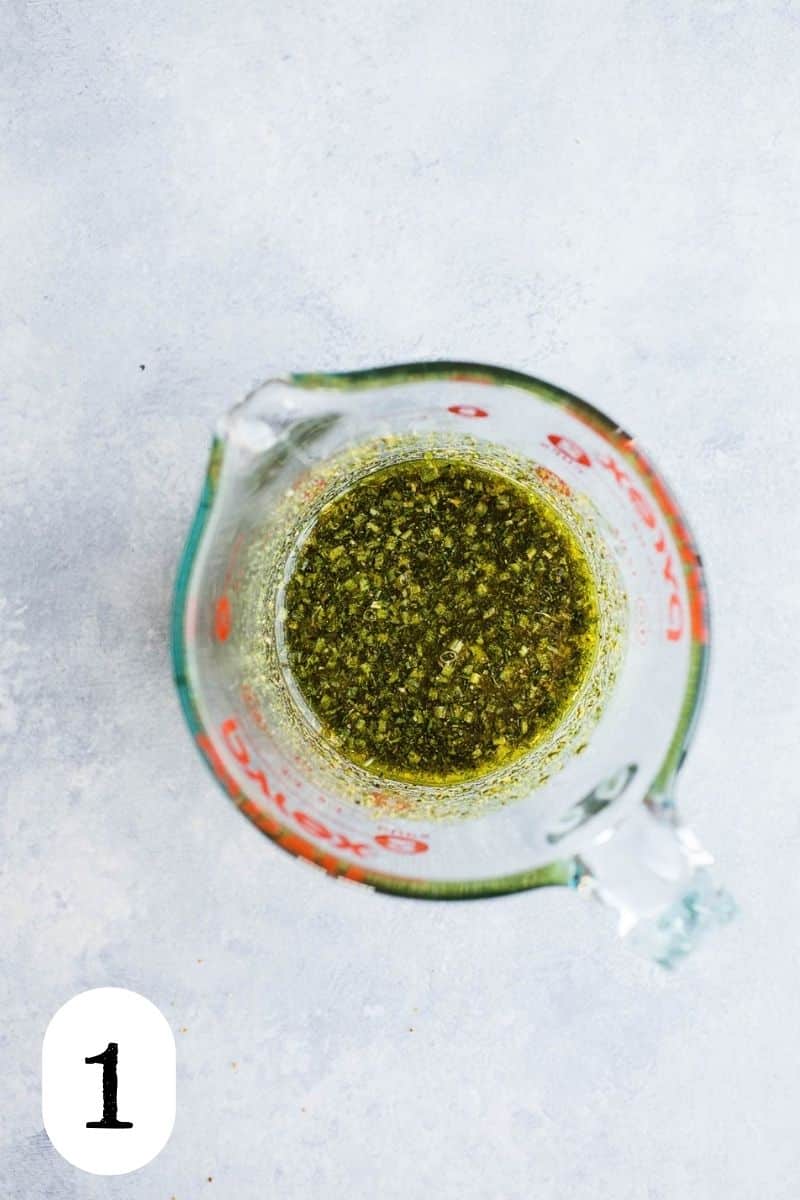
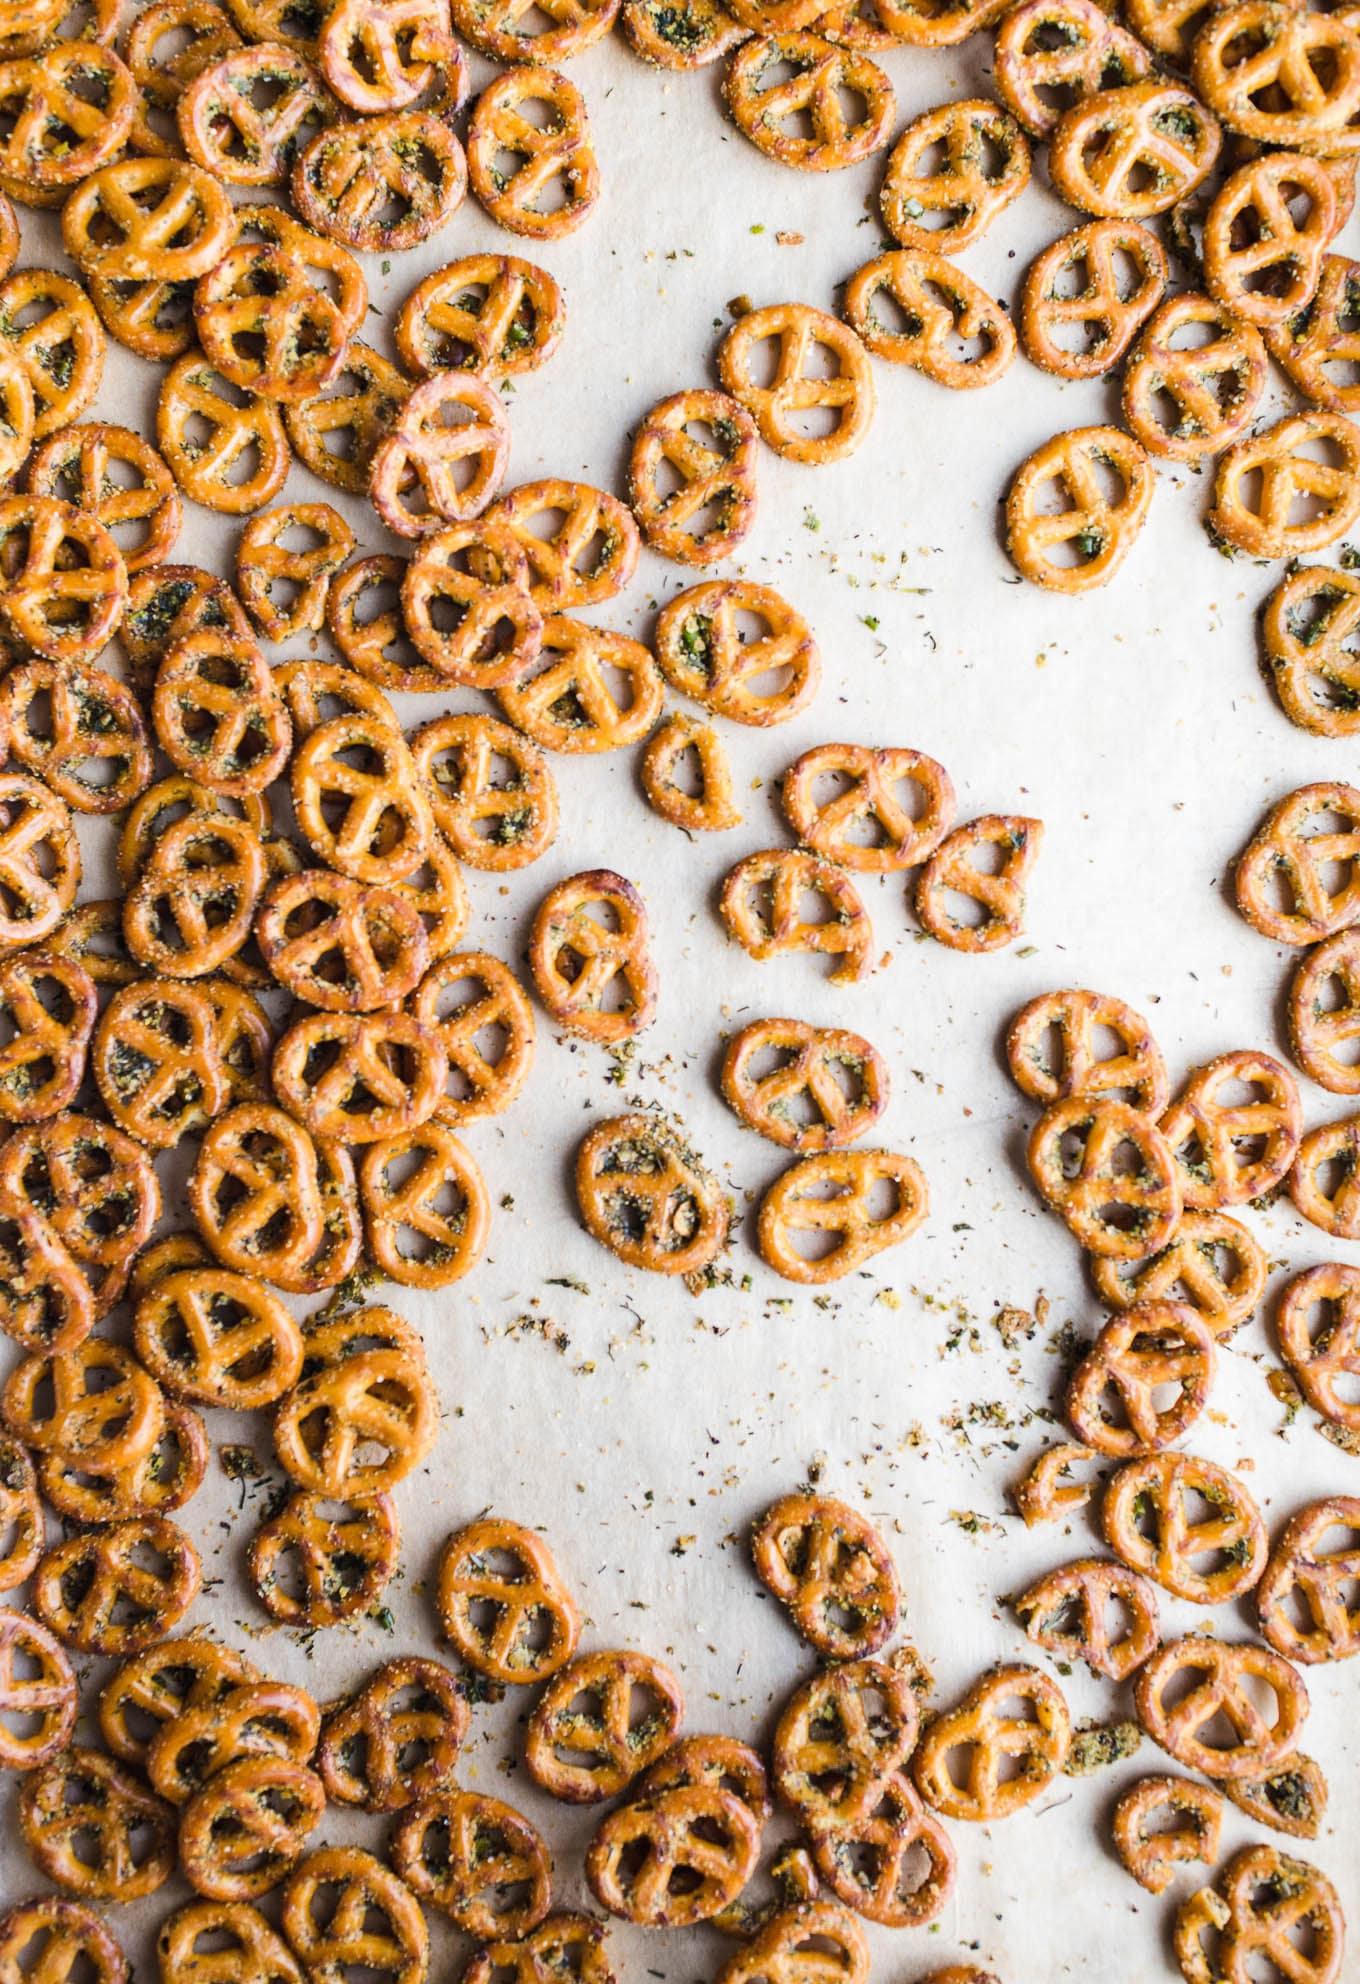
Step 1: Whisk together olive oil and all of the herbs and seasonings in a large mixing bowl. Add the pretzels. Pour olive oil mixture over them and gently stir to coat.
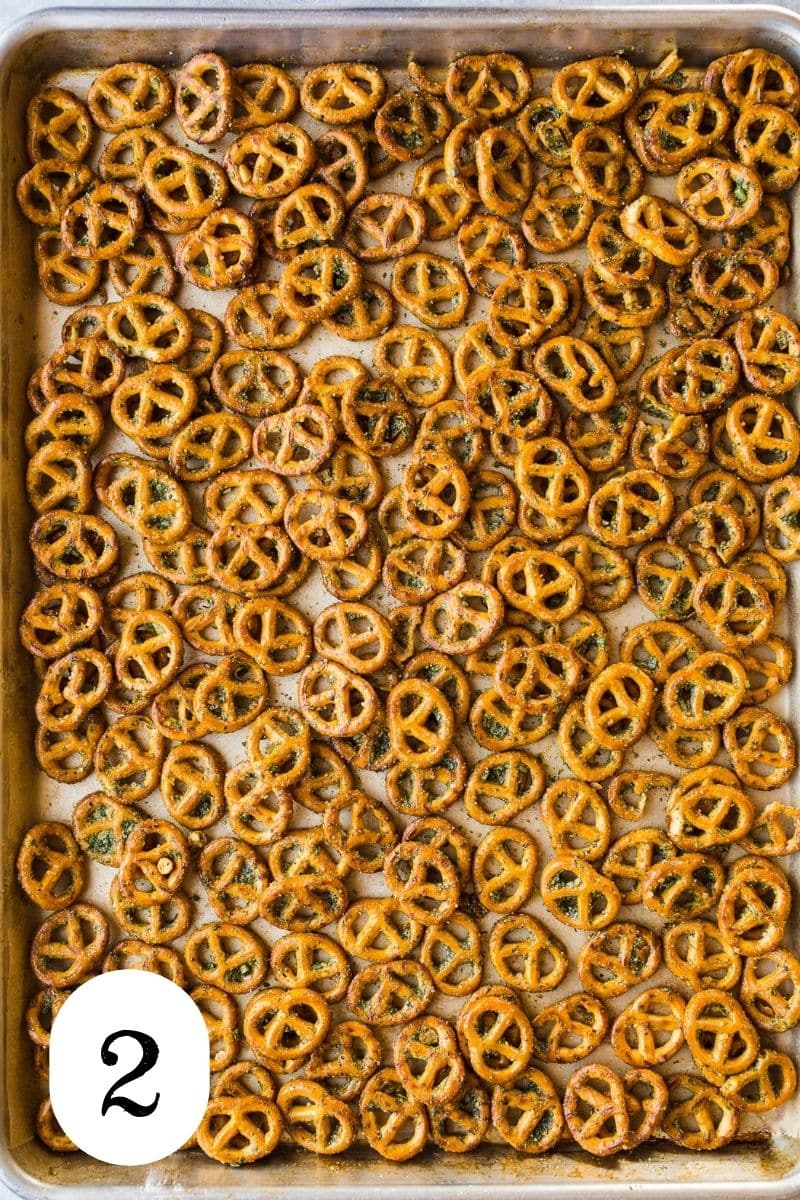
Step 2: Spread mix into a single layer on a large baking sheet. Bake for about 20 minutes. Let them cool to room temperature on a wire rack.
Recipe Tip
- For best results, allow these salty herbaceous snacks to cool completely before grabbing a handful. This way, you ensure that the mixture dries and sticks to the pretzels.
Storage
Store in an airtight container for up to 3-5 days. Will they last that long in your house?
Serving Suggestions
These seasoned pretzels make for an incredibly versatile snack or side. Here are some suggestions for pairing!
- Dips like hummus or queso
- Alongside sandwiches
- Pair with healthy chicken salad
- Add to a charcuterie board
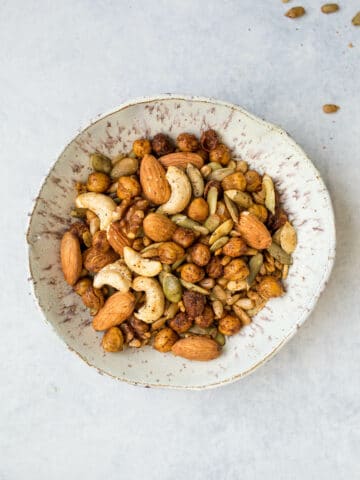
- Combine them with a savory trail mix
For something sweeter and salty, try these white chocolate pretzels!
FAQs
This is an inactive form of yeast (so it wouldn't raise bread or brew beer!) that adds a wonderful umami flavor to food. Many describe it as cheesy and I find it's the perfect complement to the herbs in this recipe.
Classic seasoned cracker recipes focus on saltines or oyster crackers and sometimes butter. Instead, grab your favorite gluten-free pretzels and mix up your own seasoning mix.
Yes! This recipe can be made a day or two ahead. Be sure to store the seasoned snack in an airtight container or ziplock bag.
More Snack and Appetizer Recipes
Love this recipe? Please consider leaving a 5-star 🌟🌟🌟🌟🌟rating on the recipe card below and let me know what you think in the comments!
📖 Recipe
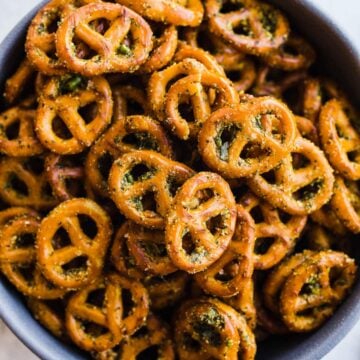
Gluten-Free Seasoned Pretzels
Ingredients
- ½ cup olive oil
- 1 ¾ teaspoons dried dillweed
- 1 tablespoon dried parsley
- 1 teaspoon dried chives
- 1 teaspoon salt
- 11/2 teaspoons garlic powder
- 1 teaspoon black pepper
- 11/2 teaspoons onion powder
- 2 tablespoons nutritional yeast
- 1 14oz or 16oz bag mini gluten-free pretzels I like Gratify or Glutino brands
Instructions
- In a glass measuring cup or small bowl, whisk together olive oil and all of the herbs and seasonings, including nutritional yeast.
- Place gluten-free pretzels in a large bowl. Pour olive oil mixture over pretzels and gently stir and fold until all pretzels are coated.
- Allow the pretzels to sit and soak while you prepare the oven. Preheat the oven to 200 degrees Fahrenheit. Line two large baking sheets with parchment paper.
- When the oven is ready, spread the pretzels into an even layer on each baking sheet. Bake for 18-20. Remove from oven and allow pretzels to cool on baking sheets completely on a wire rack.
- Once cool, transfer to serving bowls or store in an airtight container for up to 2-3 days.
Notes
- For best results, allow those salty herbaceous pretzels to cool completely before grabbing a handful. This way, you ensure that the mixture dries and sticks to the pretzels.




Keisha Williams
Just made my 1st batch and they are yummy!!! I don't think I'll be able to eat plain pretzels anymore. I will definitely use this recipe again. Thanks for posting it!
Tessa
Oh yay! Thank you!! :)
Michael DiTrapani
Oh yes, you're so delicious!
Naomi Francisco
I love pretzels so much. Thanks for sharing this Tessa. I'll try this out this weekend.
Tessa
Thank you, Naomi! I can never turn away a good salty, crunchy snack!
Yogesh
Look soo testy ??
Tessa
Thanks!! :)