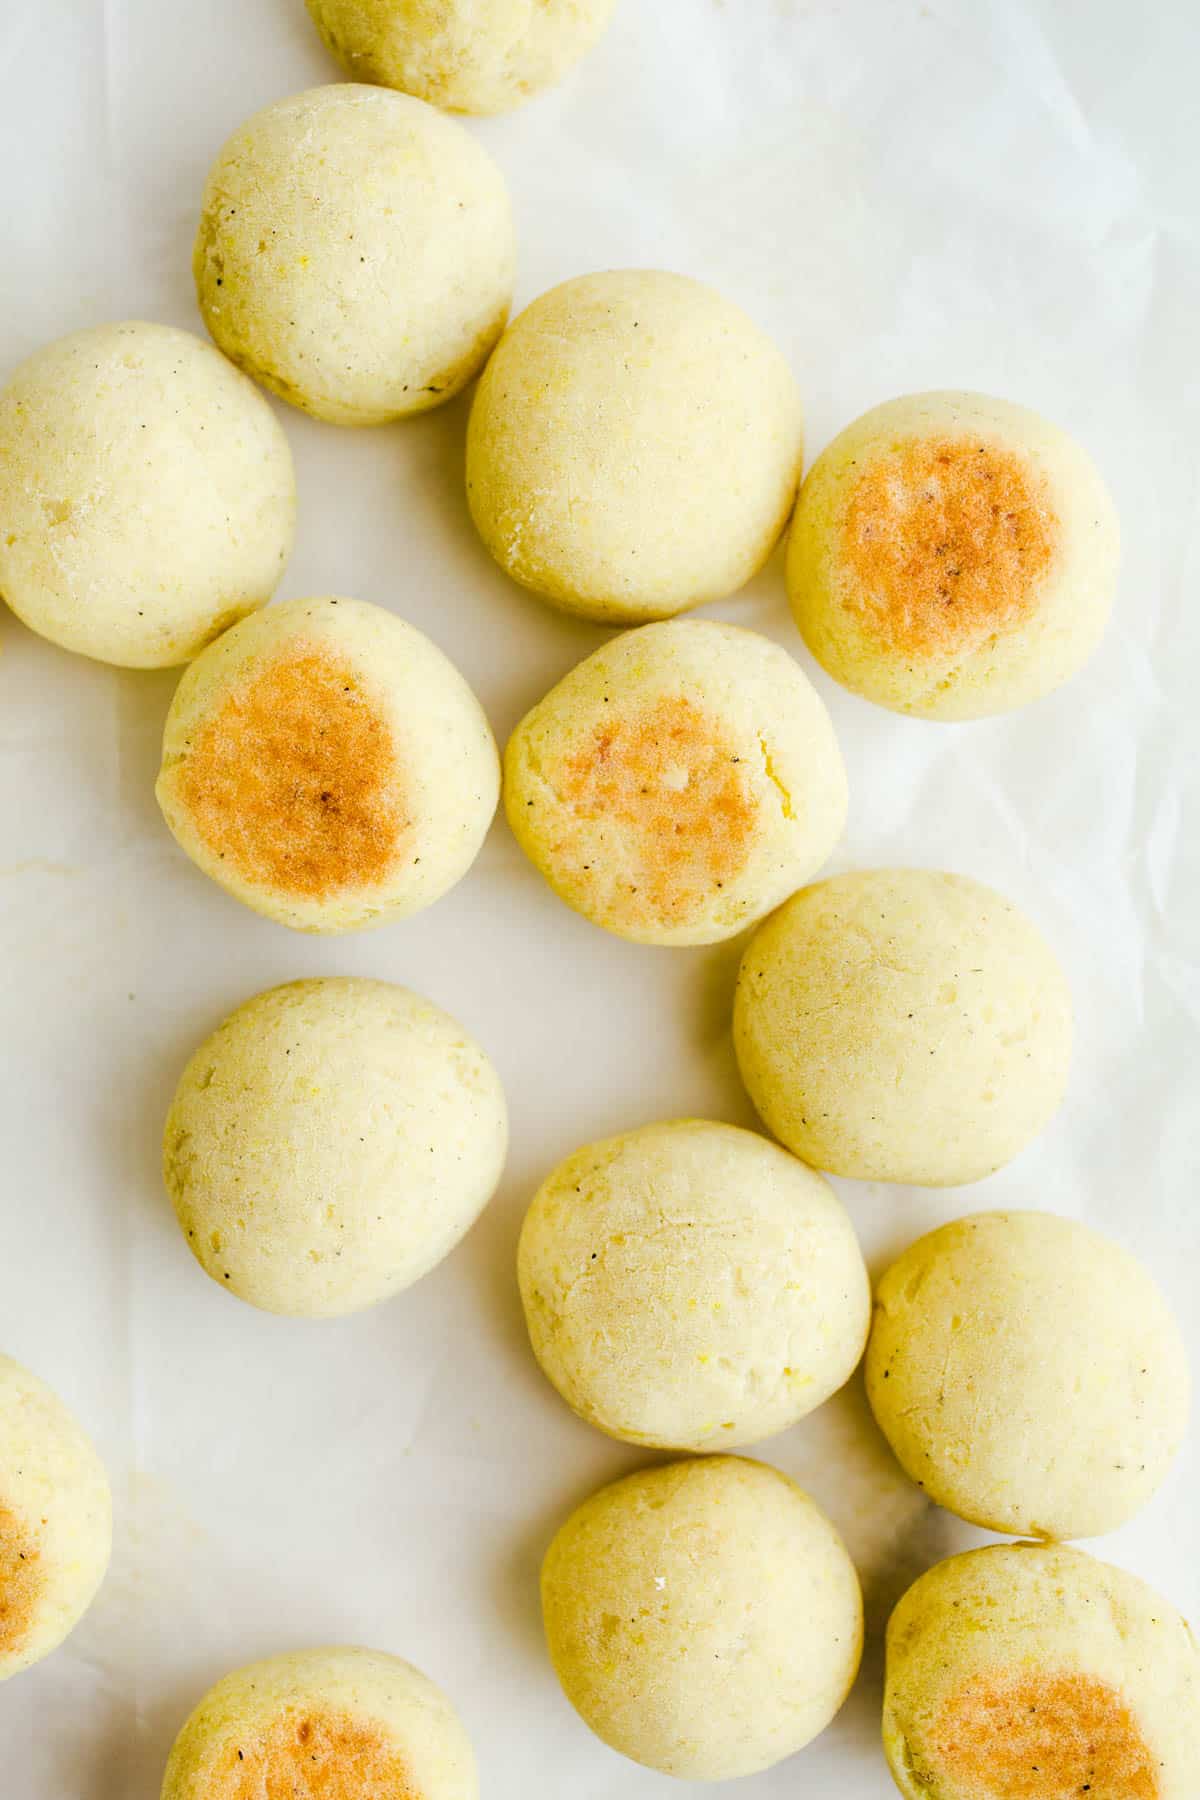
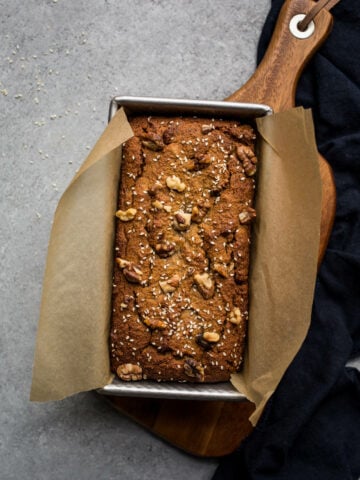
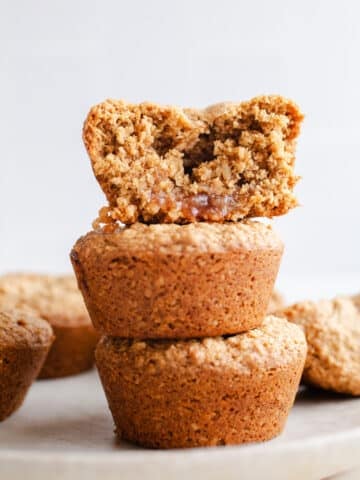
This easy Vegan Brazilian Cheese Bread uses tapioca starch, potato, olive oil, and spices to make a dairy-free pão de queijo. Gluten-free.
Brazilian cheese bread, or pão de queijo, while made up mostly of tapioca starch (and naturally gluten-free!), is also, as the name suggests, heavy on the cheese.
The traditional Brazilian recipe uses parmesan cheese sometimes mixed with a second cheese.
But this recipe relies on nutritional yeast and potato to fit not just gluten-free, but dairy-free and egg-free dietary needs too.
Intrigued?
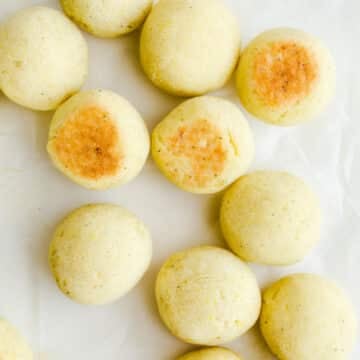
I must warn you, each little chewy cheese puff is highly addictive. It might just become one of your favorite recipes!
Jump to:
Why you'll love this recipe
- Simple ingredients
- Perfect for gluten-free diets
- No dairy or egg!
Ingredients and substitutions
Here are a few quick notes about the main ingredients in this recipe. You can see a complete list of ingredients and instructions in the recipe card below.
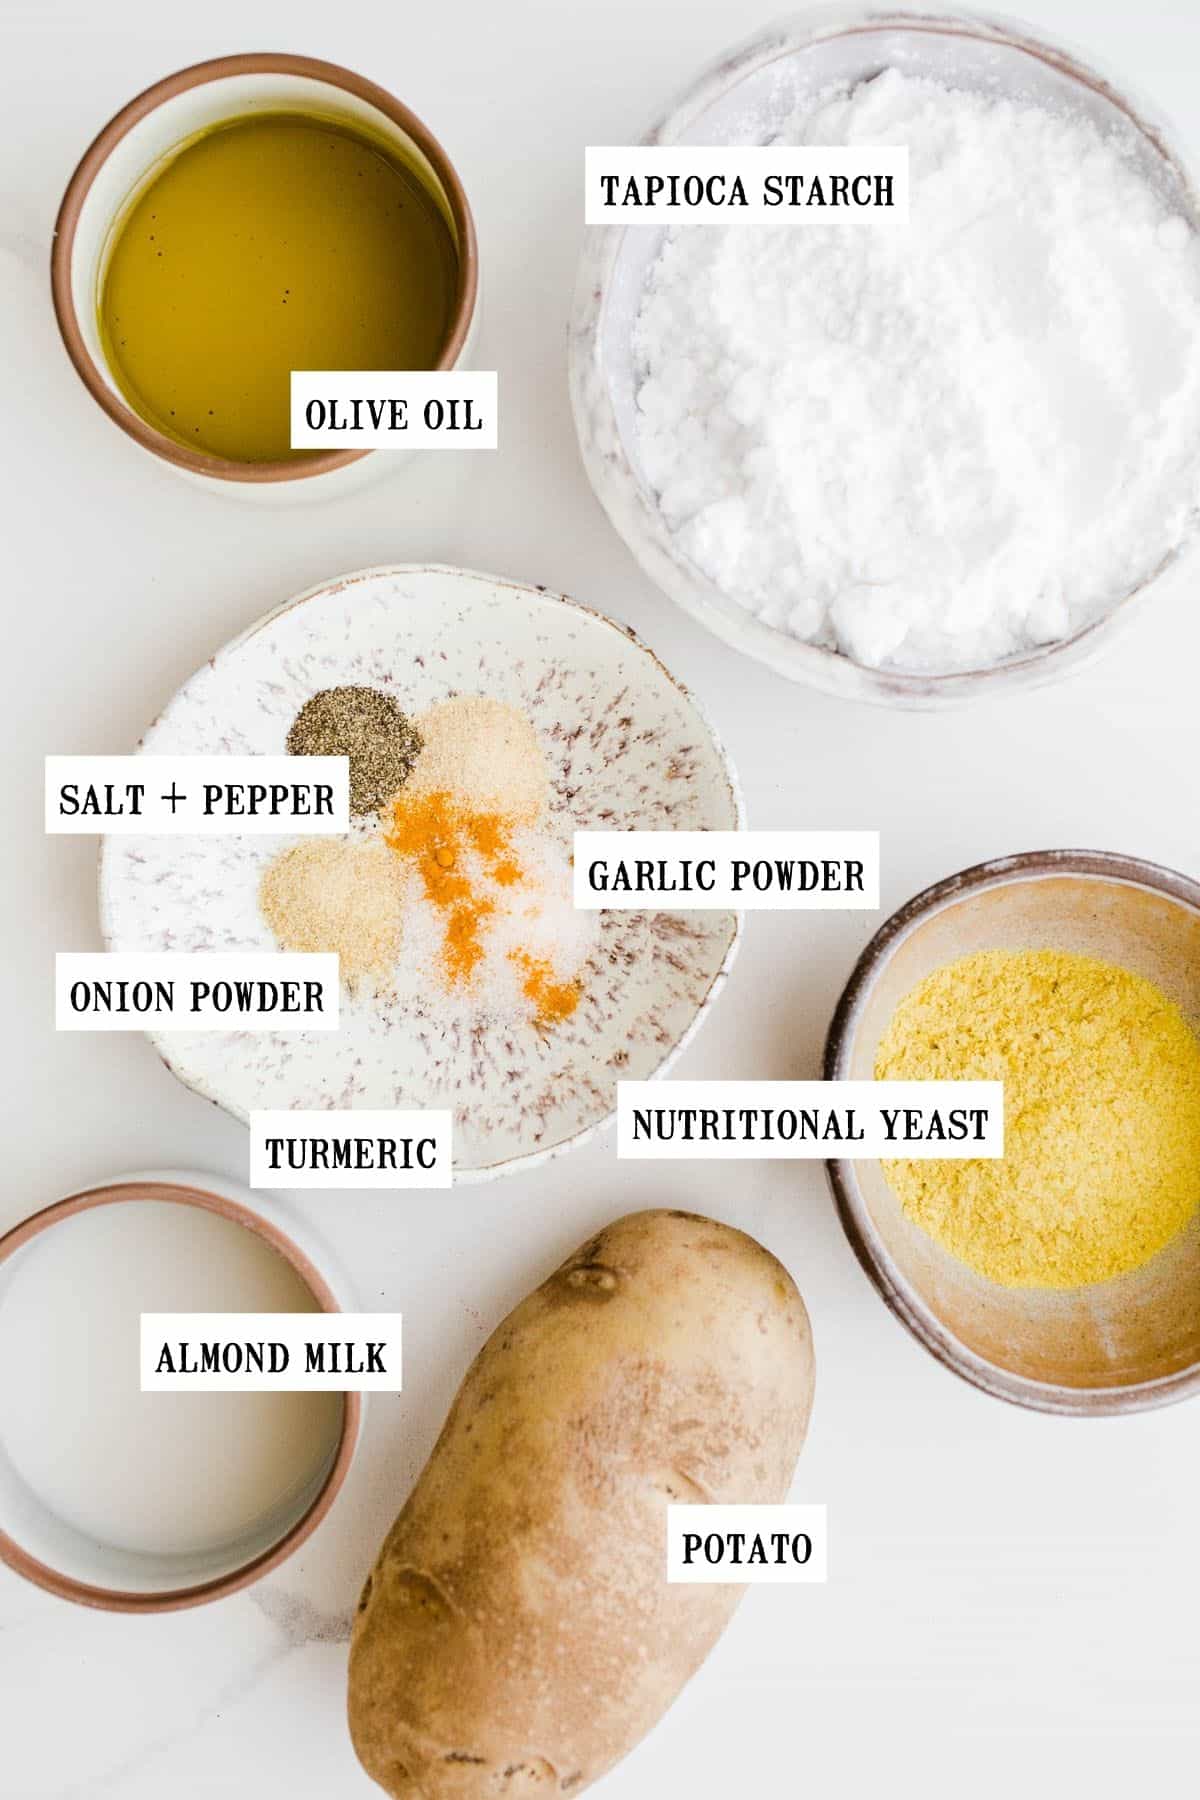
Tapioca starch/flour - Made from the cassava root, this naturally gluten-free starch has binding properties that hold these balls together.
You can find tapioca starch (also called tapioca flour) in the baking aisle of the grocery store. I recommend Bob's Red Mill brand.
Nutritional yeast - Instead of different cheeses, nutritional yeast adds a cheesy tang without the dairy!
Potato - Cooked potato serves in place of a large egg or two.
It gives our cheesy roll substance and binding power.
Olive oil - I use extra virgin olive oil but any neutral oil, such as avocado oil, will work.
Unsweetened almond milk - Any non-dairy milk will do here if almond milk is not an option.
Garlic powder, onion powder, turmeric, black pepper - These seasonings help round out the flavor and make up for the absence of cheese.
How to make vegan Brazilian cheese bread
Before you start: Preheat the oven to 350 degrees Fahrenheit. Line a baking sheet with parchment paper.
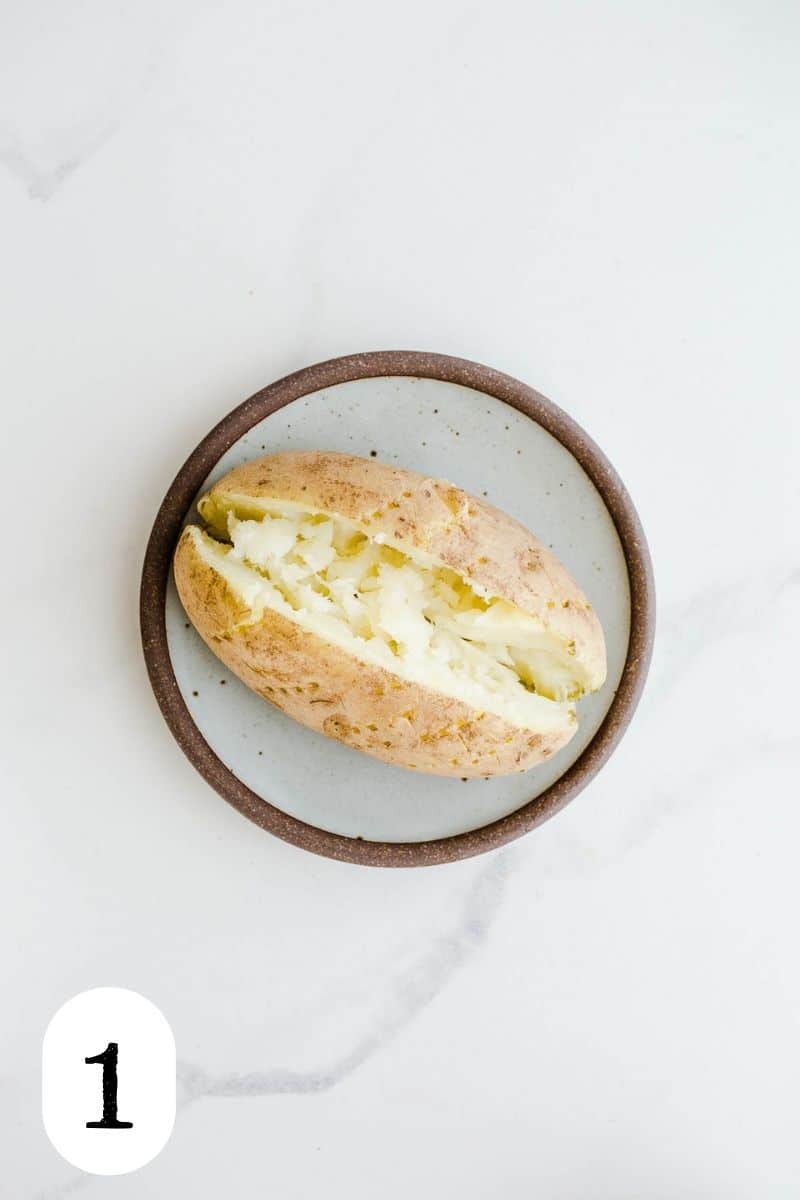
Step 1: Pierce the potato with a fork and cook on the appropriate setting in the microwave until cooked and mashes well with a fork.
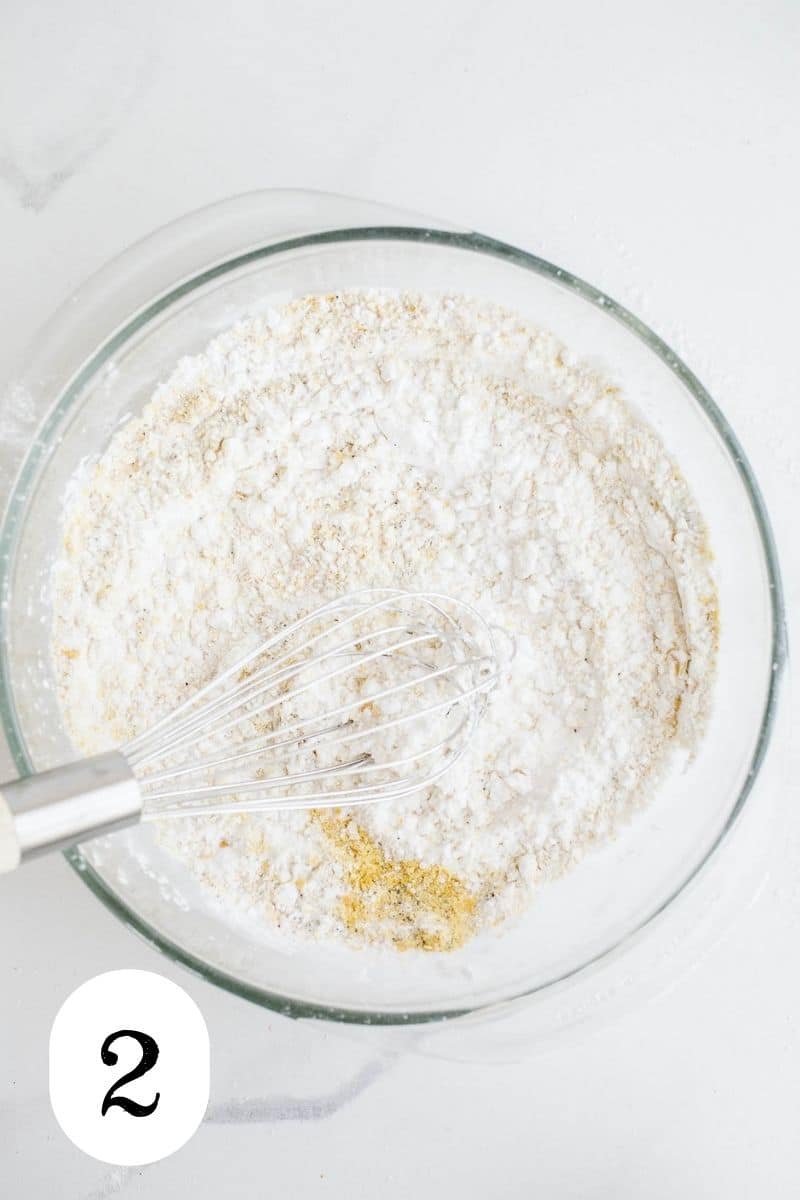
Step 2: In a large bowl, combine tapioca starch, salt, garlic powder, onion powder, black pepper, turmeric, and nutritional yeast. Whisk to combine.
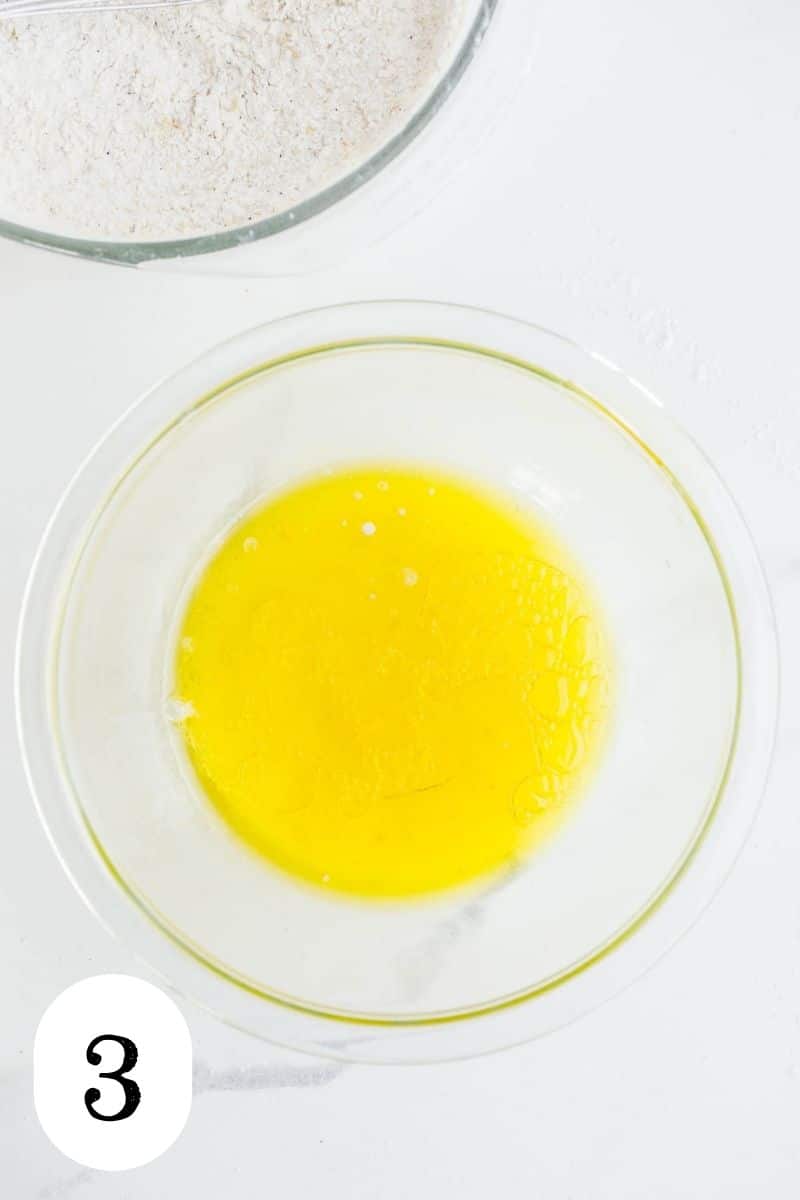
Step 3: In a small bowl, combine boiling water, olive oil, and almond milk. Add the liquid mixture to the tapioca mixture with a wooden spoon or spatula, stirring until the dry ingredients have been incorporated.
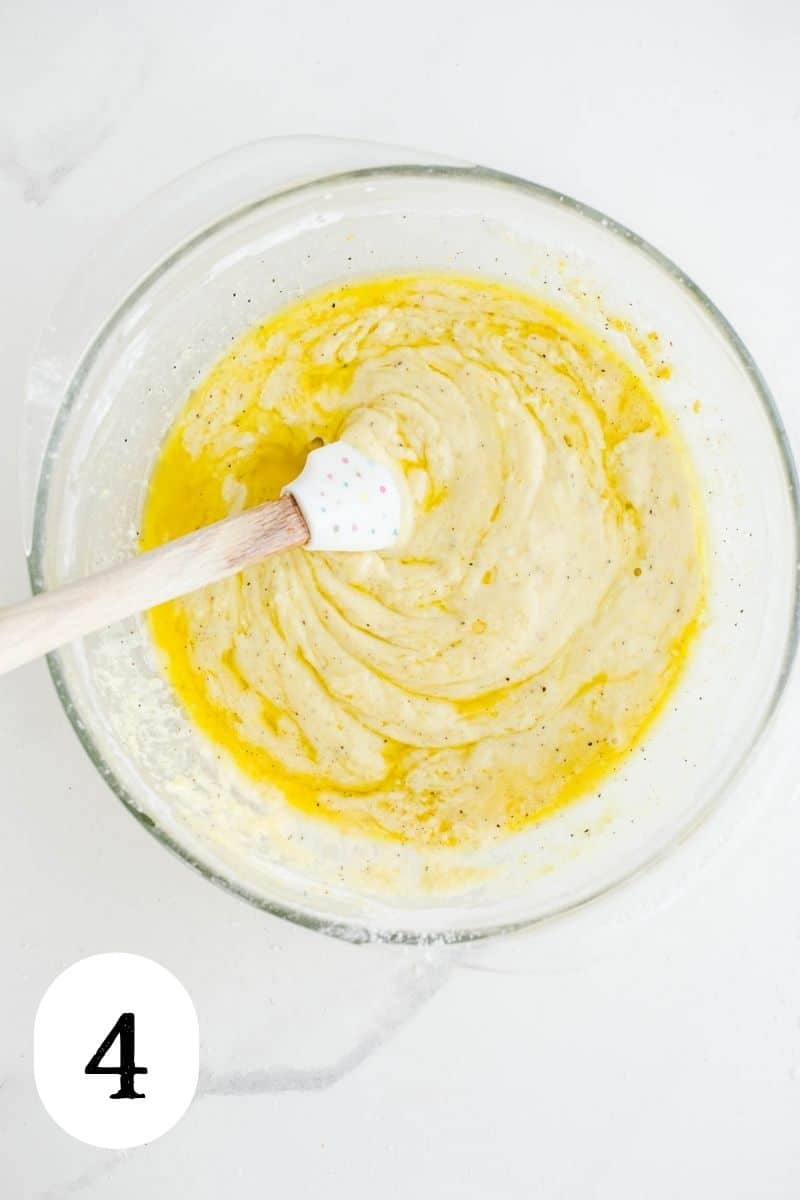
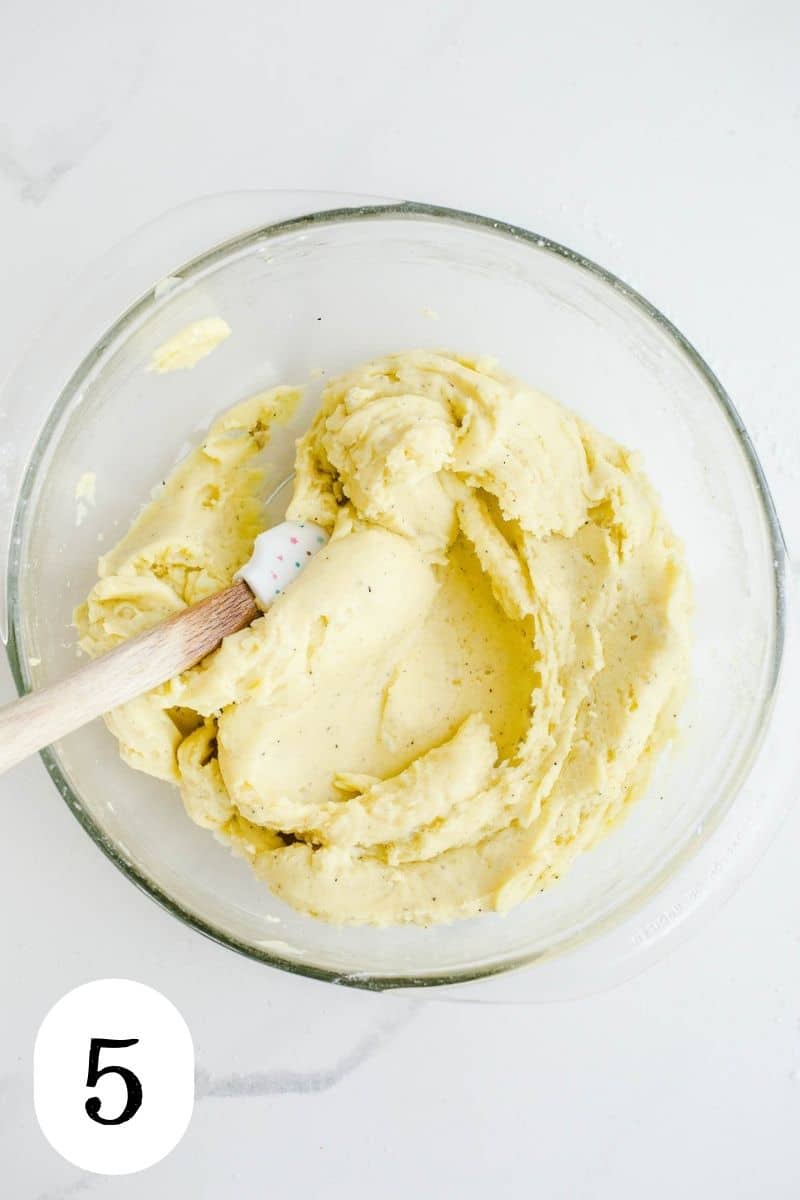
Step 4: Add the cooked potato and stir and mash with the back of the spoon until mostly incorporated. Then, using your hands, squeeze and knead the dough together until it becomes smoother. There will be some dry bits of dough, just press and knead them into the dough.
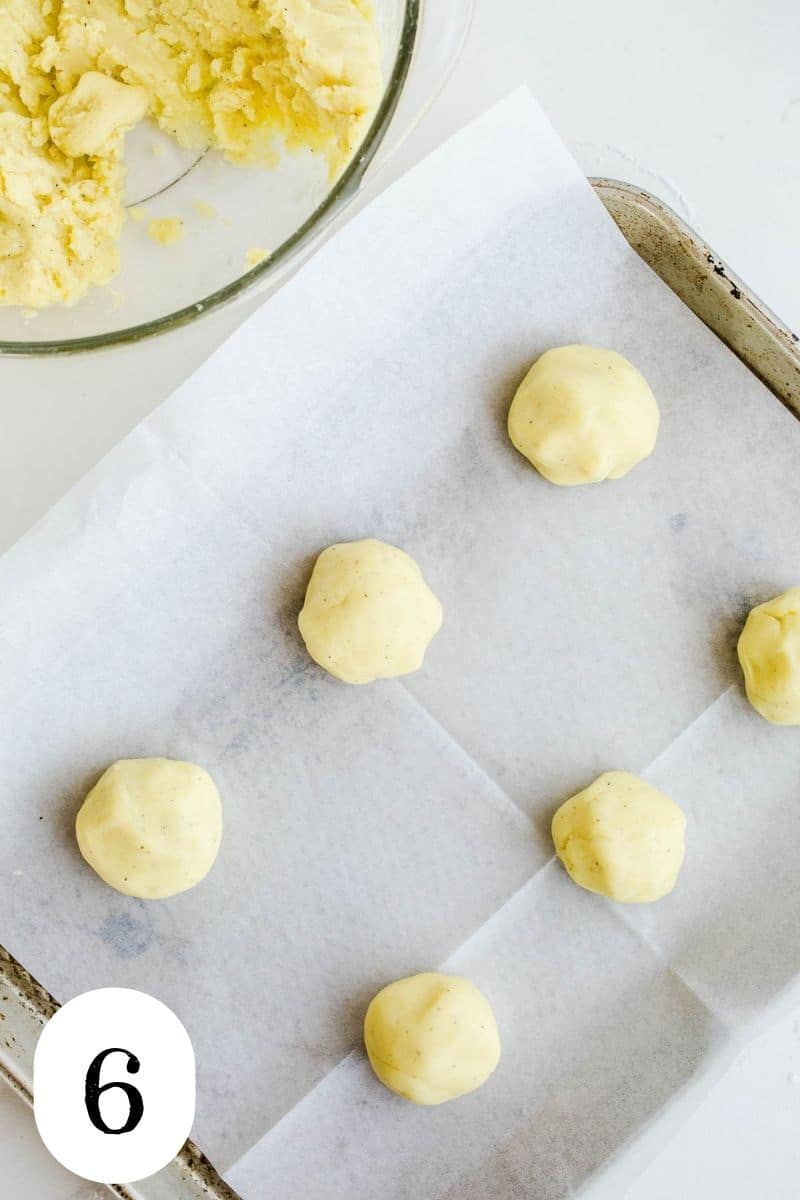
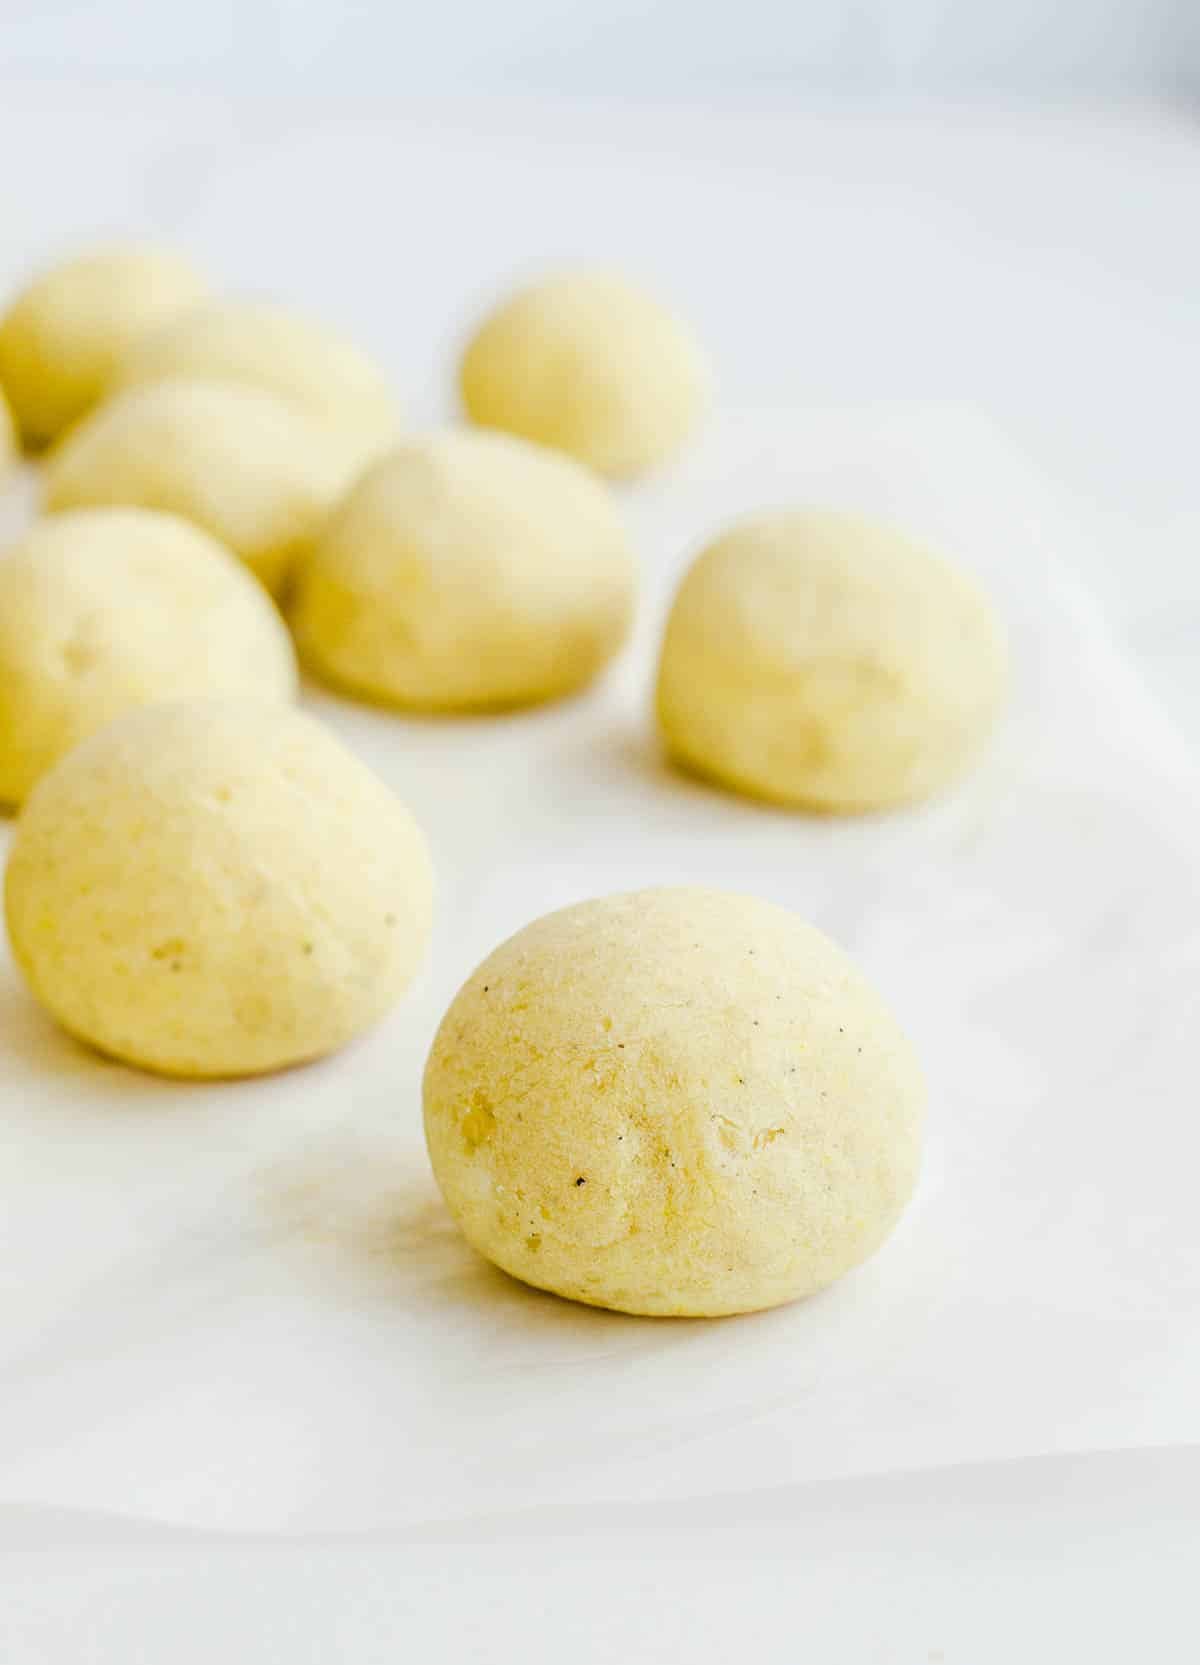
Step 5: Scoop the dough by the tablespoon like cookie dough, and roll it into small balls. Space the dough balls about an inch and a half apart on the baking sheet.
Step 6: Bake for 32 to 35 minutes. The outsides should be dry and the bottoms should start turning a golden brown (lift one to check). The tops of the cheese bread will not really brown at all.
Recipe tips
- It's a good idea to have all your gluten-free ingredients out and ready before starting.
- Allow the vegan pão de queijo to cool for a few minutes before removing it from the baking sheet. The little cheese puffs are best when still warm.
- Store leftovers (if there are any!) in a ziplock bag in the refrigerator for 2-3 days.
Serving suggestions
This typical Brazilian snack makes the perfect addition to various meals and gluten-free appetizers.
Here are some ideas of what to eat with your own cheesy rolls!
- Serve with your favorite creamy soup, hearty soup, or chili.
- Use as a dipping vessel in vegan queso or Alfredo sauce.
- Pair with a green salad or grain salad.
FAQs
I recommend that this vegan recipe is best eaten the day it is made. It is especially good while still warm right out of the oven. You can reheat it in the oven or the microwave.
Heat them in the oven at 350 degrees Fahrenheit for about 8-10 minutes. The oven method keeps the outside crisp, while the microwave method will not. If using the microwave, heat for 15-20 seconds.
Yes! It is best to store these bread balls in the refrigerator for up to 2-3 days.
The use of tapioca starch gives the bread a crisp outer crust and a gooey quality on the inside.
Want more bread inspiration? Check out these gluten-free sourdough crescent rolls!
More gluten-free bread recipes
Love this recipe? Please consider leaving a 5-star 🌟🌟🌟🌟🌟rating on the recipe card below and let me know what you think in the comments!
📖 Recipe
Vegan Brazilian Cheese Bread (Gluten-Free)
Ingredients
- 1 cup cooked Russet potato
- 2 cups (236g) tapioca starch
- 1 teaspoon salt
- ¼ teaspoon garlic powder
- ¼ teaspoon onion powder
- ¼ teaspoon black pepper
- 2 pinches ground turmeric
- 2 tablespoons nutritional yeast*
- ½ cup boiling water
- ⅓ cup olive oil
- 3 tablespoons unsweetened almond milk (or other non-dairy milk)
Instructions
- Preheat the oven to 350 degrees Fahrenheit. Line a baking sheet with parchment paper.
- Pierce the potato with a fork and cook on appropriate setting in microwave until cooked and mashes well with a fork.
- In a large bowl, combine tapioca starch, salt, garlic powder, onion powder, black pepper, turmeric, and nutritional yeast. Whisk to combine.
- In a small bowl, combine boiling water, olive oil, and almond milk. Whisk to combine. Add the liquid mixture to the tapioca mixture with a wooden spoon or spatula, stirring until most of the dry ingredients have been incorporated.
- Add the cooked potato and stir and mash with the back of the spoon until mostly incorporated. Then, using your hands, squeeze and knead the dough together until it becomes smoother. There will be some dry bits of dough, just press and knead them into the dough.
- Scoop the dough by tablespoon, and roll into balls. It is helpful to squeeze the dough together a few times as you roll to make a cohesive ball. Space about an inch and a half apart on baking sheet.
- Bake for 32 to 35 minutes. The outsides should be dry and the bottoms should start turning a golden brown (lift one to check). The tops of the cheese bread will not really brown at all.
- Allow vegan Brazilian cheese bread to cool for a few minutes on baking sheet. Serve warm. Best eaten the day they are made.
- For leftovers: Store any leftovers in an airtight container in the refrigerator.
Notes
Heat them in the oven at 350 degrees Fahrenheit for about 8-10 minutes. The oven method keeps the outside crisp, while the microwave method will not. If using the microwave, heat for 15-20 seconds.
Roxanne
Absolutely delicious and dangerously moreish! Thank you so much for this recipe!
Tessa
So happy you enjoyed it! Thank you!
MJ
Hi, thank you, your a life saver. However i need your help because mine did not turn out like yours. The inside was gummy, outside normal. The inside looked like mozerella cheese all rubbery gooey and gummy. I followed instructions exactly. I ate them, probably should've have.
Tessa
Hi! Thank you! The insides will be a bit gummy due to the tapioca starch, but shouldn't be overwhelmingly so. You can always try a little less tapioca starch or a little more cooked potato.
Rita D
Hi Tessa!!
thanks for the recipe.
Dough turned out sticky and moist. so I couldn't really form the balls it. what did I do wrong? measured the ingredients exactly as per recipe?
still baked them and they looked similar to whats on the pictures, but stuck to the parchment paper and are like jelly inside?
Tessa
Hi Rita! I'm not sure what went wrong, but you could always add a little more tapioca starch until it is easier to roll into balls. They will be a bit jelly inside - that is due to the tapioca starch.
Nuno Dias
Is is OK to substitute the garlic powder for fresh garlic?
Tessa
I think that would work just fine!
Jana
Today I tried to make it according to your recipe Brazilian “cheese” Bread and it's so delicious! Tell me, what kind of consistency should be inside? it seemed to me a bit like chewing gum and it seems I did something wrong ..
Thank you for the answer and for the delicious recipes
Tessa
Thank you, Jana! I'm happy you liked it! The inside should be a bit chewy/stretchy due to the tapioca starch.
Carolina Torres
Hello. I ussually make the cheese ones for my kids and freeze them in batches. Could i freeze this recipe and cook them for breakfast once needed?
Tessa
Hi Carolina - I have never tried freezing and baking them later. I would like to think that would work but still need to try it out. If you freeze a small batch, I'd love to hear!
Emily Garcia
Hi Tessa, you made the unthinkable possible! cheese bread without cheese! amazing texture!
I did it without the pepper and added nutritional yeast.
I tried to do it a second time with potatoes flakes and oat milk instead of boiling water, but I lost the texture, why would that happen? any tips?
Tessa
Thanks, Emily! I'm not quite sure why it would lose the texture except that potato flakes may not have the same amount of starch in them. The starch is necessary for that chewy texture.
Diana
Hi!
I’m thinking about making your vegan cheese bread today but I’m wondering if I can make the dough and refrigerate it overnight and bake tomorrow?
Tessa
Hi Diana! I have never tried refrigerating it before baking - I would worry that this may take away from the "stretchiness".
Emily
You could make the little balls and freeze it. When you are ready to eat them, just bake them frozen ;)
Kay
I just saw this on tv and they actually refrigerated it for two hours before balling and cooking. Said it helped to firm it up and make it a little less sticky.
Can't wait to try this!
Tessa
That's awesome! I have not tried chilling them beforehand. Would love to hear if that works well for you.
Cat
I just did these. It was the best thing ever!! Really really amazing!
The dough was very liquify so I had to add more flour but they turned out amazing!!!!
Thank you for this wonderful recipe!
Tessa
Thank you!! So glad you enjoyed them!
Vicky
Even though my dough was very sticky after following the recipe the way it was written , all I had to was add a lot of extra tapioca starch to make the dough good enough to make balls from them! Do you think there's anyway to reduce the oil? To make a healthier version of it? Thank you.
P. S. These were delicious and approved by my meat eater hubby
Tessa
Hi Vicky! Thank you! I am worried that reducing the oil may make the baked end product harder. If you try it, I'd love to hear how that goes. So glad your husband liked them too!!!
Ed
Hello!
Are you able to change the tapioca starch to something else? I can’t find anywhere in Ireland.
Tessa
Hi Ed! Unfortunately, the tapioca starch is crucial to this particular recipe. I wish I had a substitute to suggest!
Hannah
These are absolutely delicious and addictive. The texture is god-like. I made this without onion powder as I couldn't find any, but instead used a little bit of Herbamare salt. I don't think it would be as delicious without the nutritional yeast. I will make this a million times again I swear. I plan on making a garlic herb margarine (as in vegan butter) for it - we'll see how that goes!
Tessa
Thank you, Hannah! That garlic herb butter sounds like it would be amazing with these! :)
Cait Murphy
Just made this, and it was amazing! We made a vegan mayonnaise sauce to go with it, with Tajin spice and lime mixed in. It was so good - like a pub food made at home! :)
Tessa
Hi Cait! Thank you! That sounds amazing. I love it!
Juliet
These are delicious! I messed up and put one whole potato instead of a cup. It still worked out.
Tessa
Thank you, Juliet! I'm so glad!
Brit
Mine turned put much too watery, even after I added more tapioca flour. I'm not sure where I went wrong.
joselle
These are FANTASTIC . I'm Brazilian and these were like little vegan bites of home. I have terrible GERD so no pepper, onion or garlic... added a smidge more salt and used the nutritional yeast. They came out SO cheesy. Thank you
Tessa
That's awesome! I'm so happy to hear that! Thank you. :)
Kay
You could use garlic infused oil
Tessa
That sounds great!
janice Hoffmann
I'm Brazilian and this was my first attempt to make vegan cheese bread! I was amazed at the texture! Really similar. I am not a big fan of nutritional yeast, so I will skip it next time and add also more salt. Amazing recipe!
Tessa
That is awesome - thanks so much!